How to Make a Double Exposure
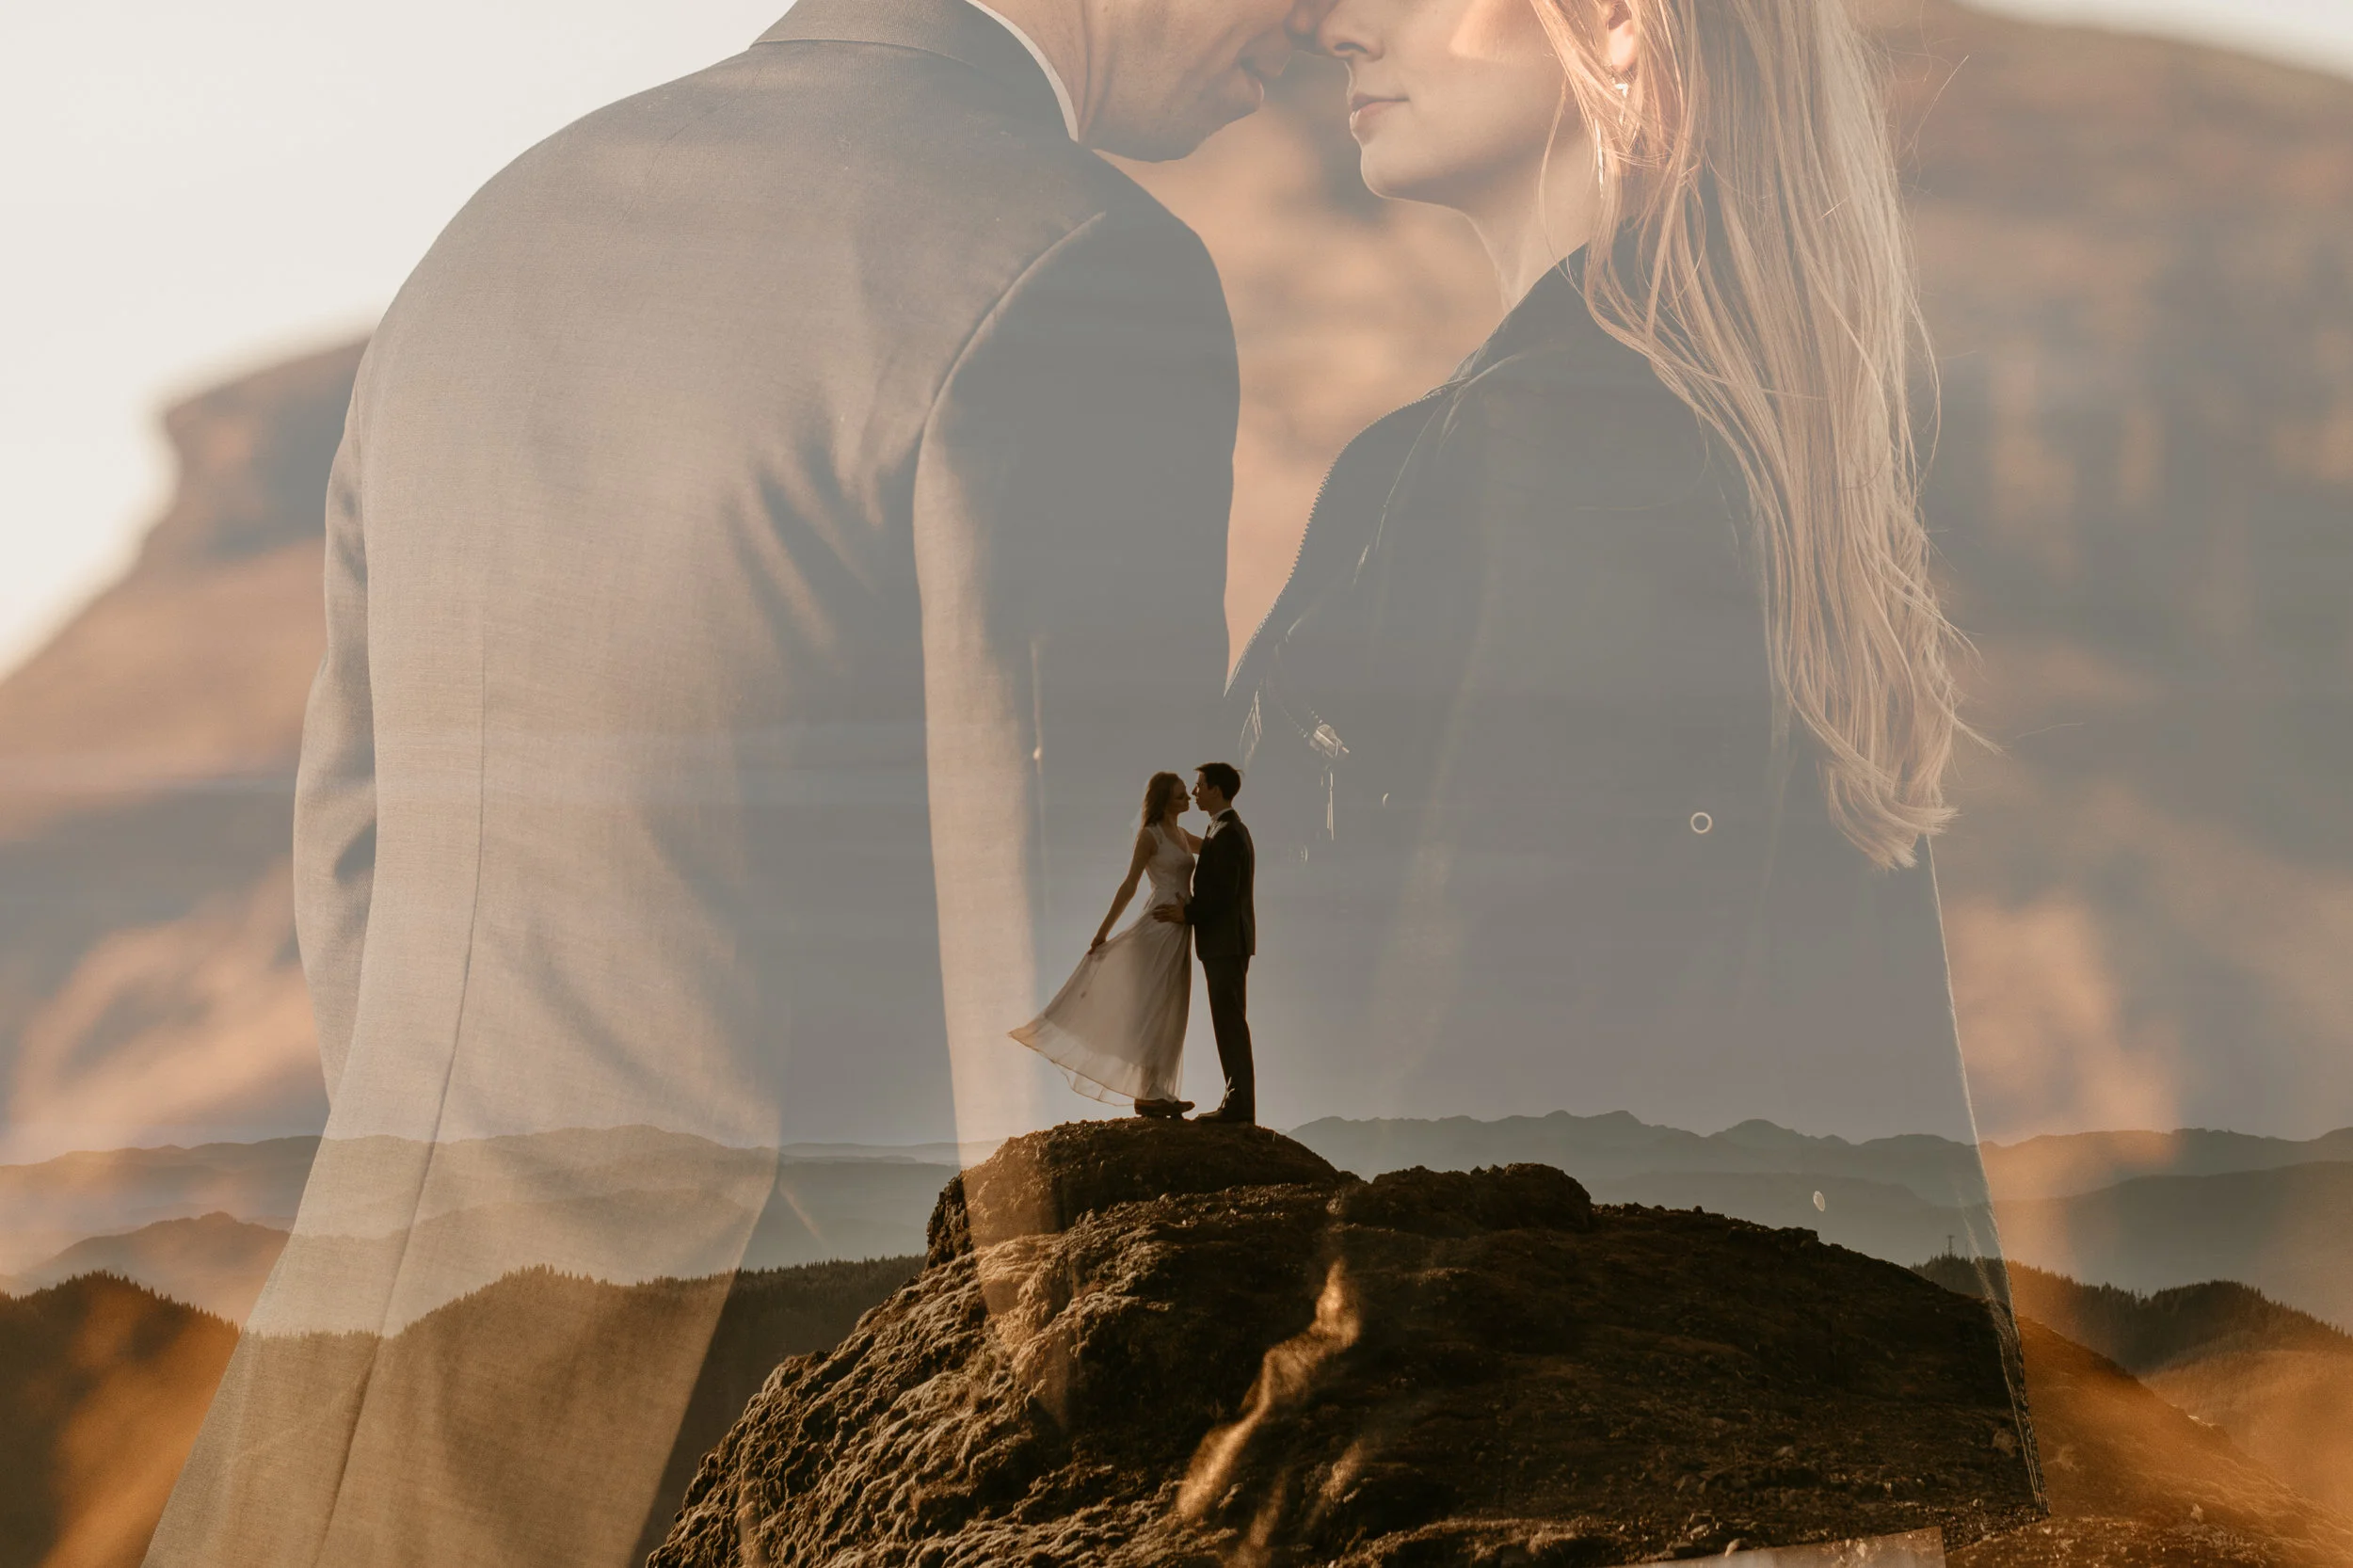
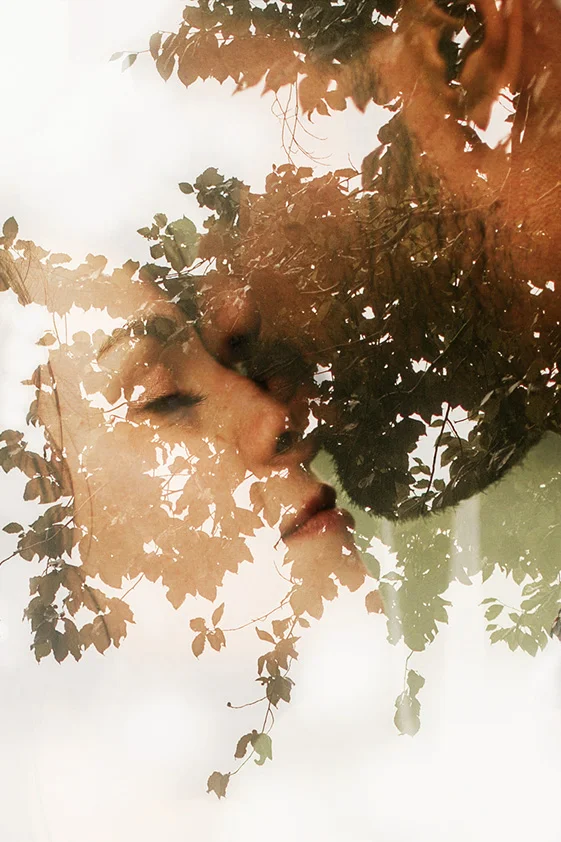
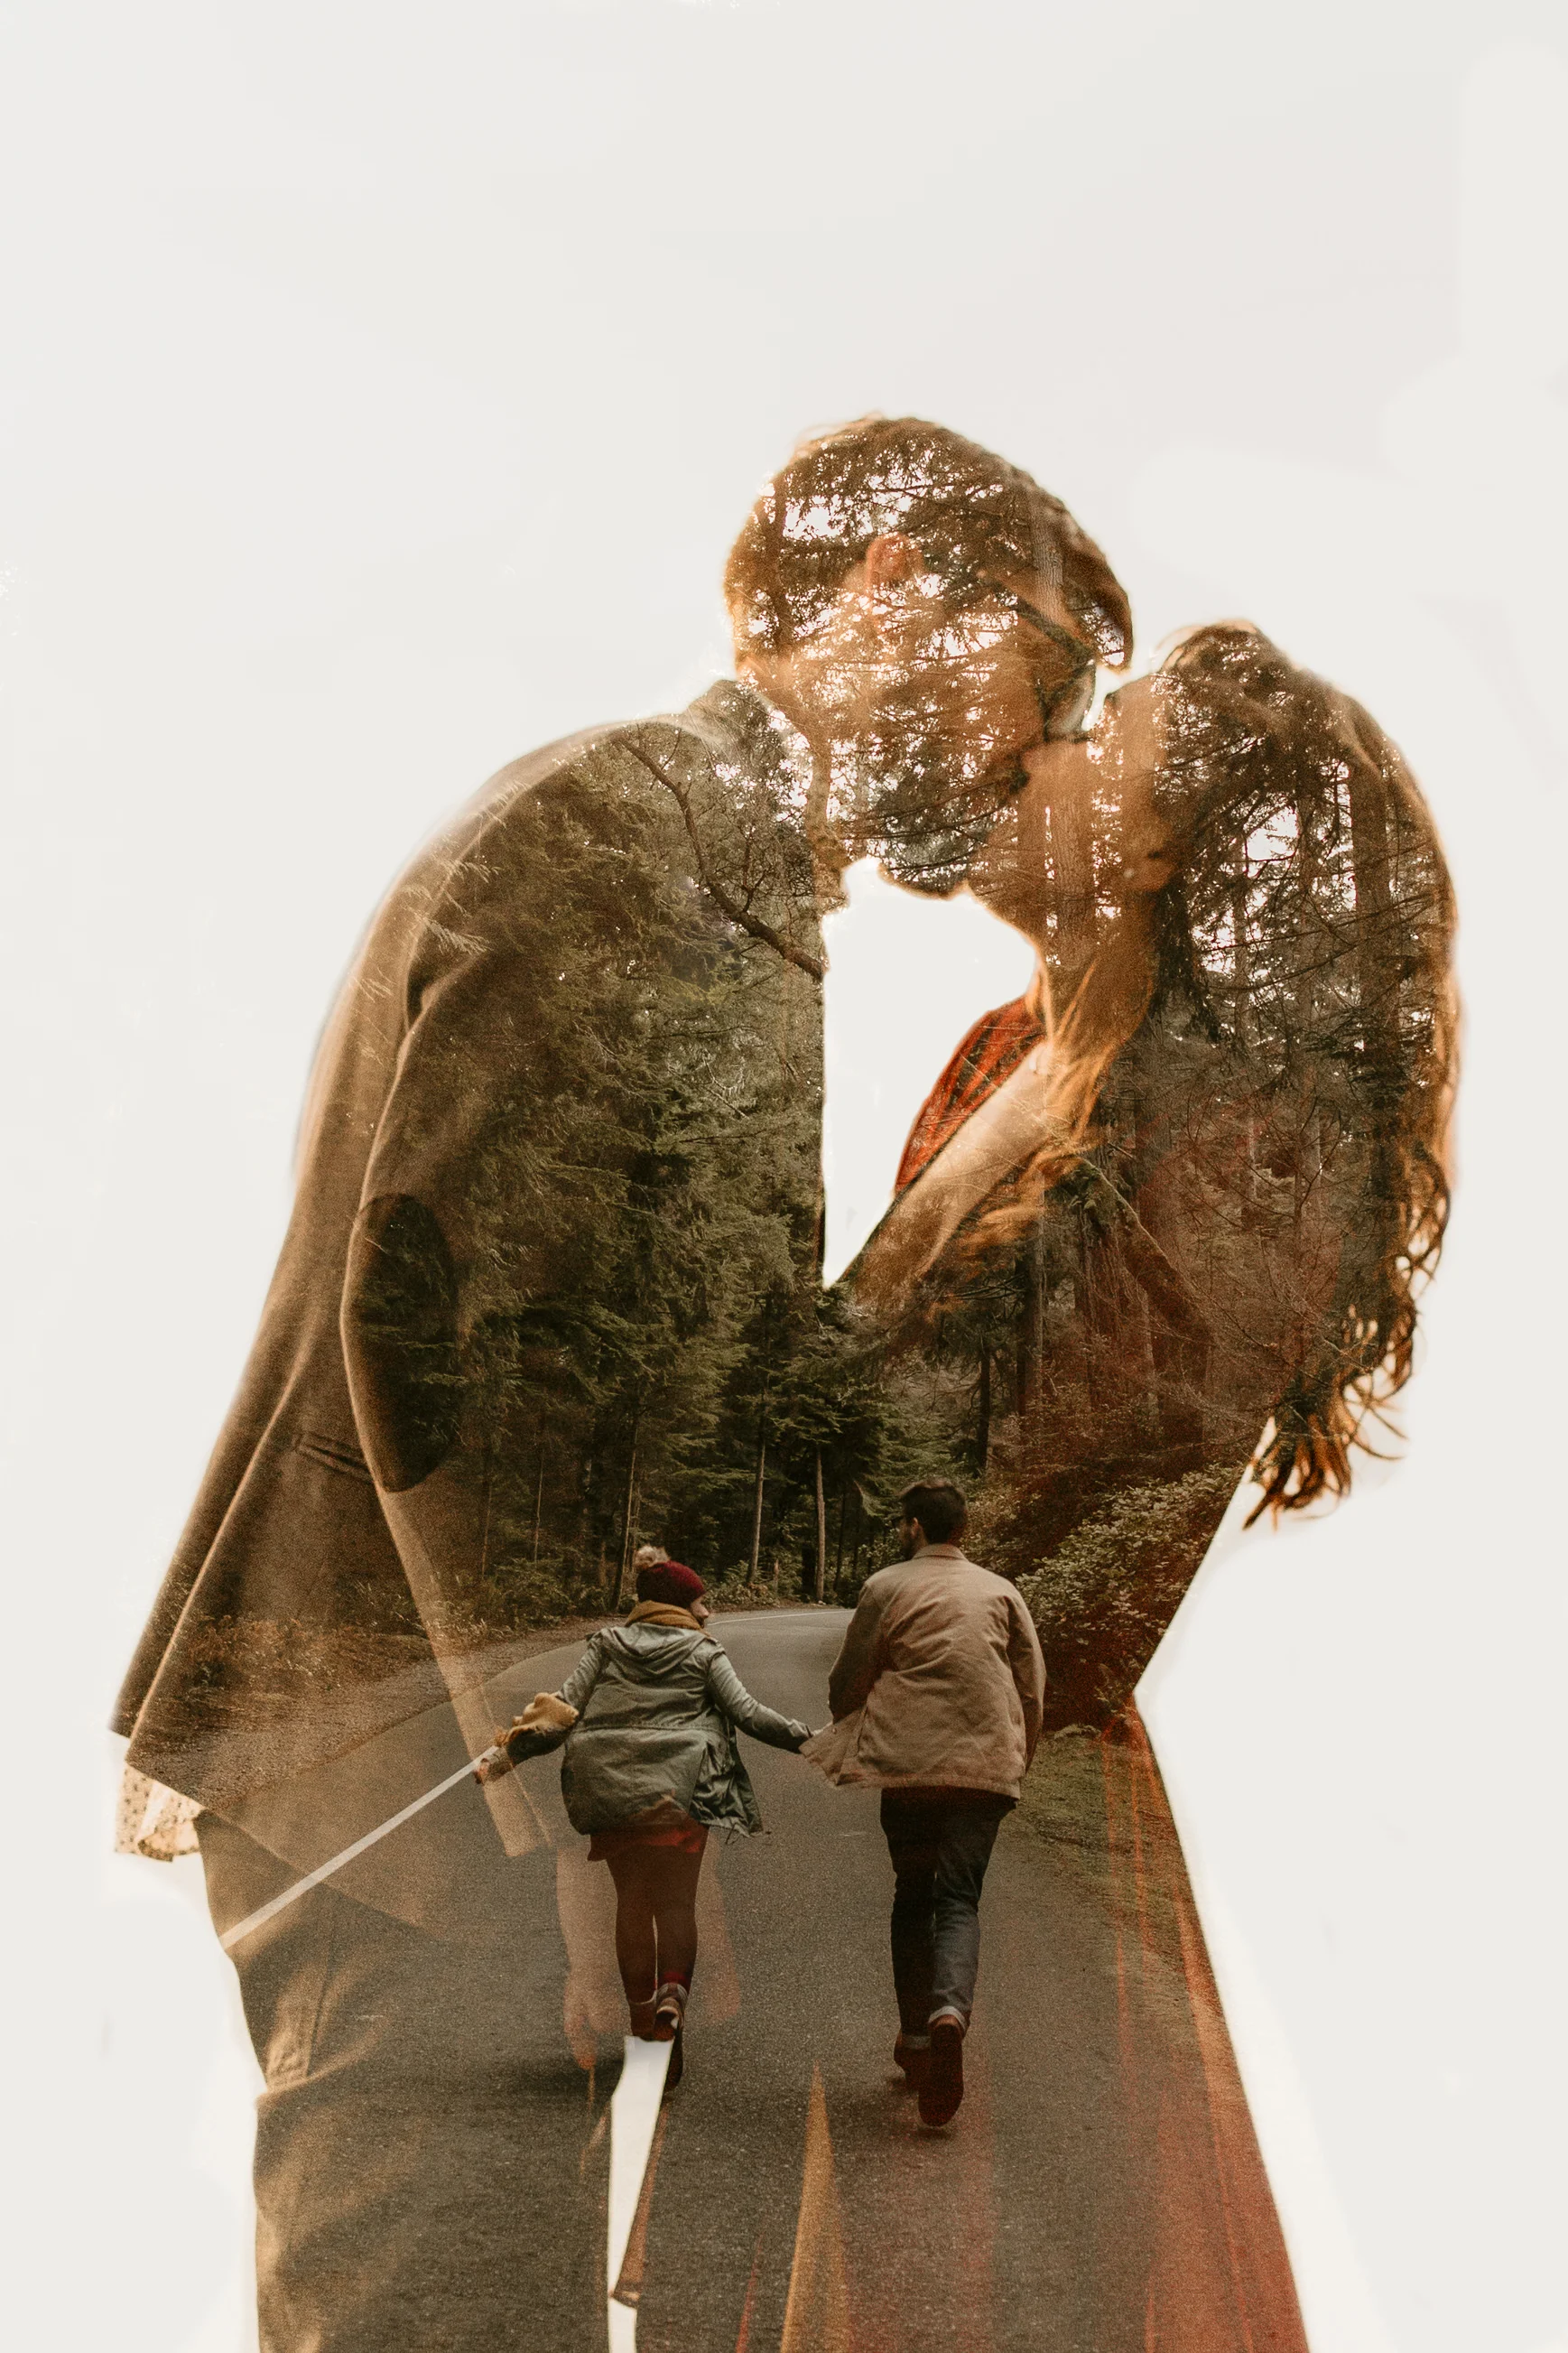
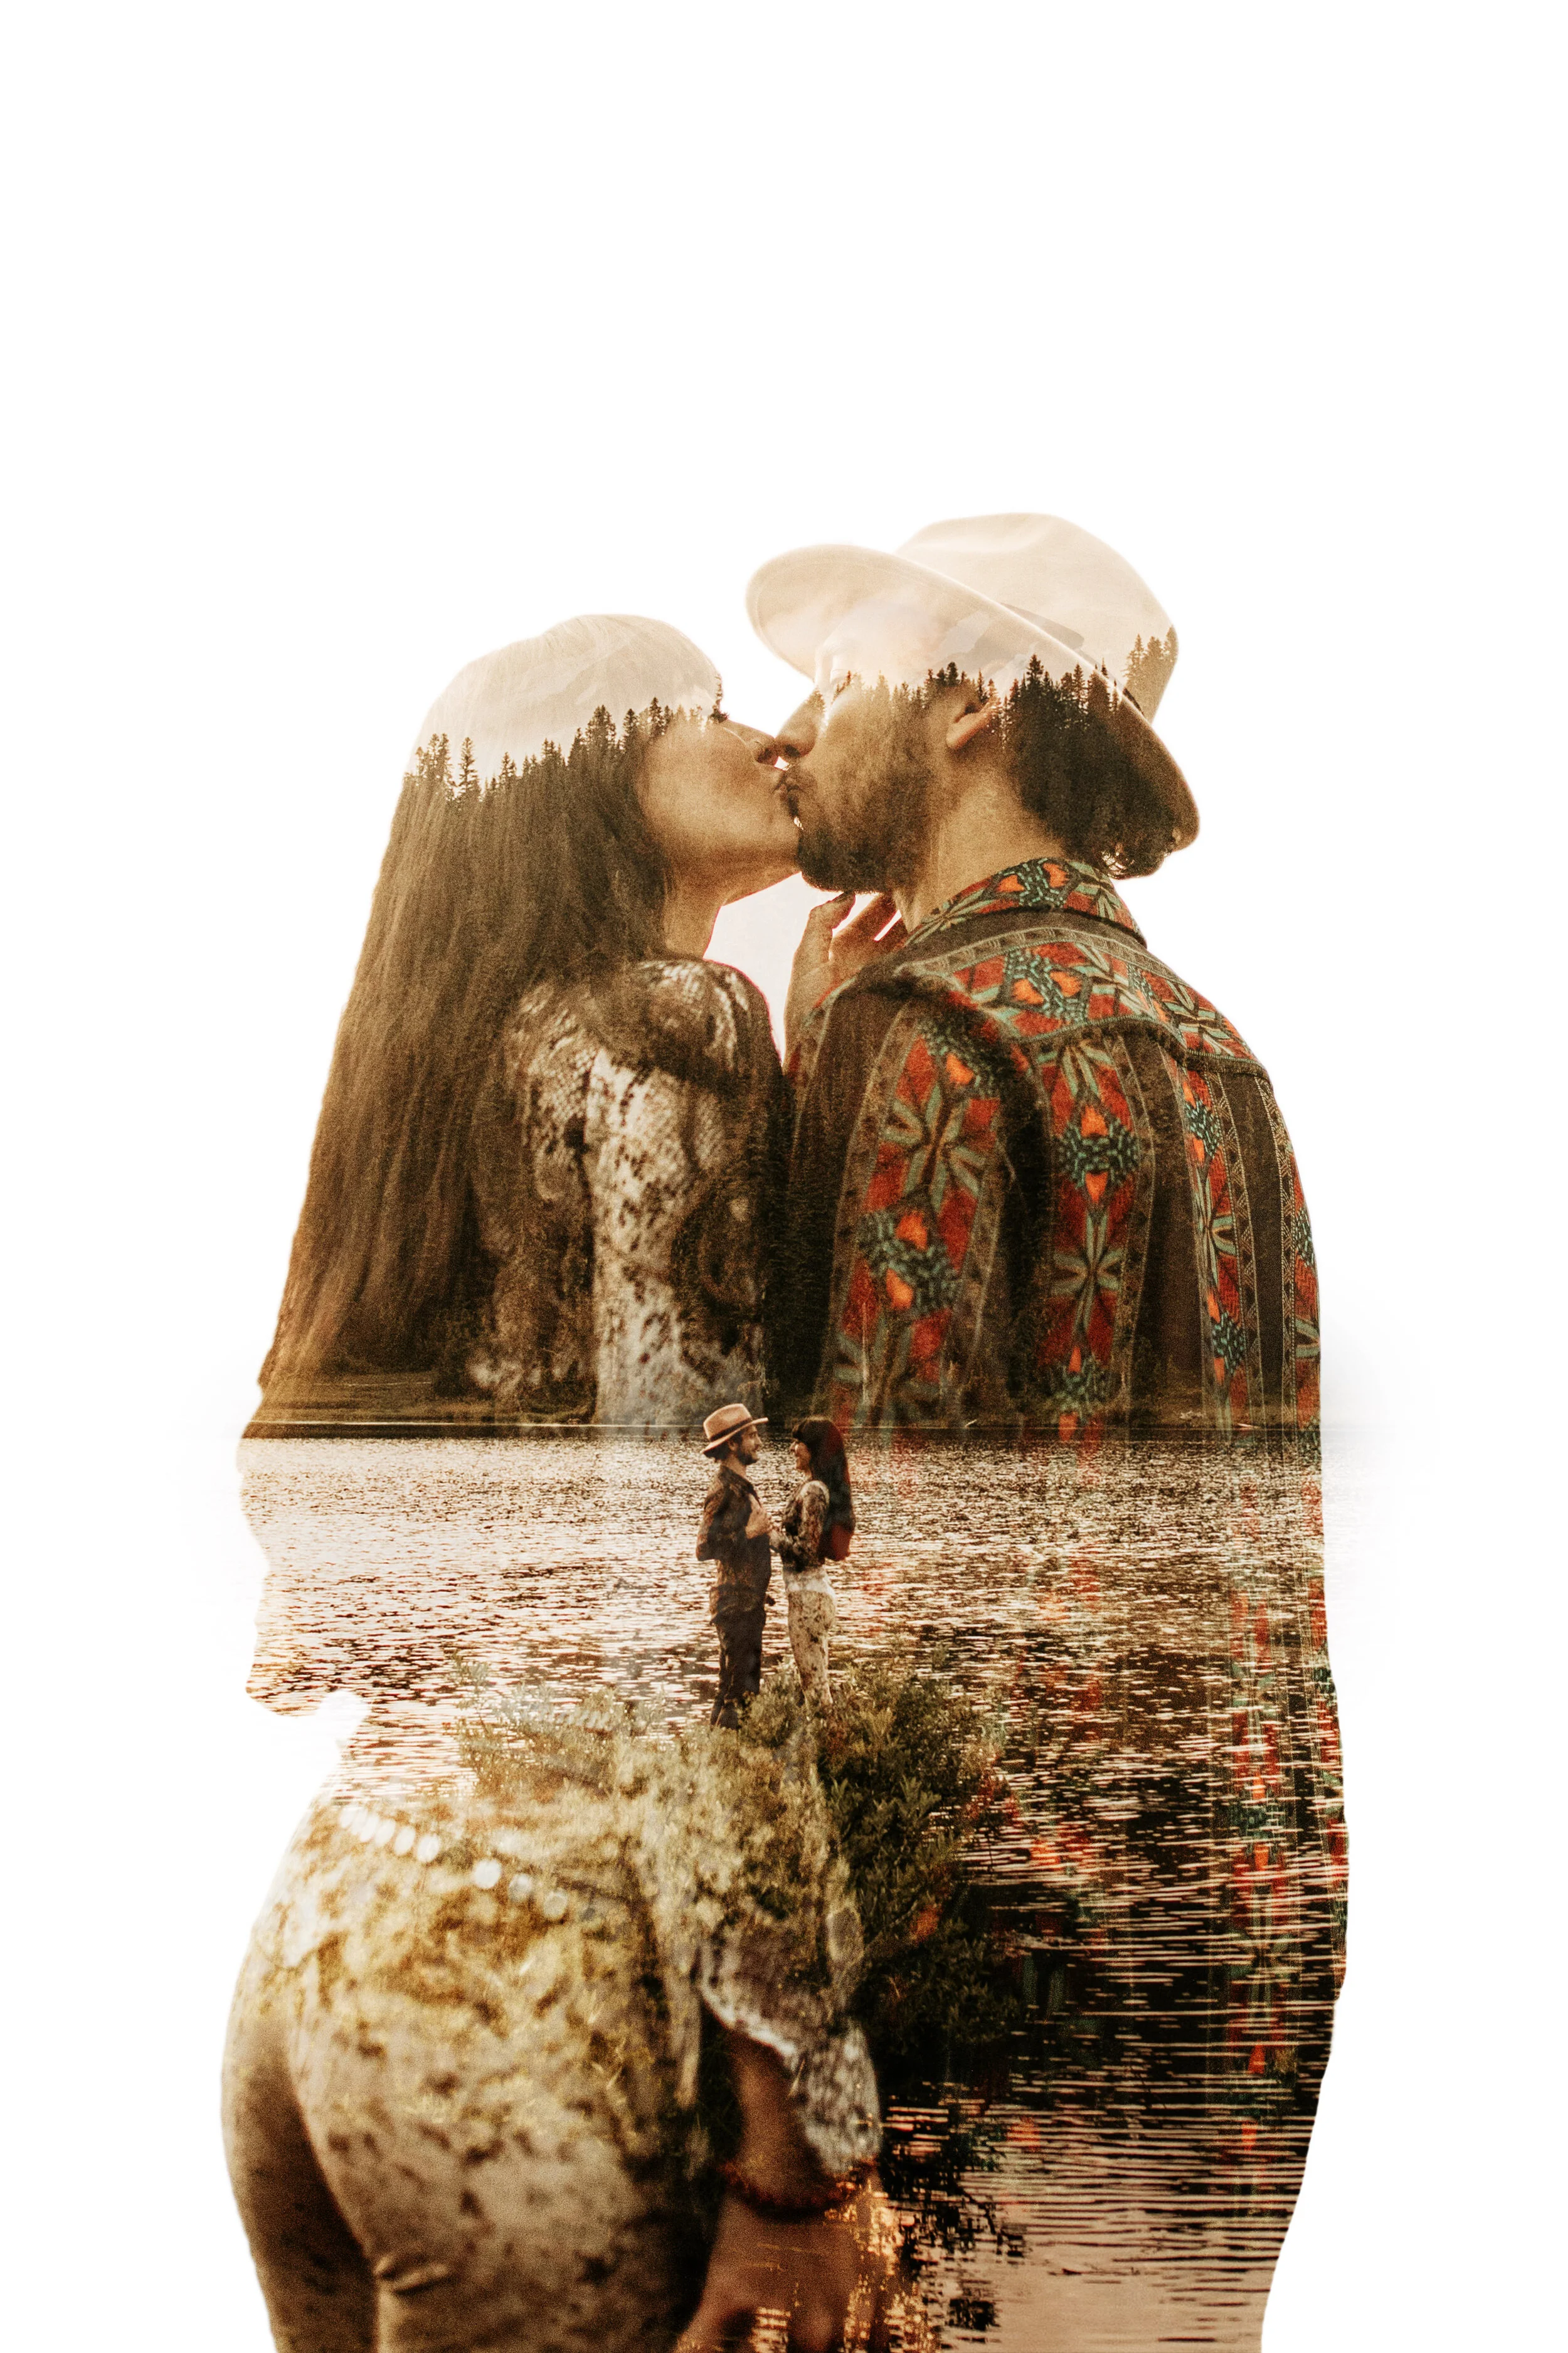
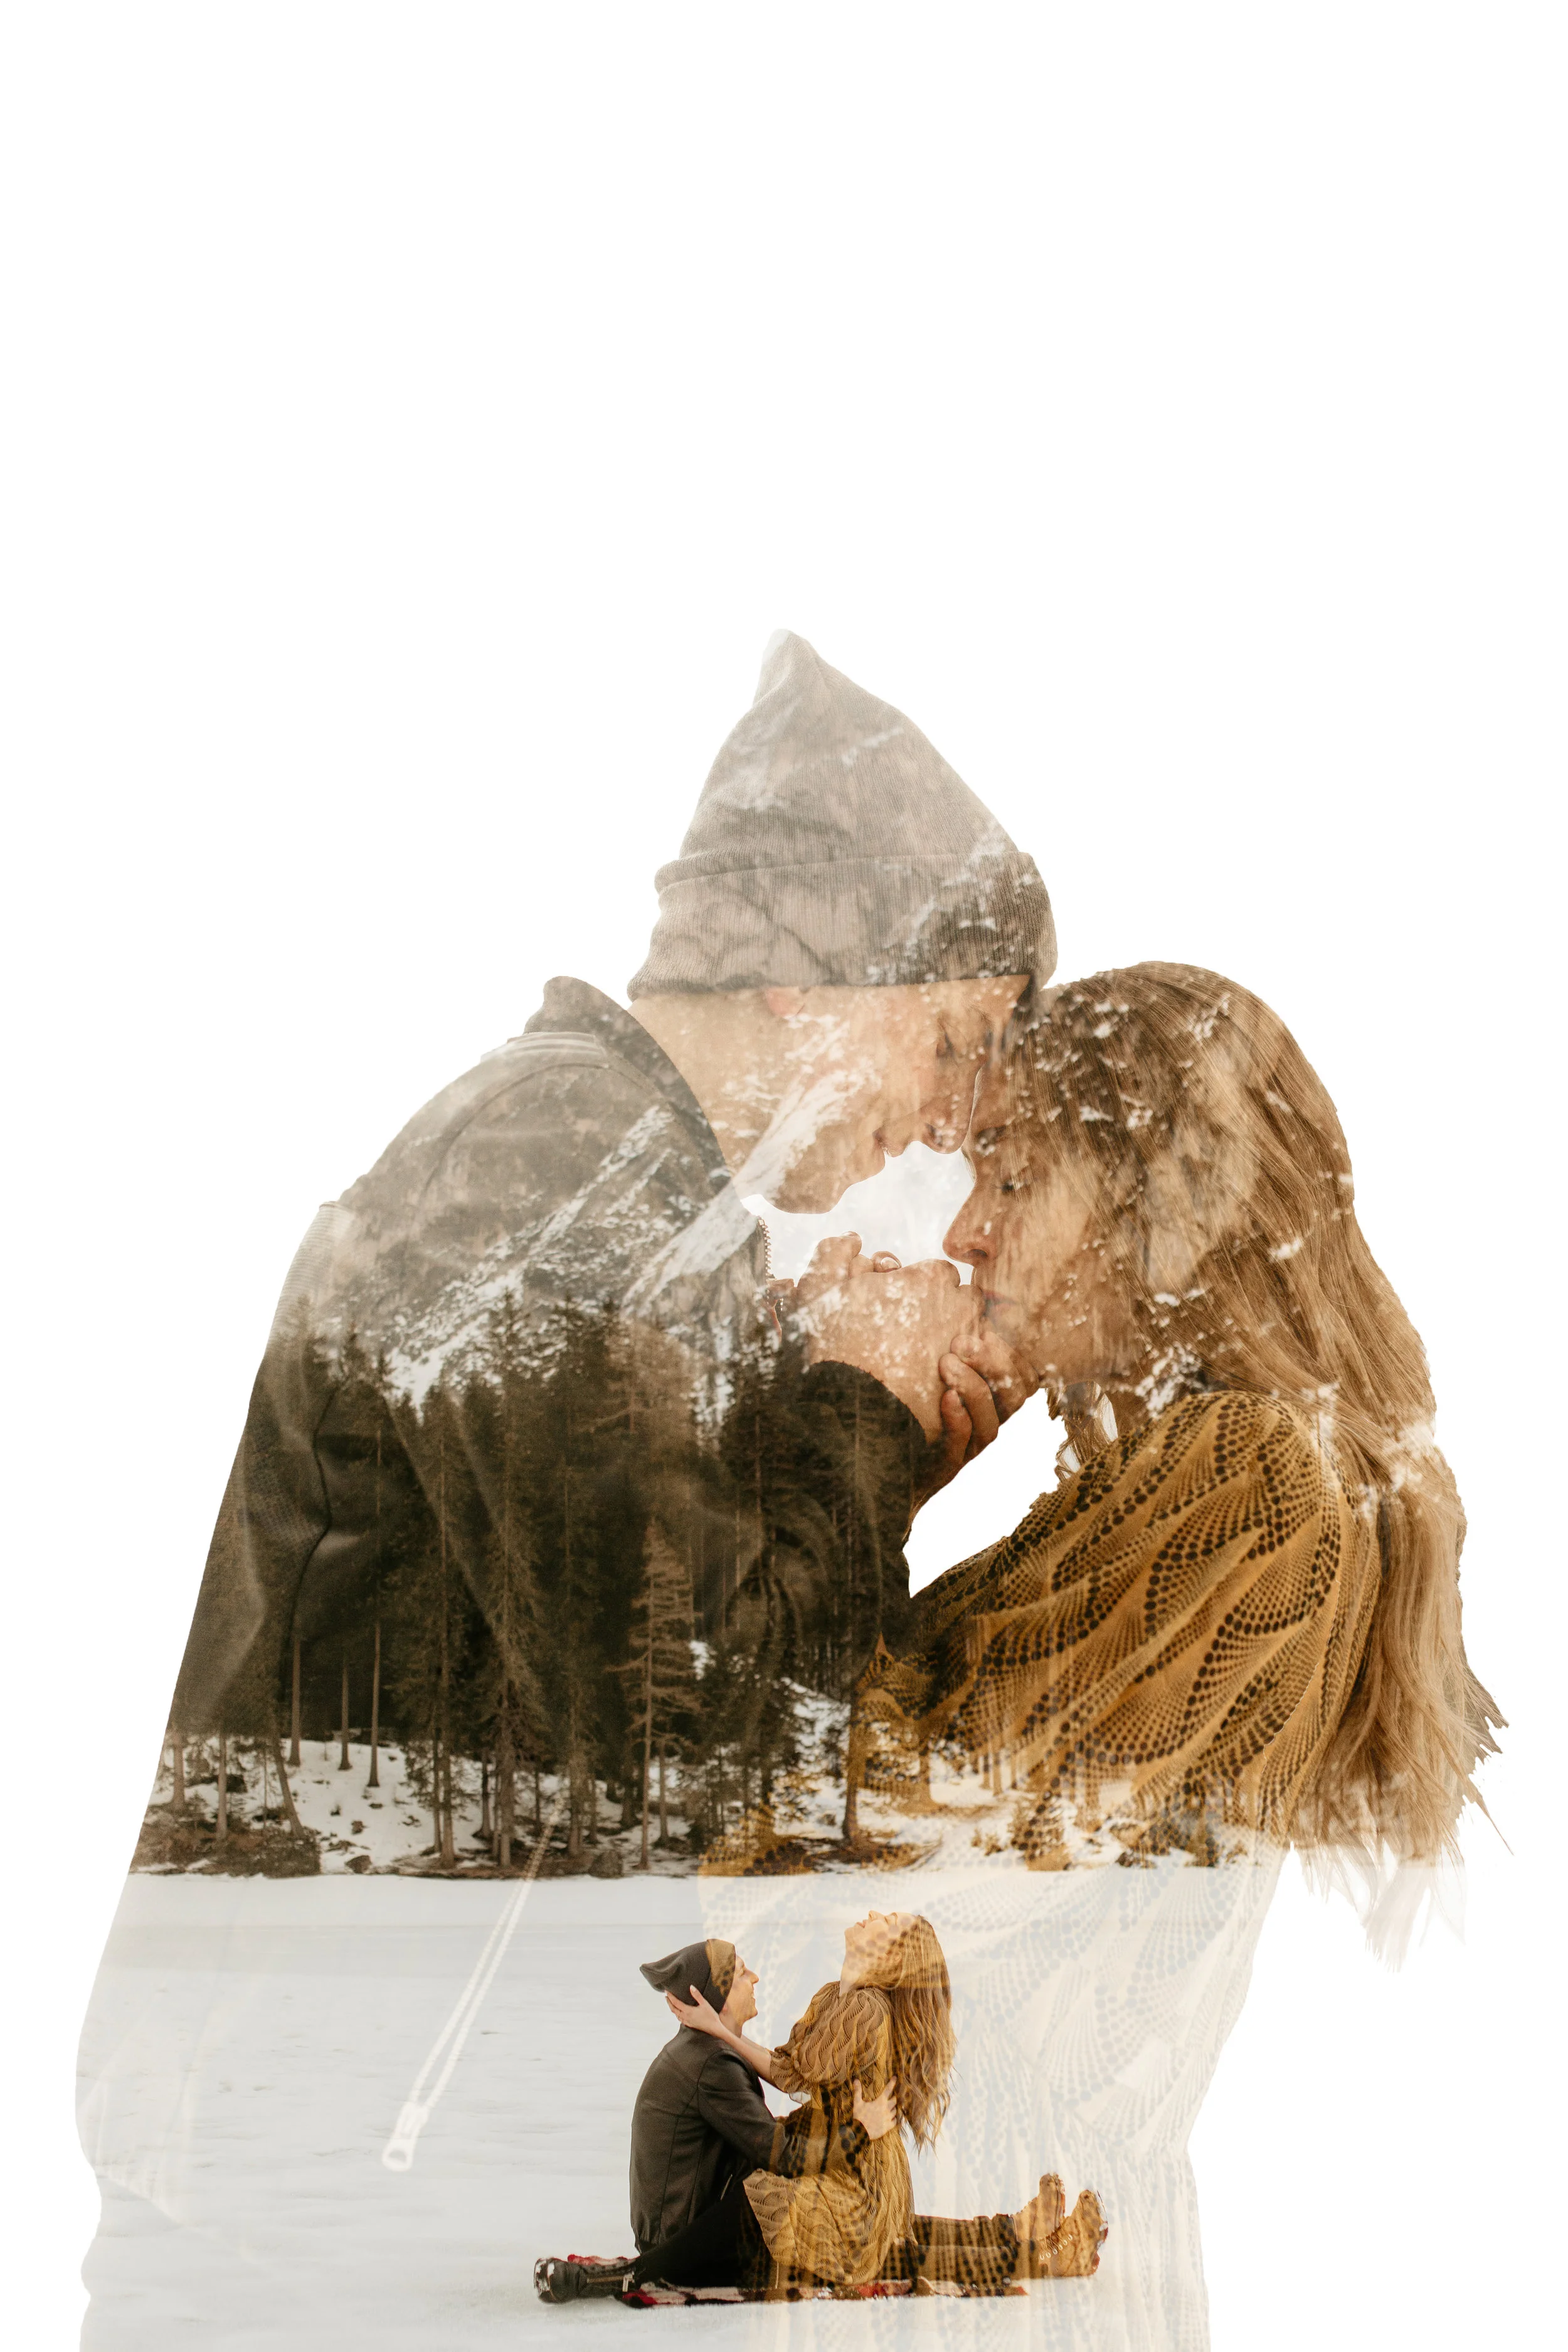
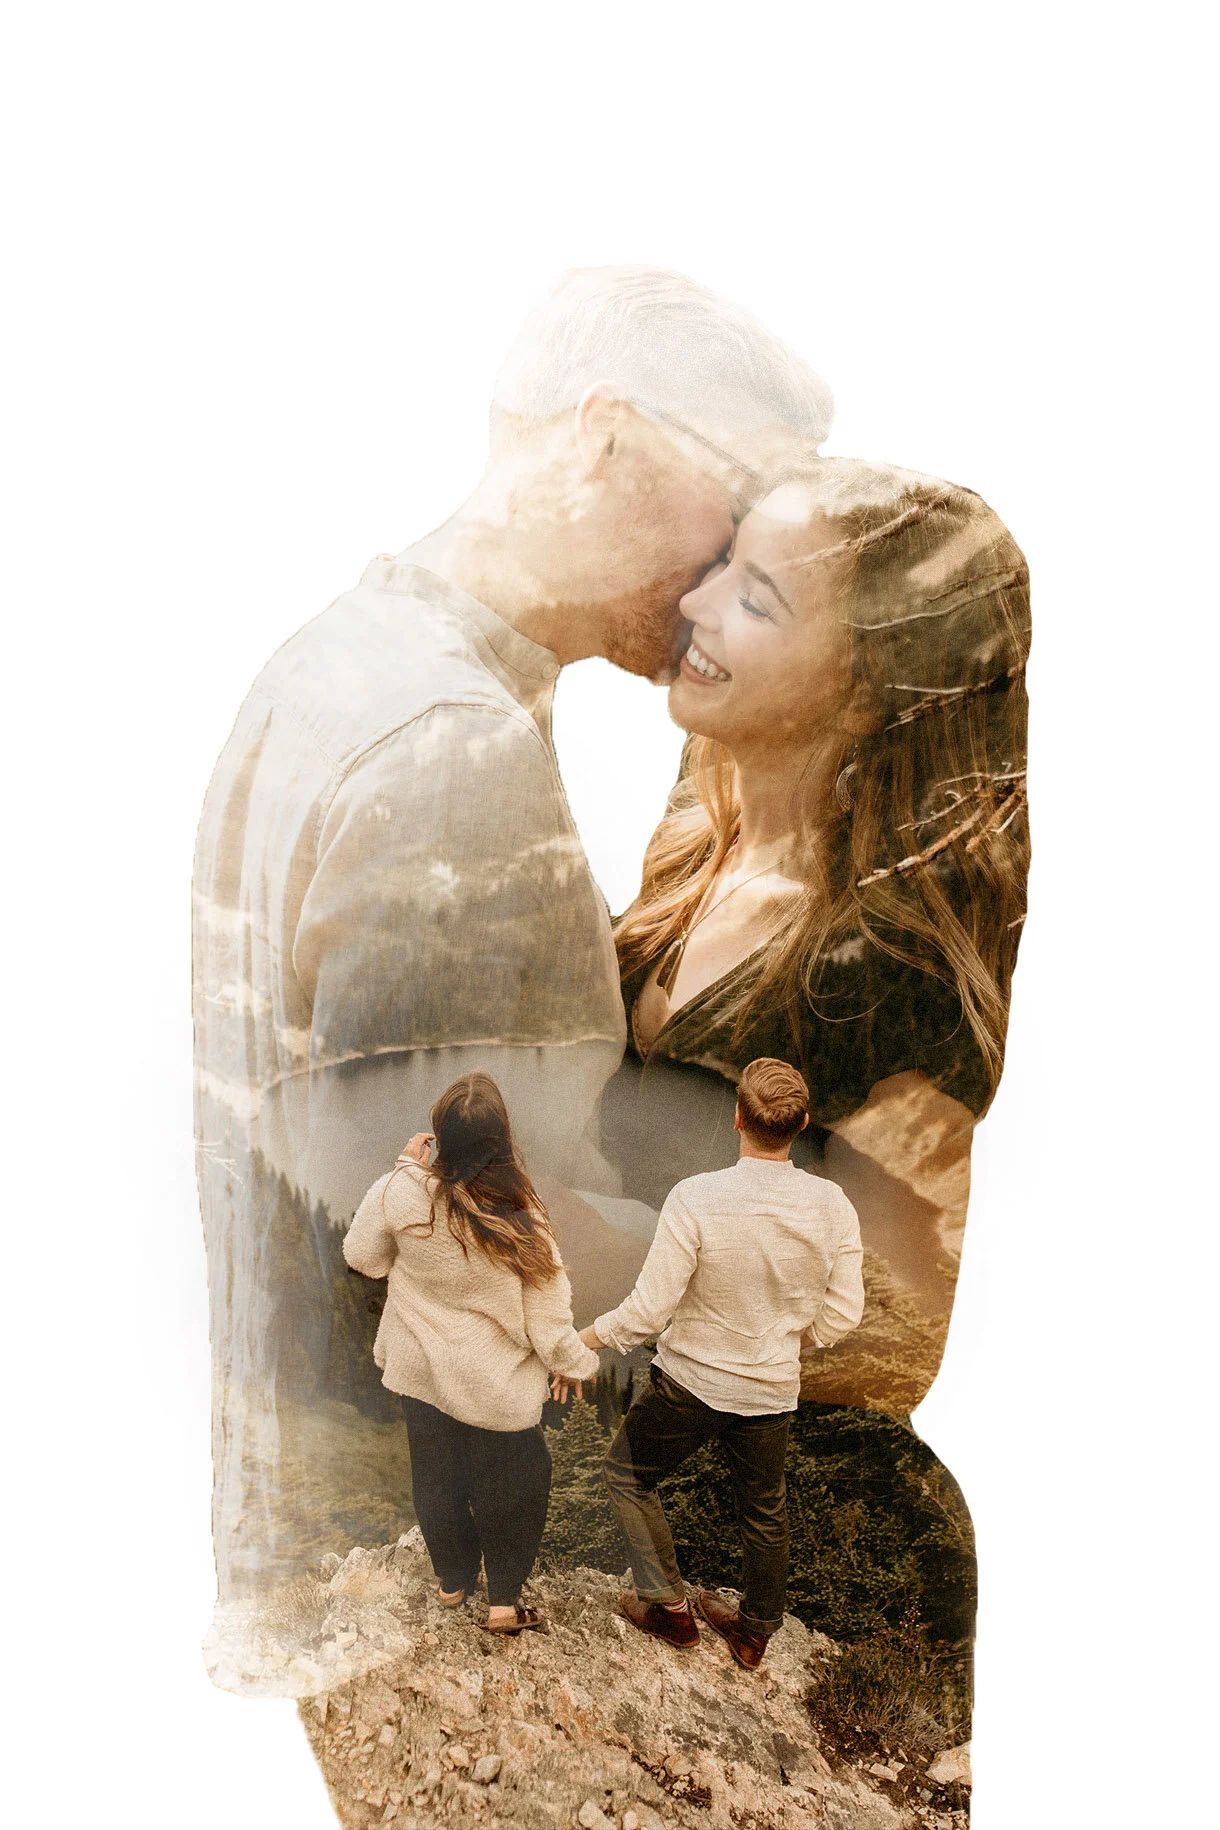
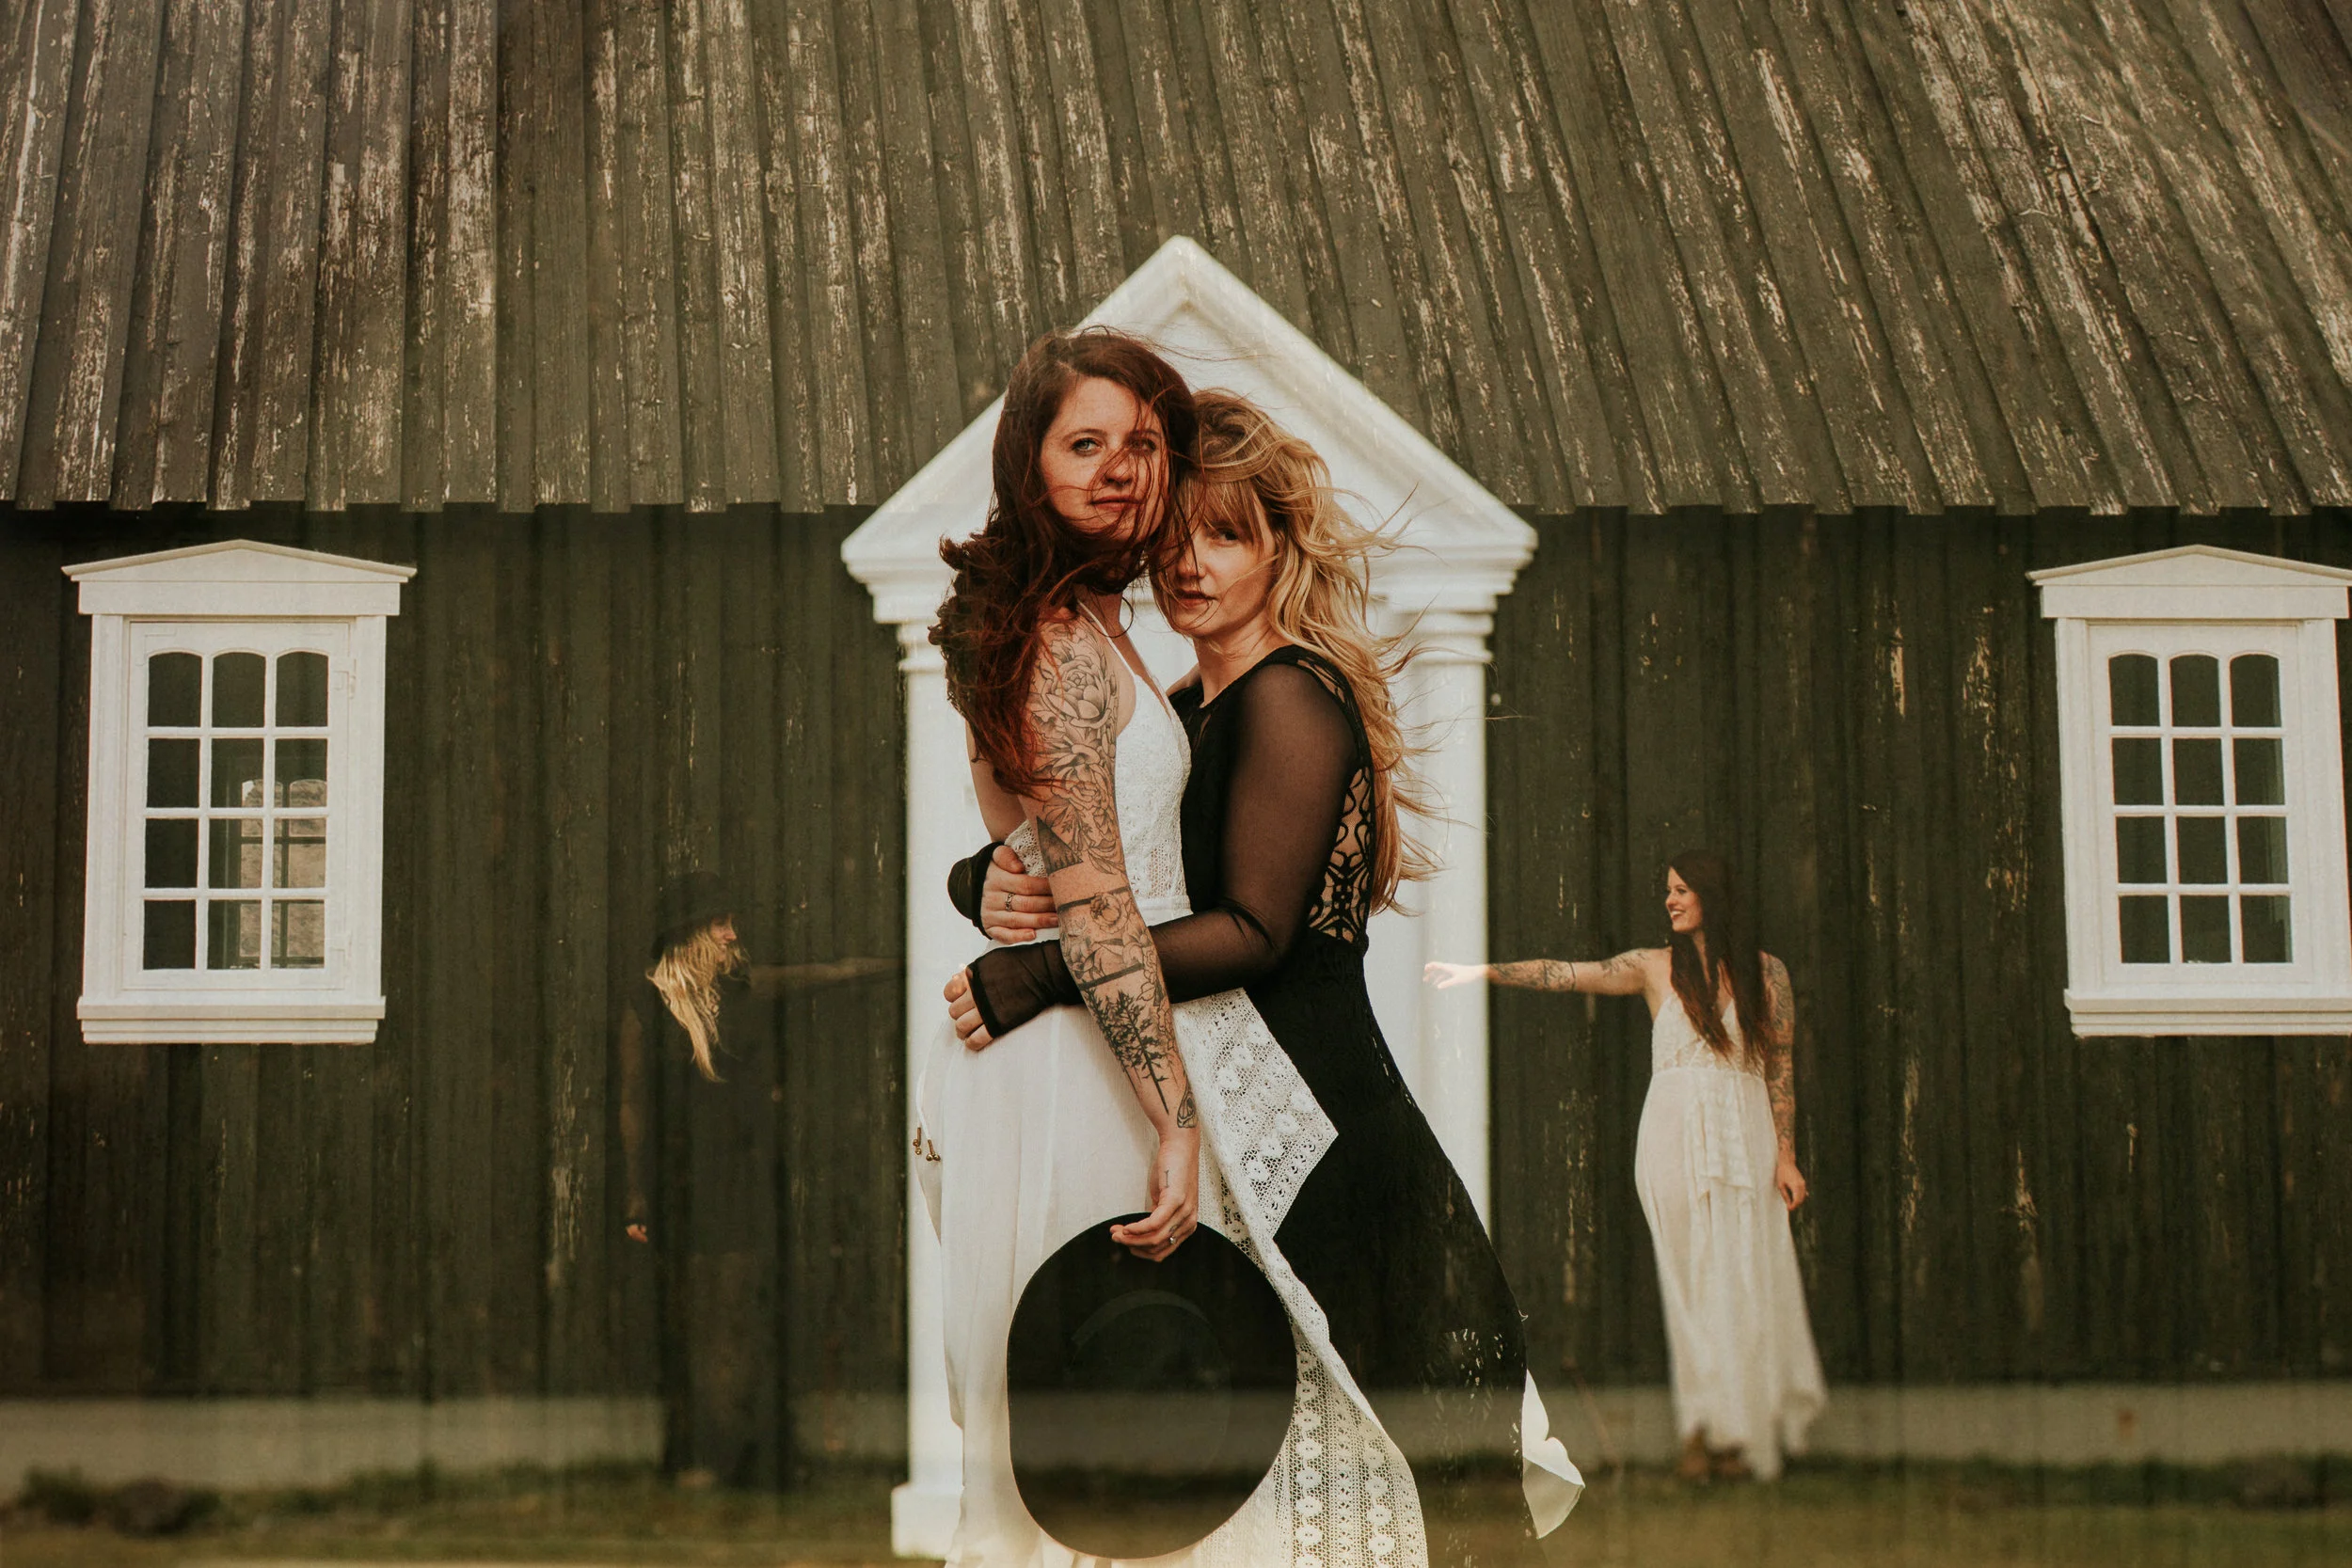
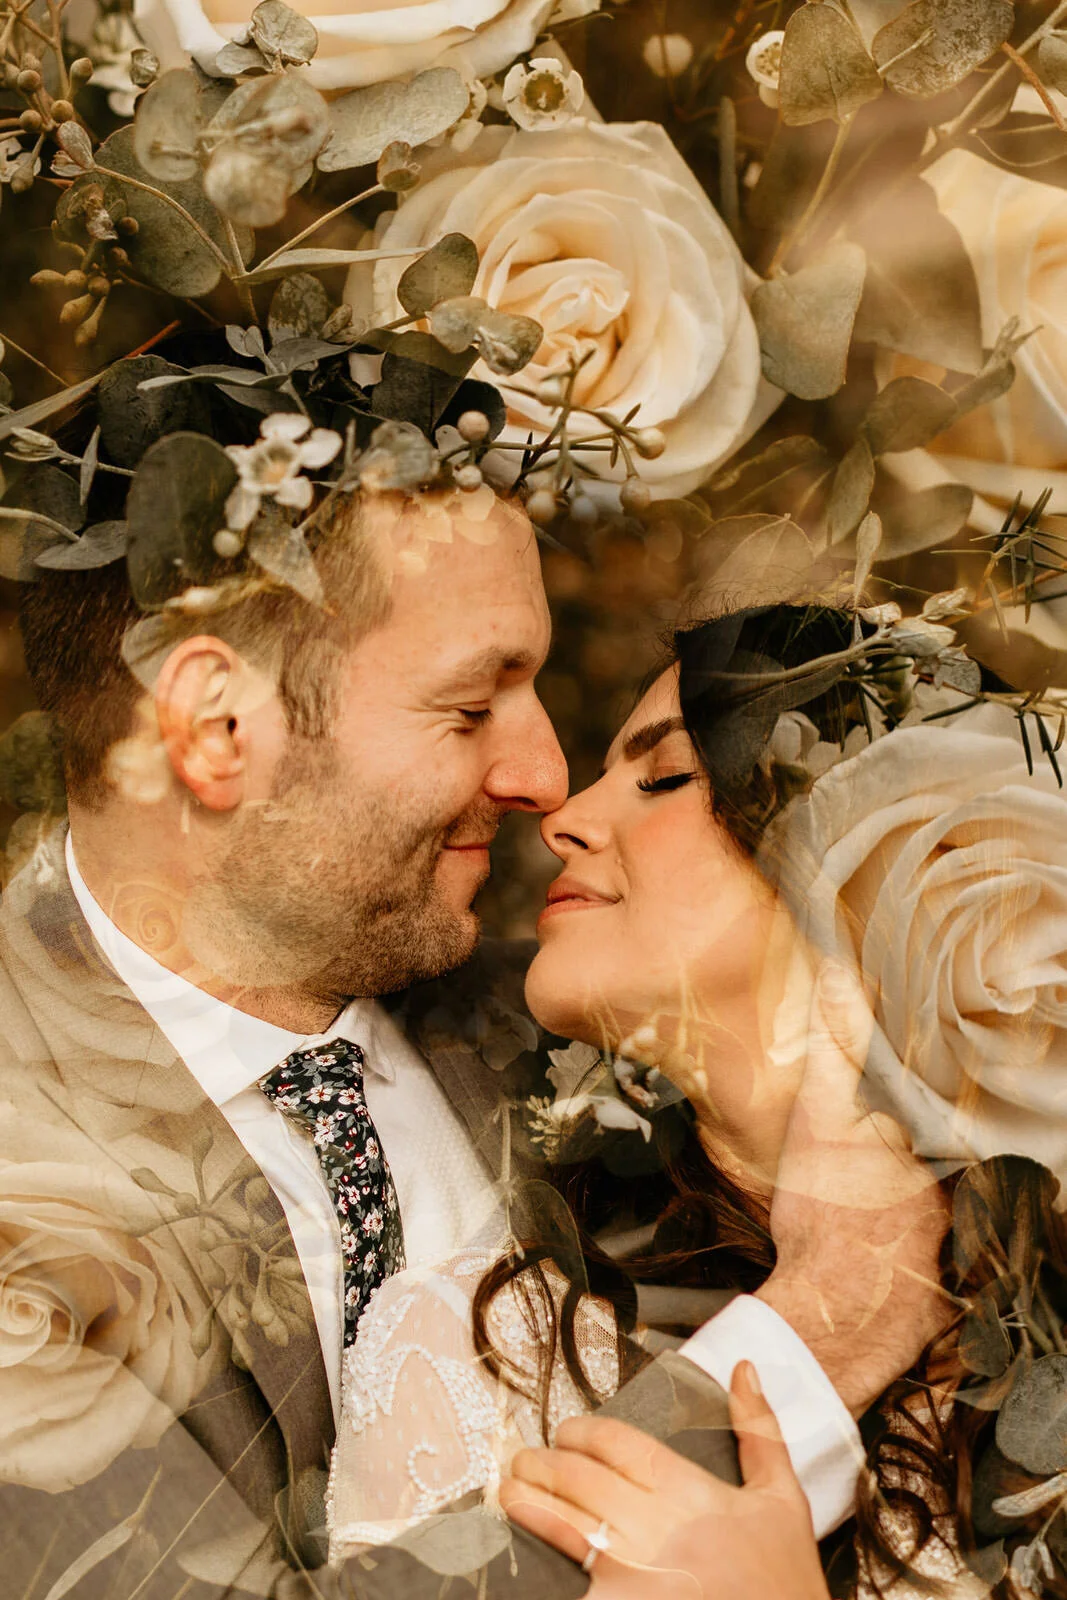
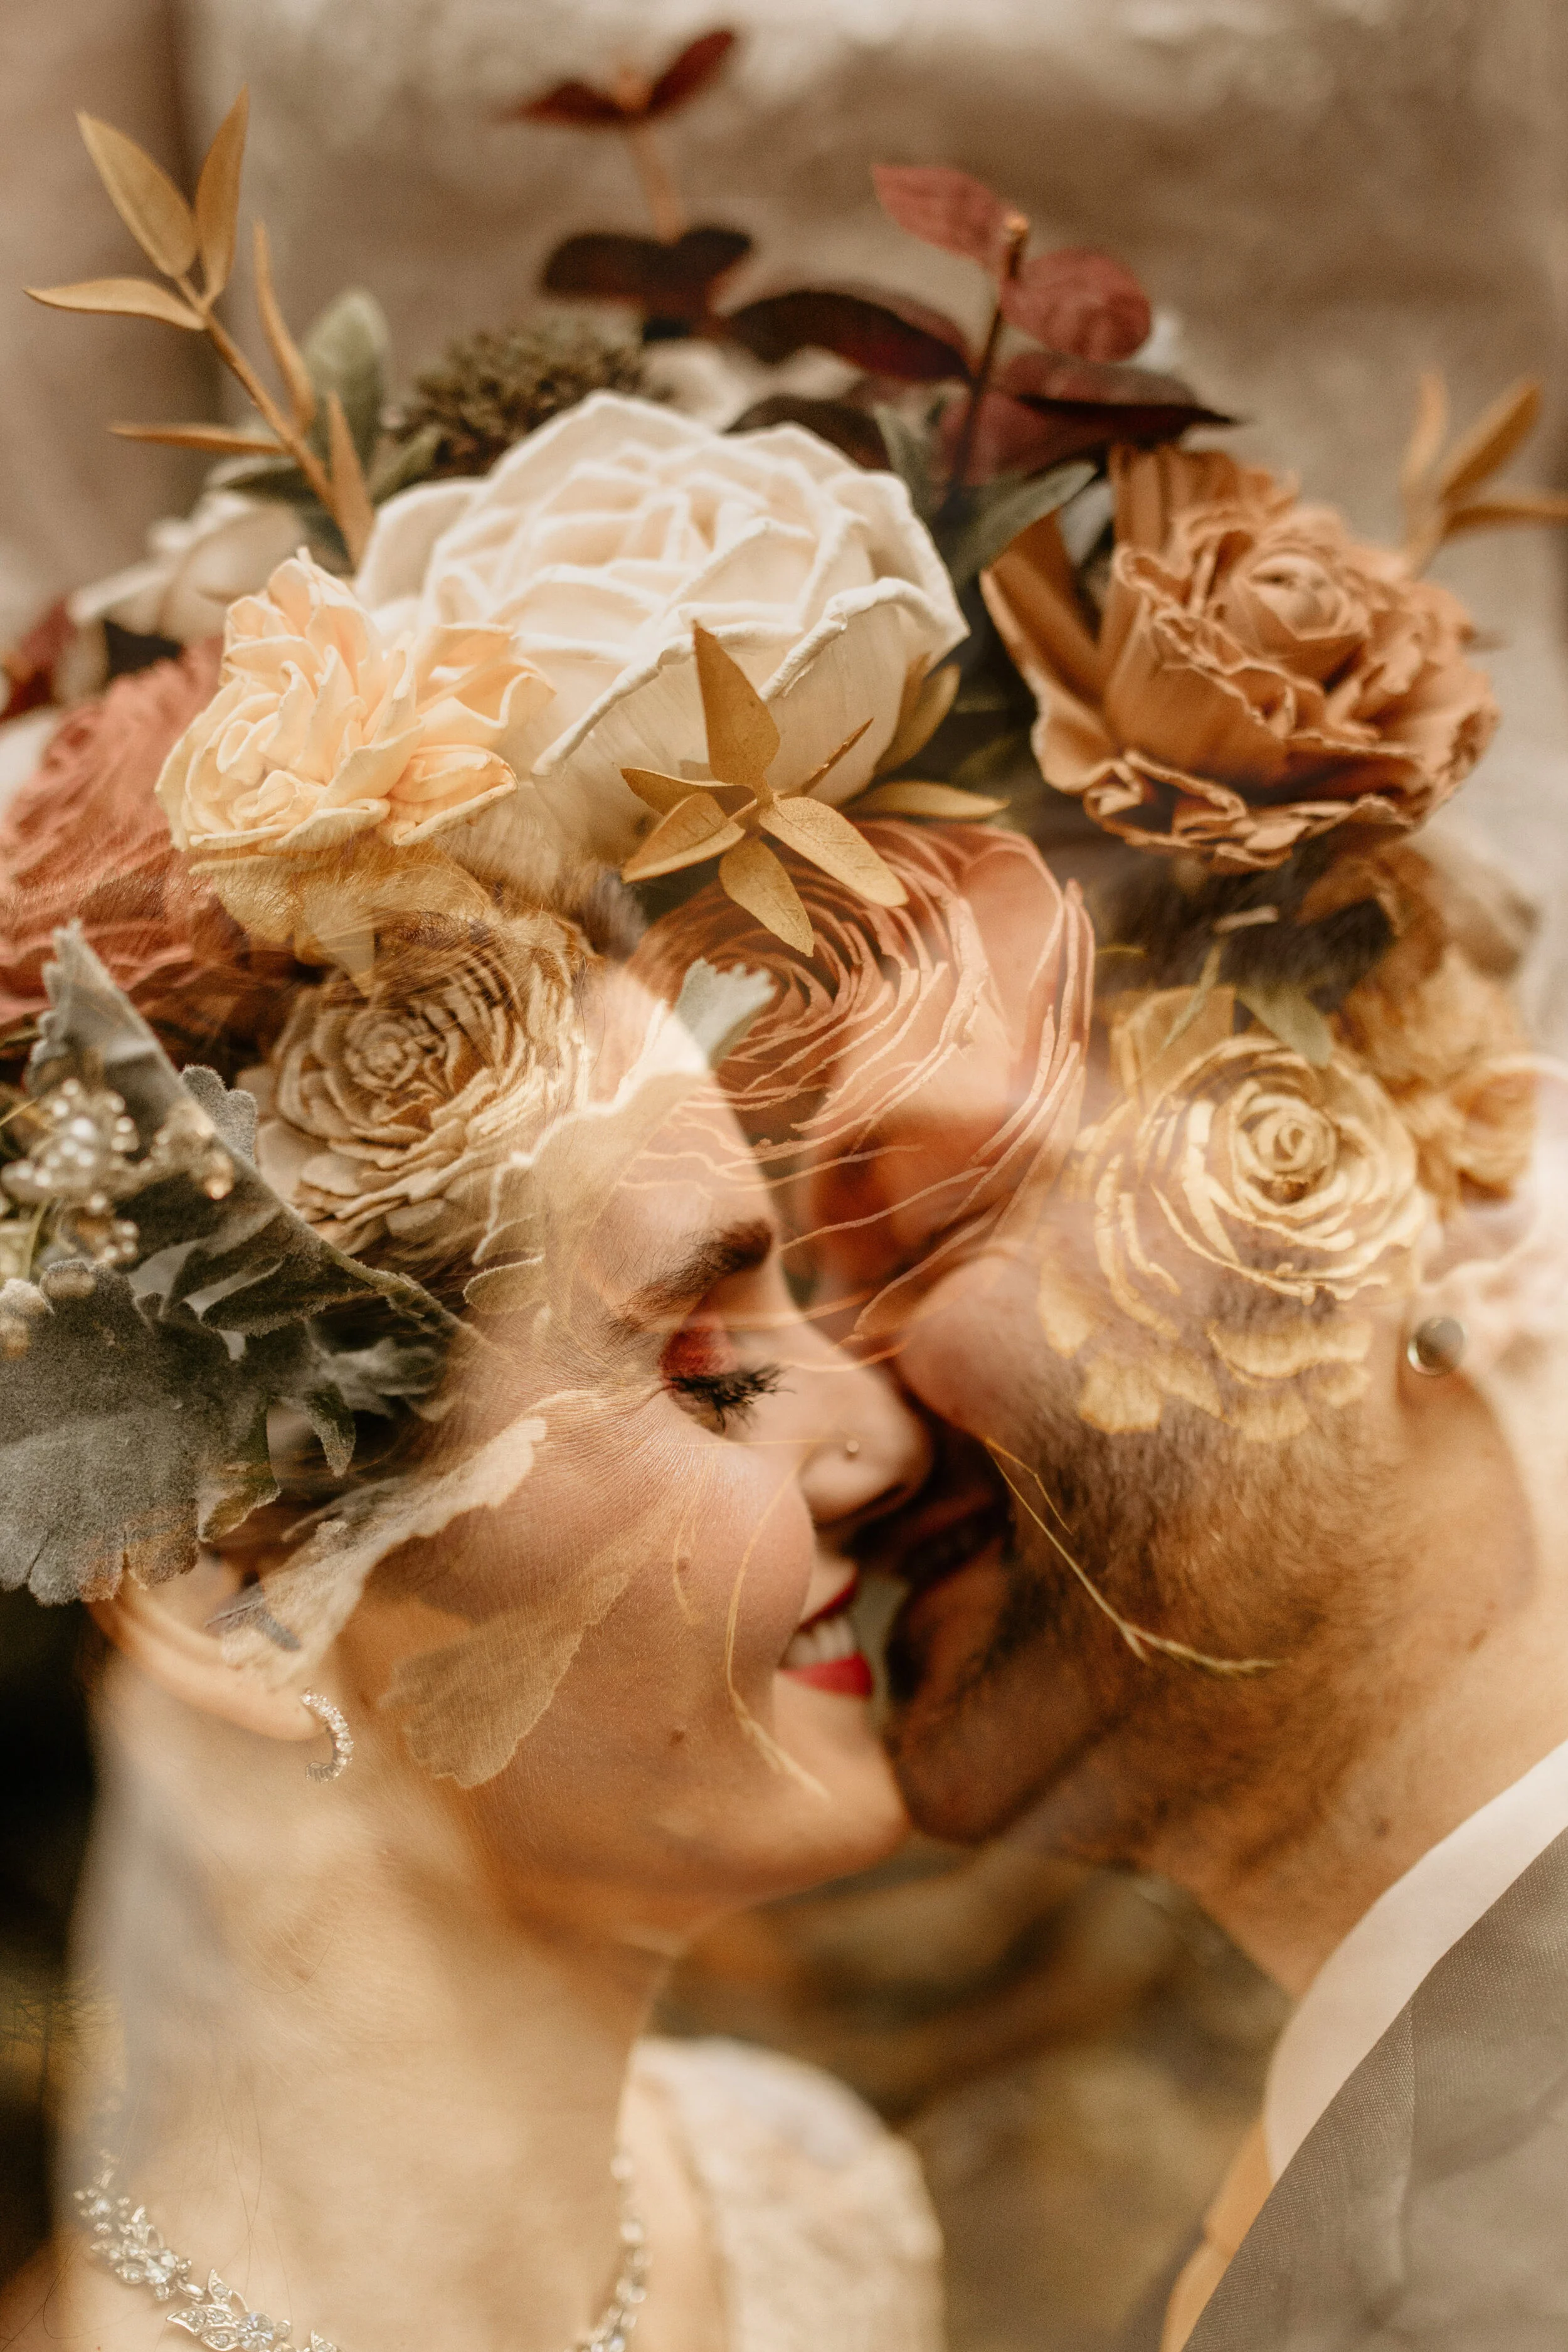
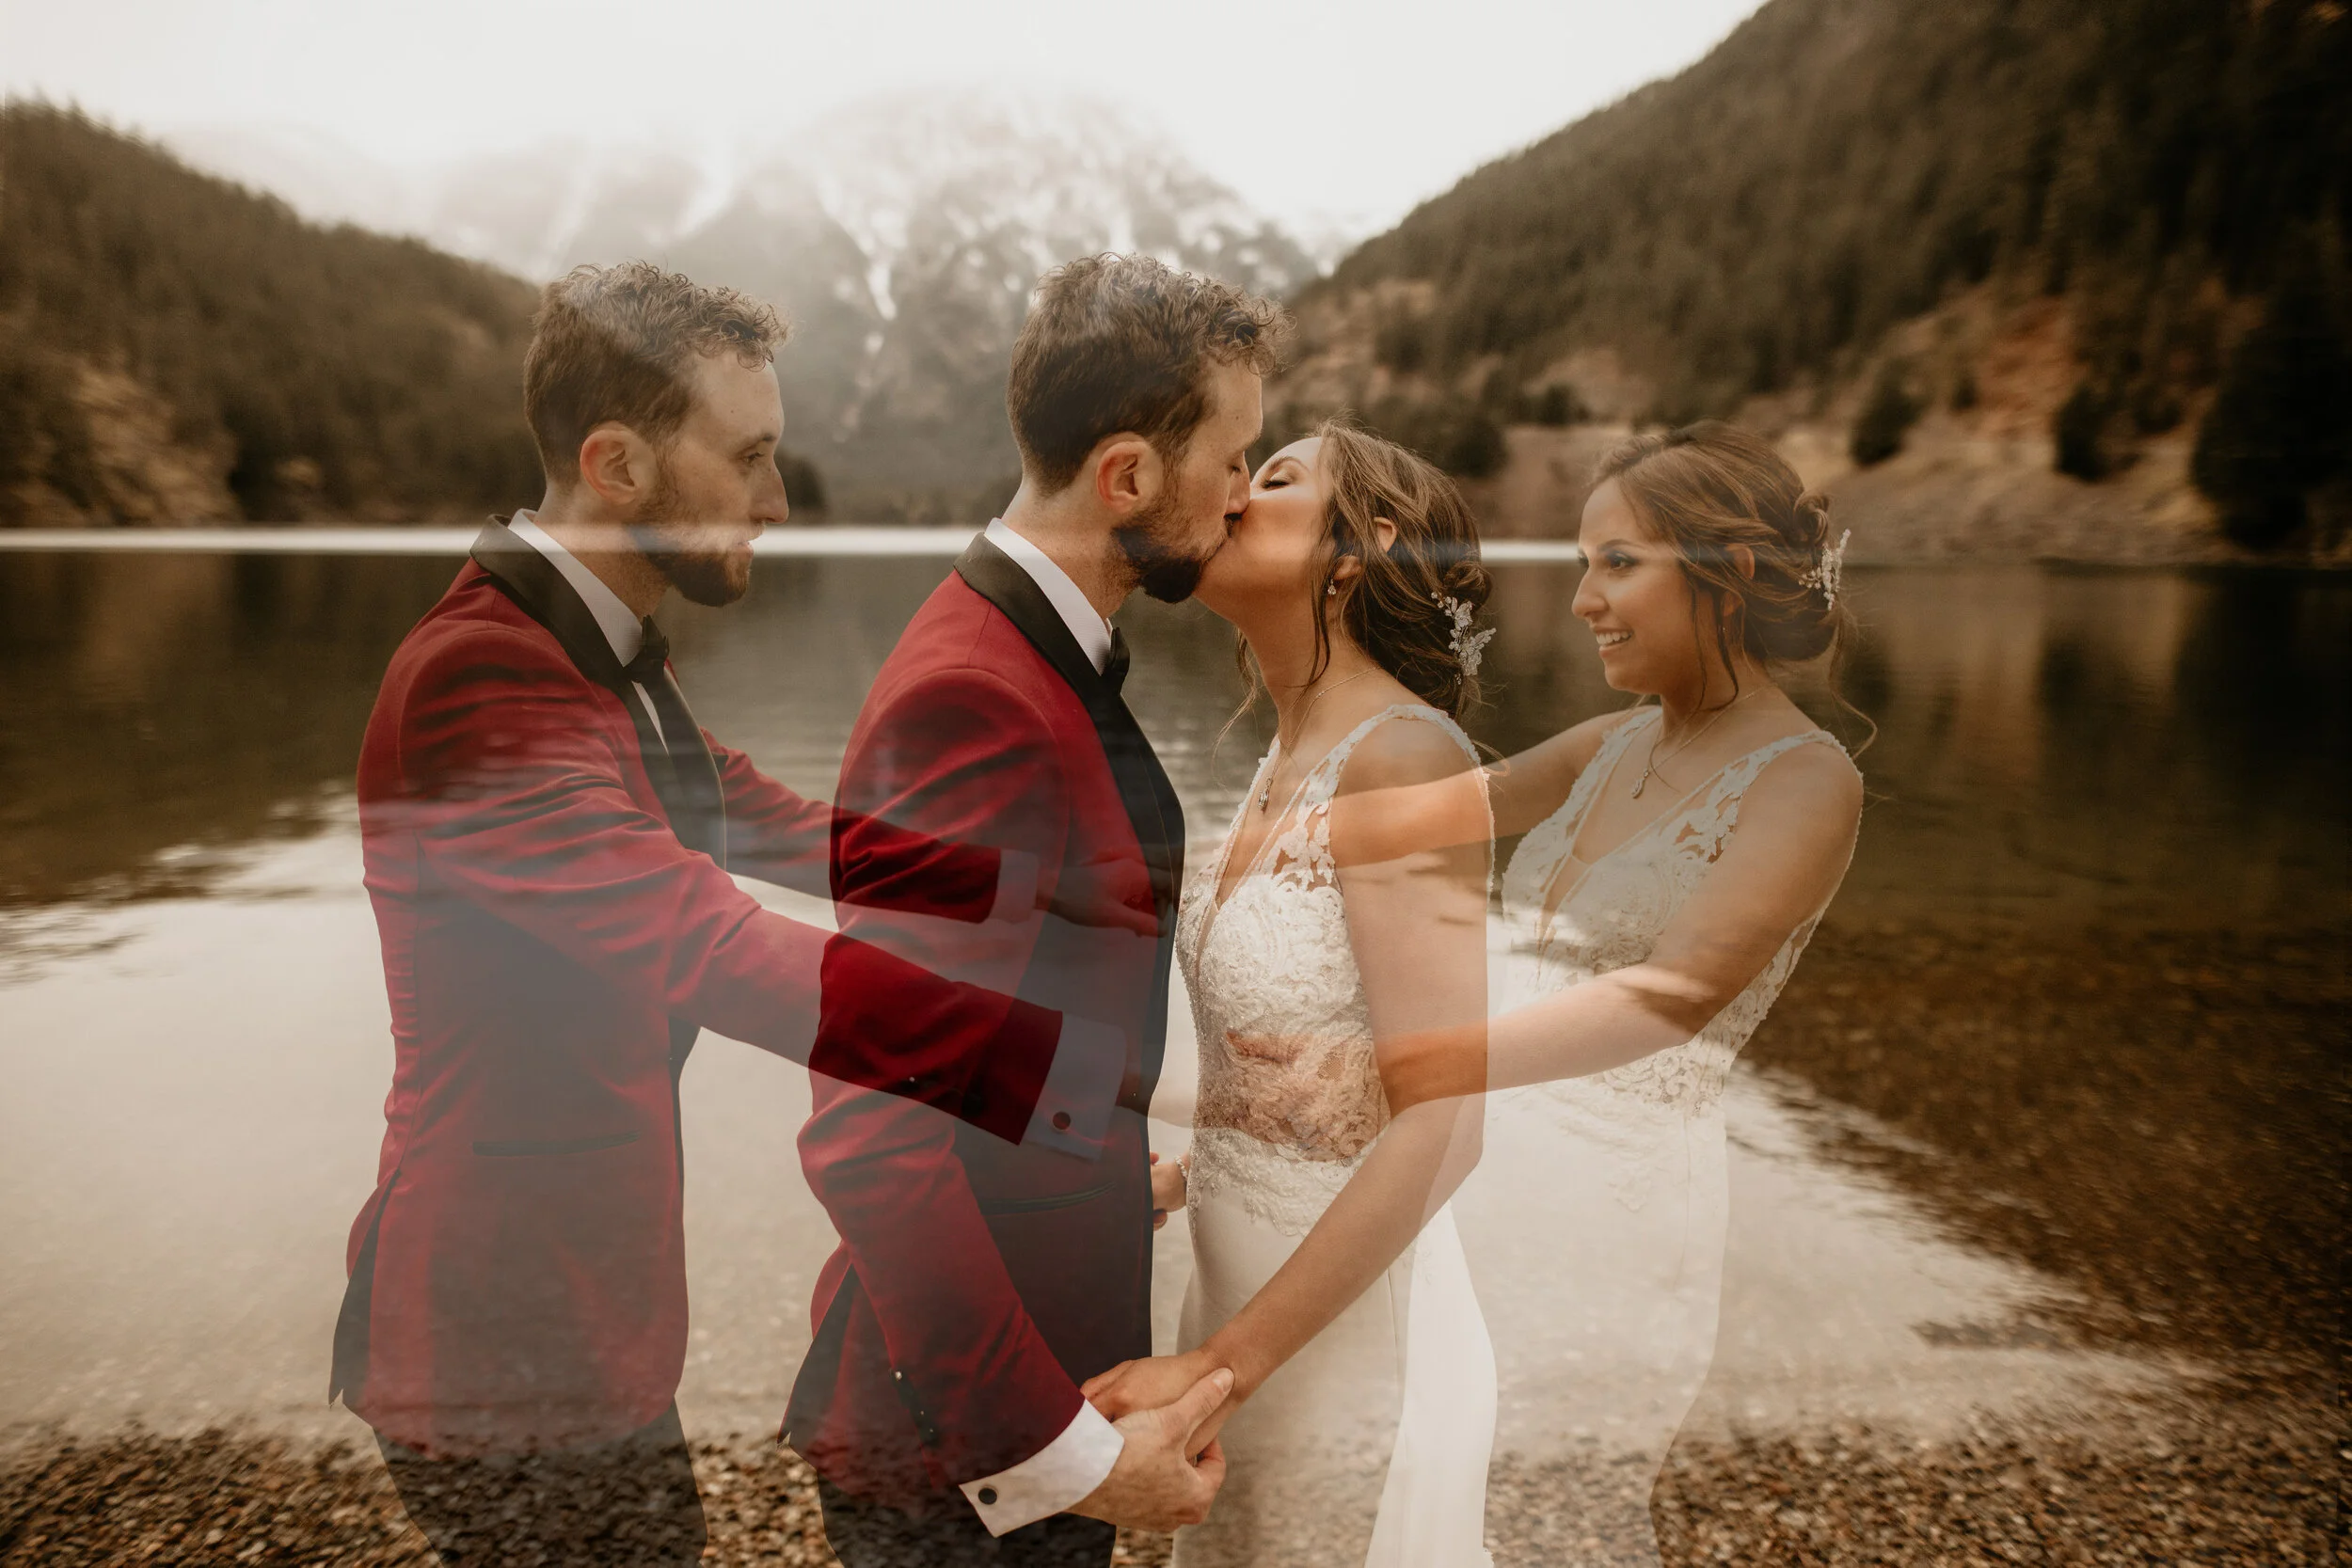
So one thing that I love making for my clients are double exposure photos. There are two types that I make: In-camera and the ones made in photoshop. The ones that I make while shooting take only a few minutes to take, and require little editing whereas the ones that I make in photoshop, I often prepare for while shooting, but then piece together in photoshop the same I saw it in my head. The ones that I’m going to talk about today are the ones that I create in Photoshop.
So most of the time, I’ll take a few photos of trees, bushes, flowers, whatever is around while on the shoot so I have some material to use for double exposures. It’s great, I’ll be like “hold on clients, you look gorgeous, but I’m just going to snag a shot of this nice looking grass real fast. Keep gazing into each other’s eyes though don’t stop that!”
You don’t always have to prepare. If you were shooting in a hurry and didn’t have a chance to grab some random shots of trees, you can always use a photo that you shot before (duh, most obvious tip ever, but I don’t always remember to do this!) or you can piece together multiple photos of the couple you were shooting. Nature doesn’t always have to be involved lol.
Next, I want you to grab a glass of wine. Maybe a nice chardonnay or a Pinot Grigio, maybe a rose if you’re feeling summer-y. Idk, you do you. The important thing is wine. Drink some while scrolling through instagram. Feeling the buzz yet? no? Damn your tolerance is way higher than mine. Maybe don’t eat food before next time! K, I’ll wait. Ya ready yet? good.
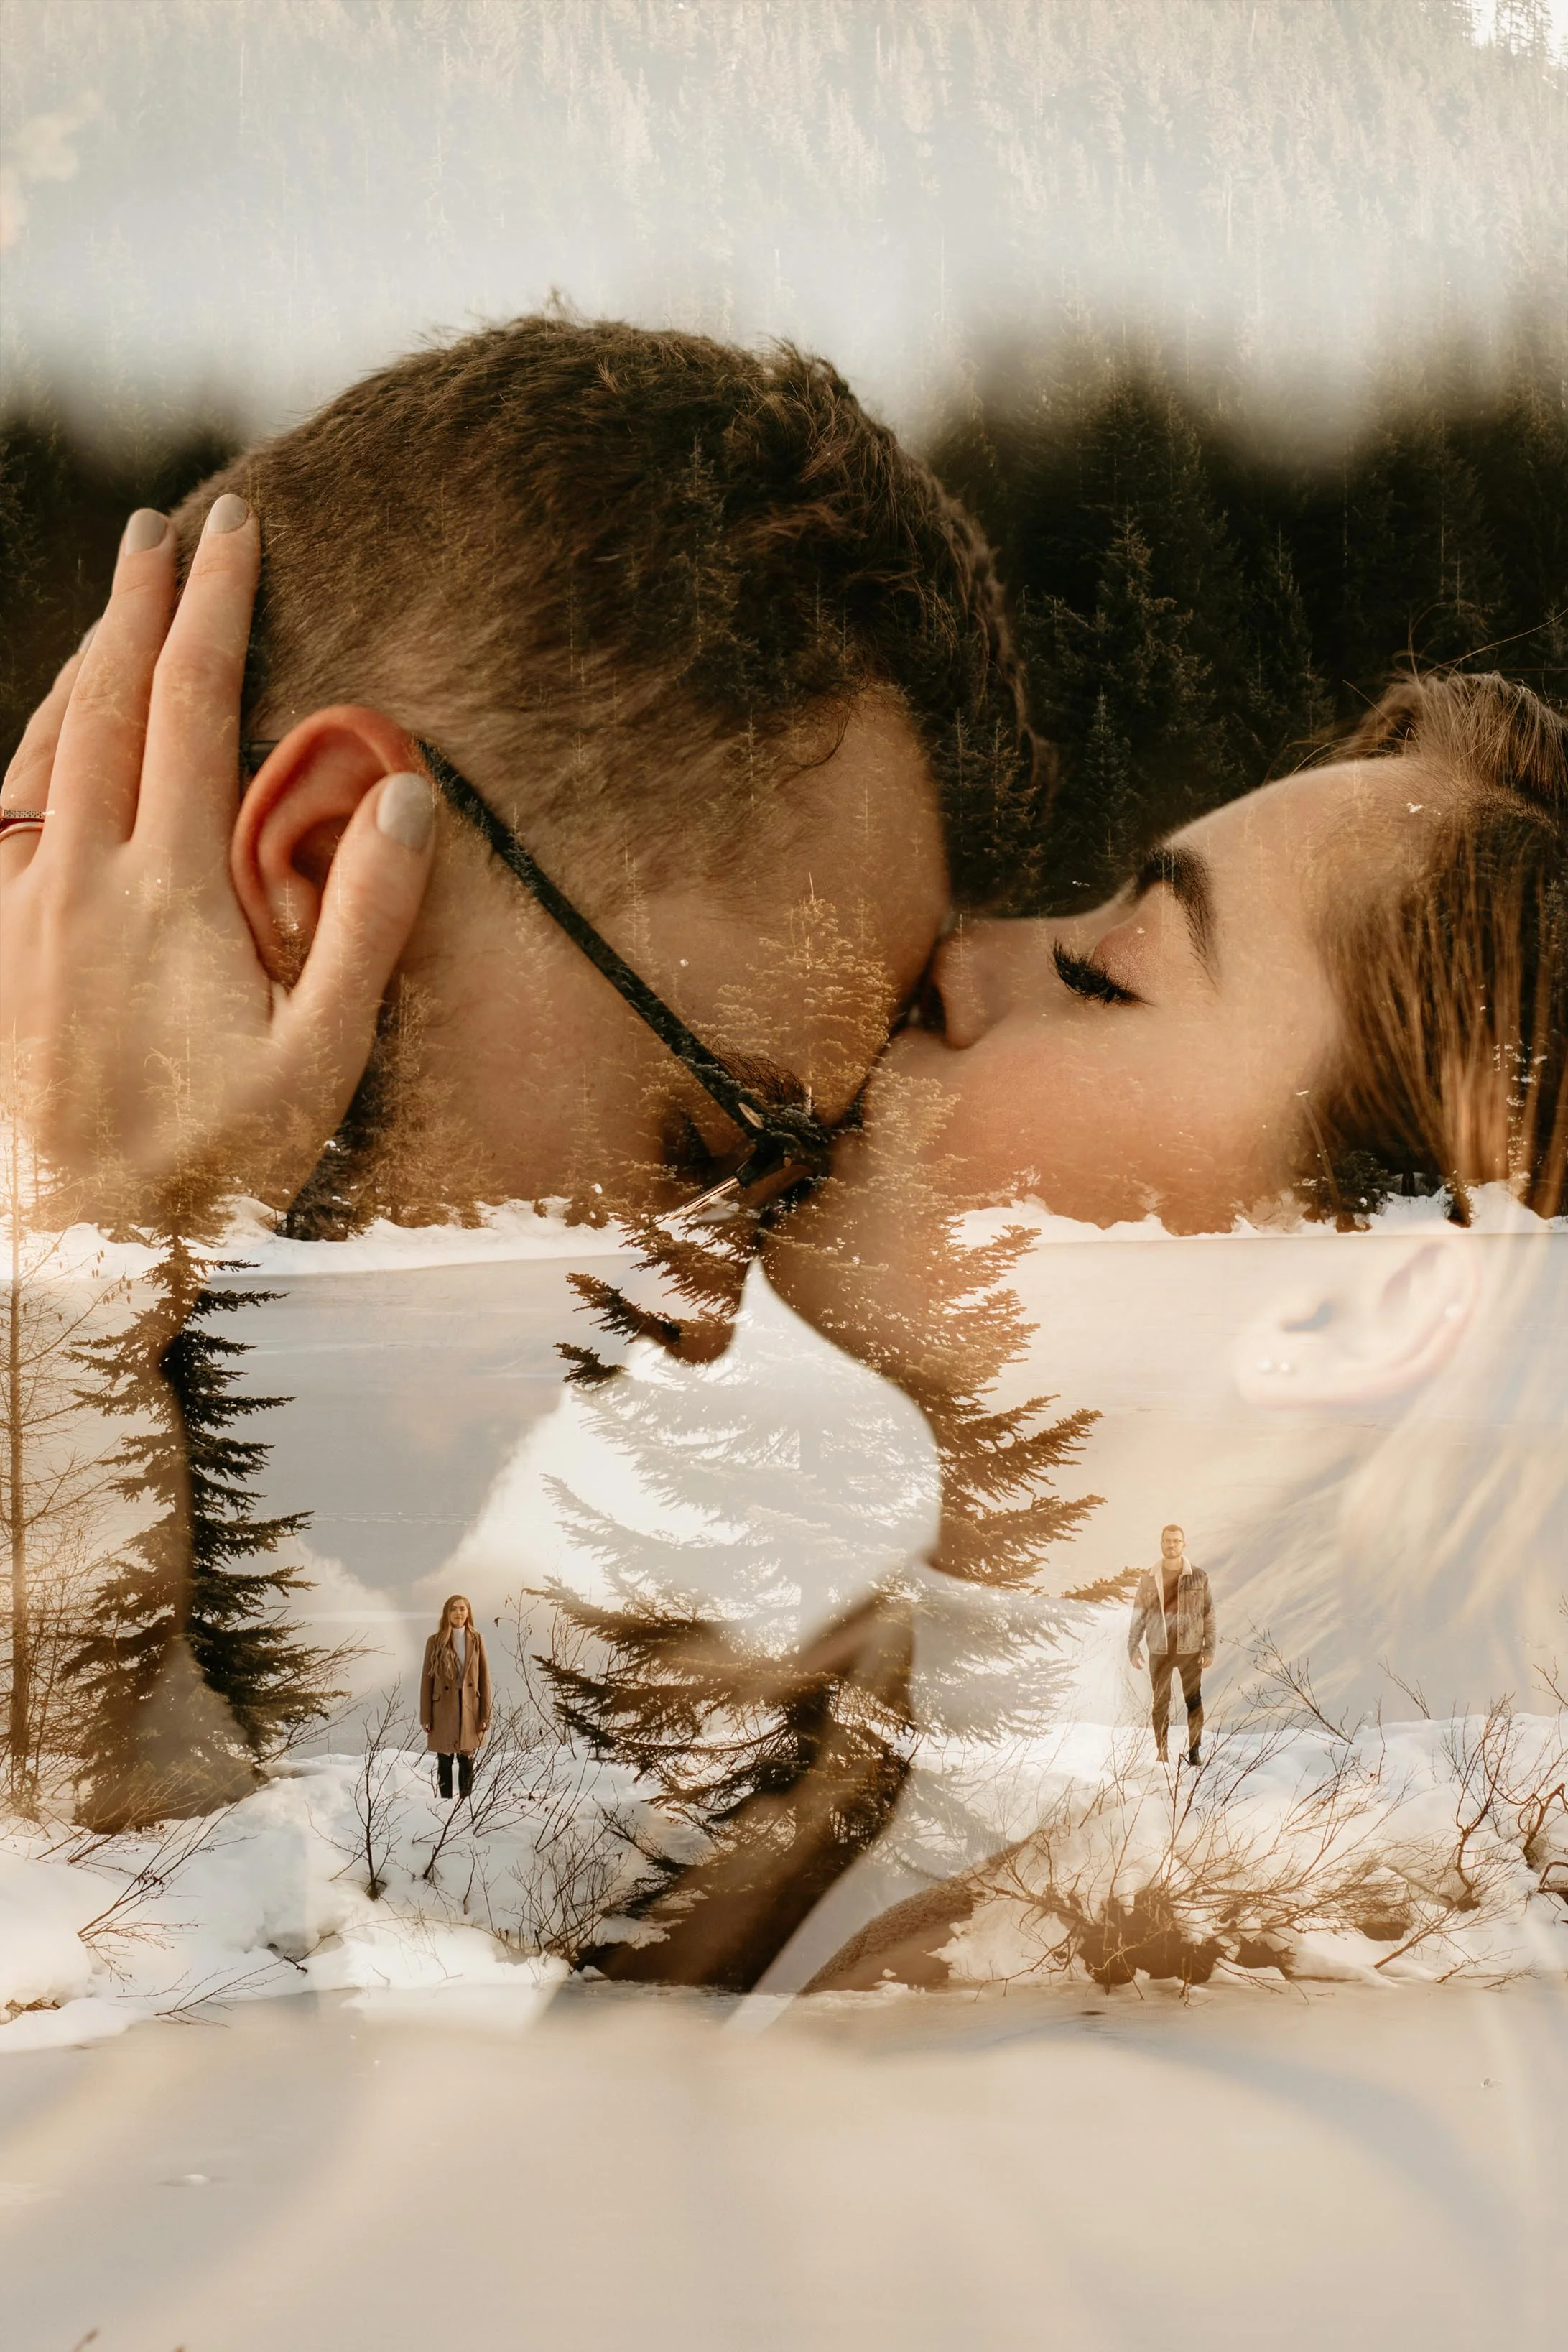
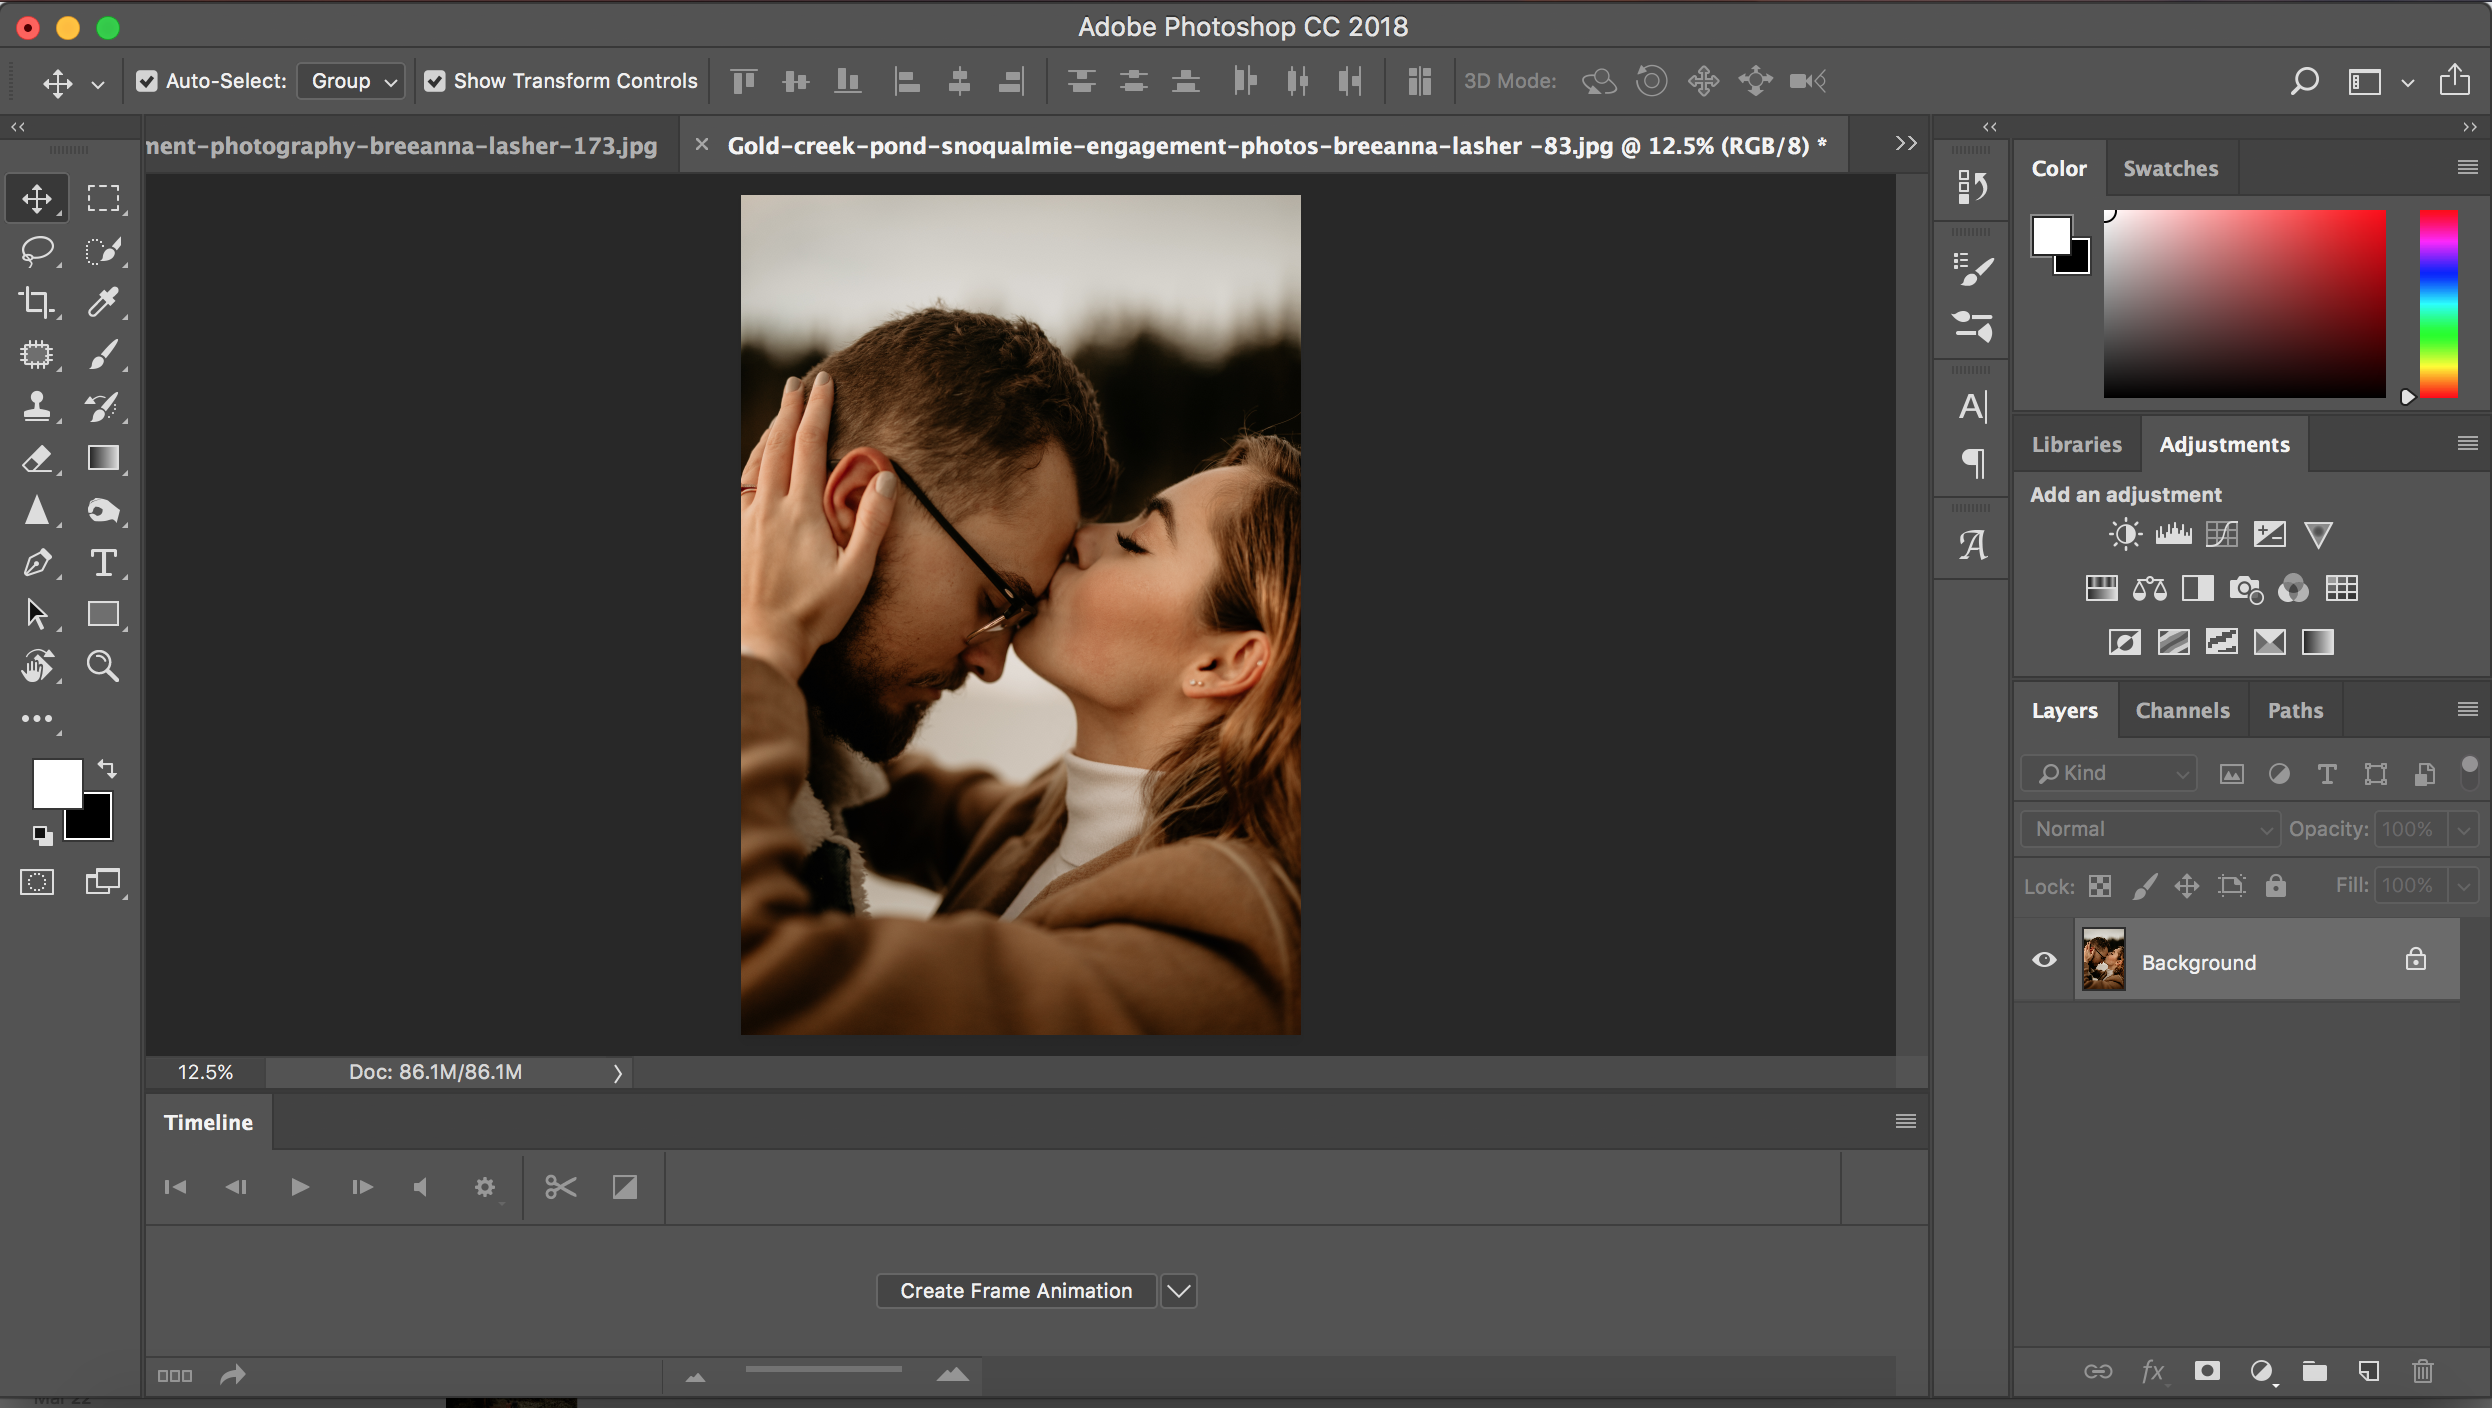
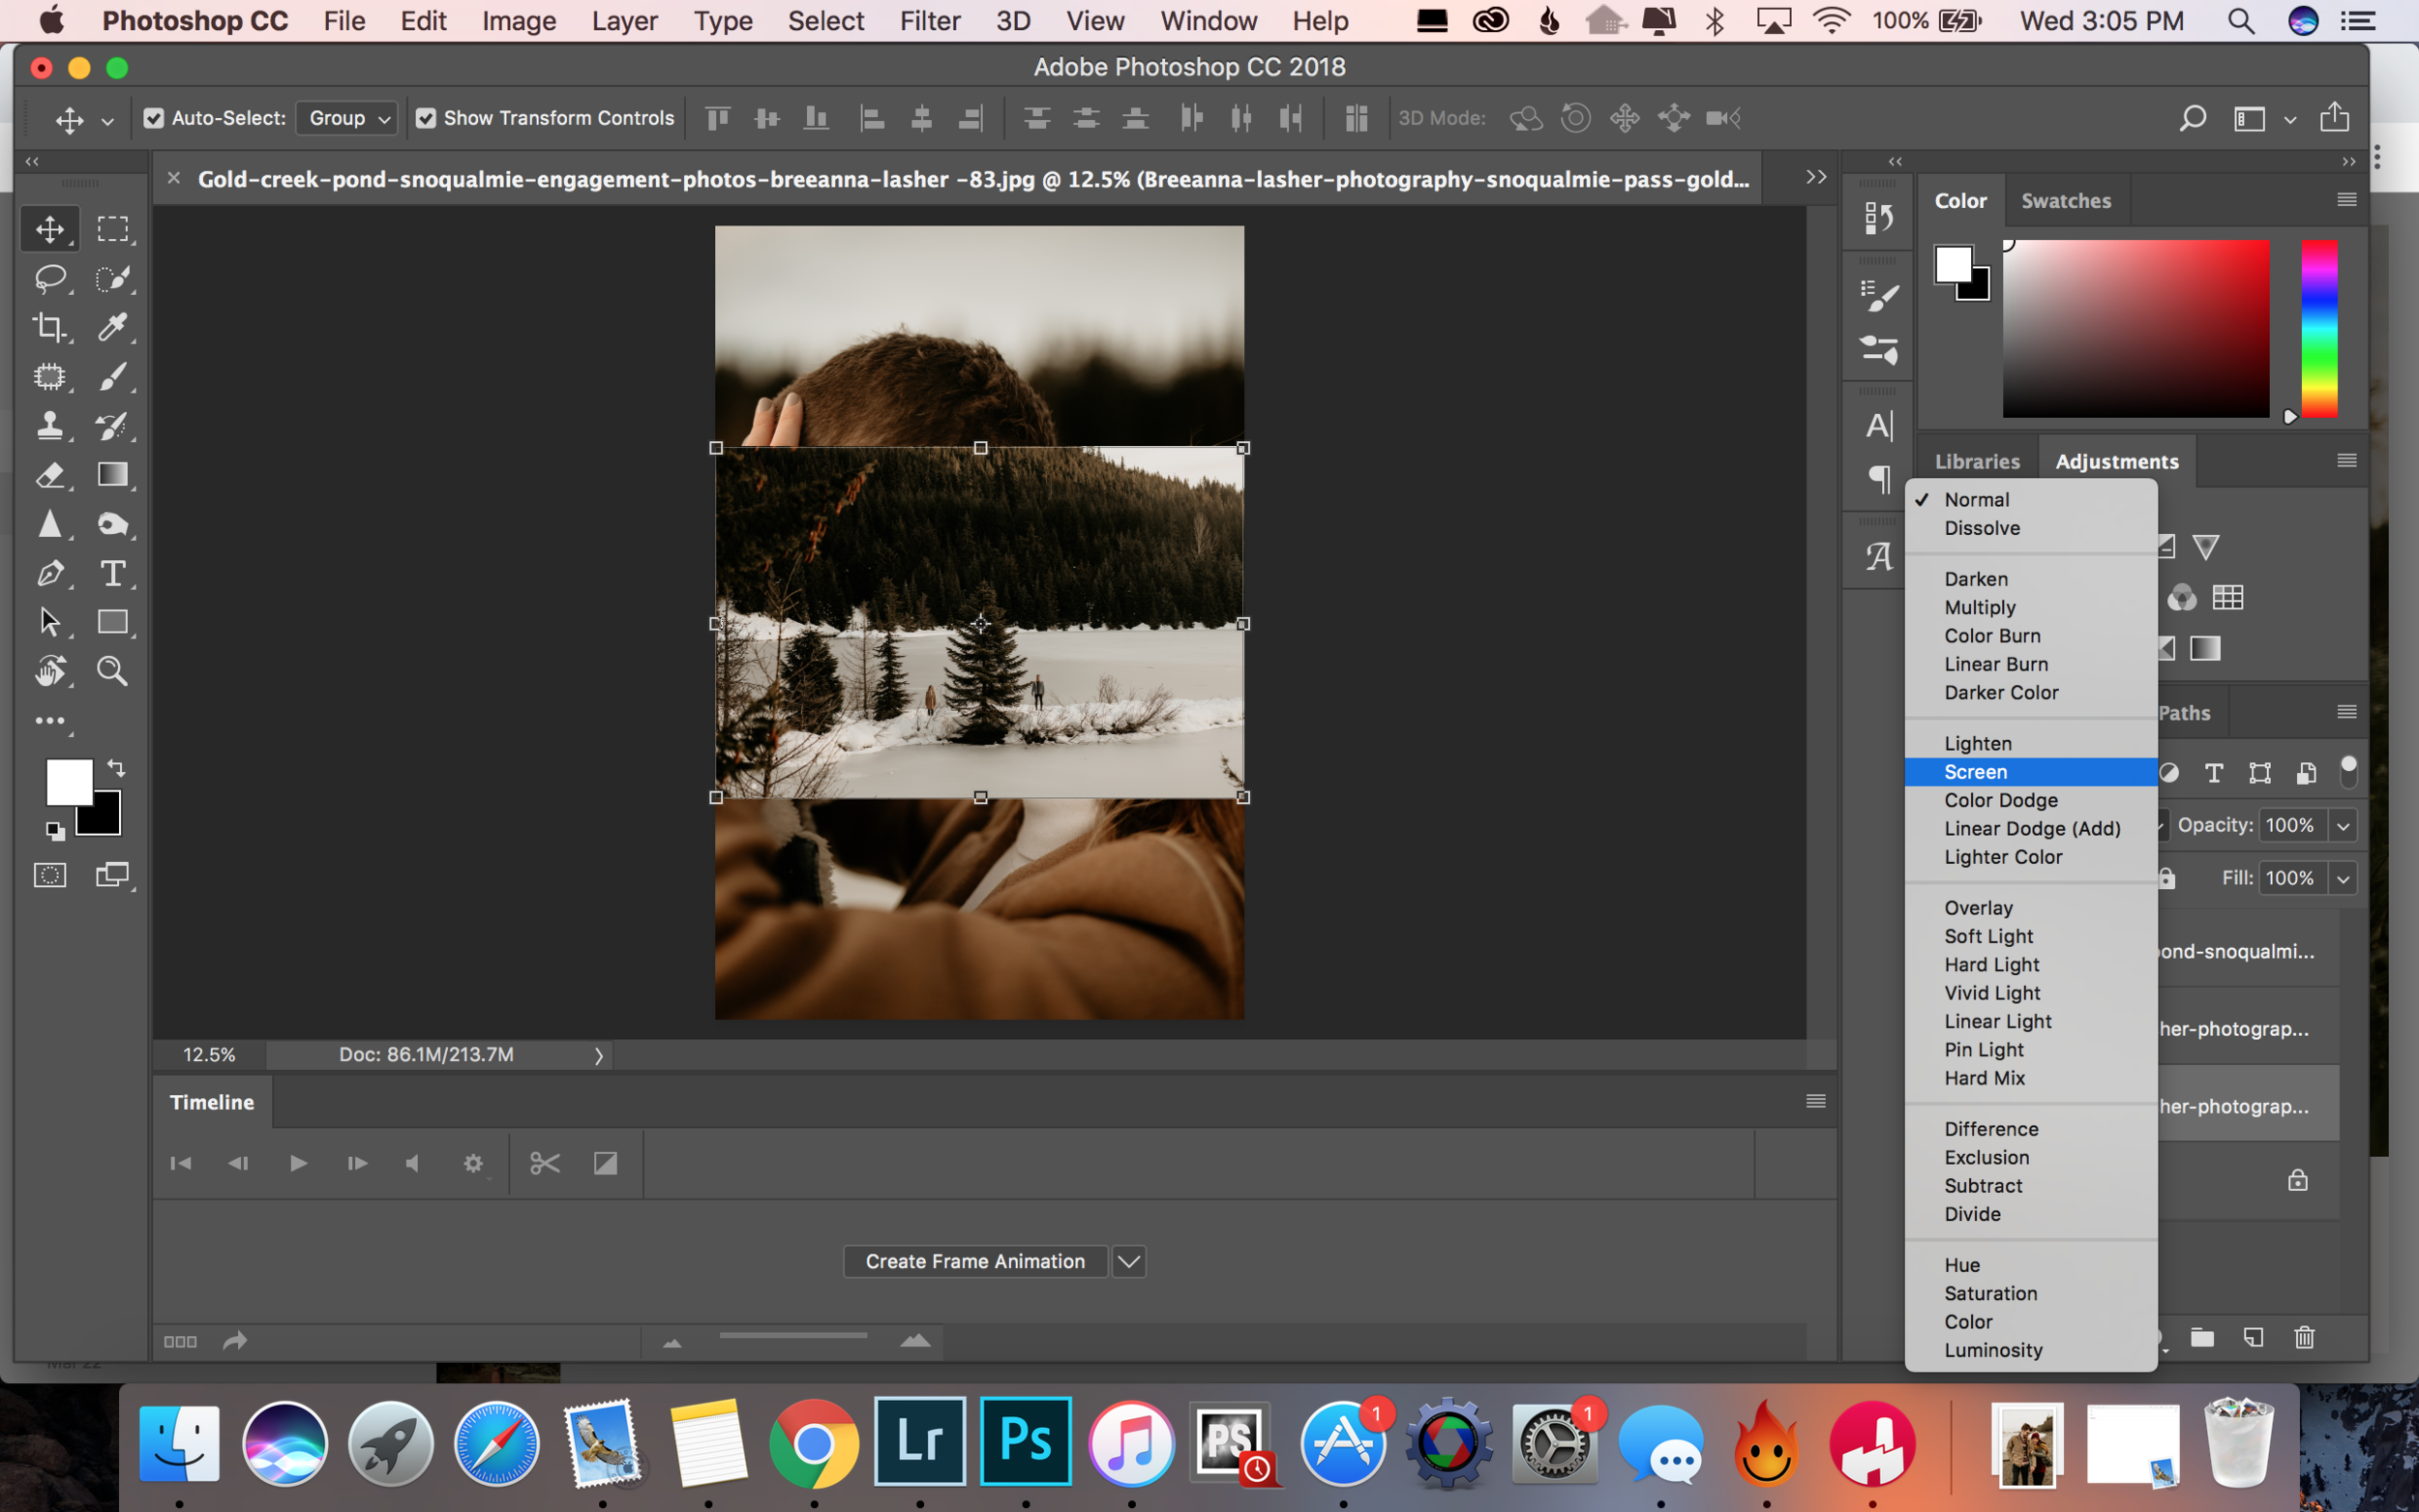
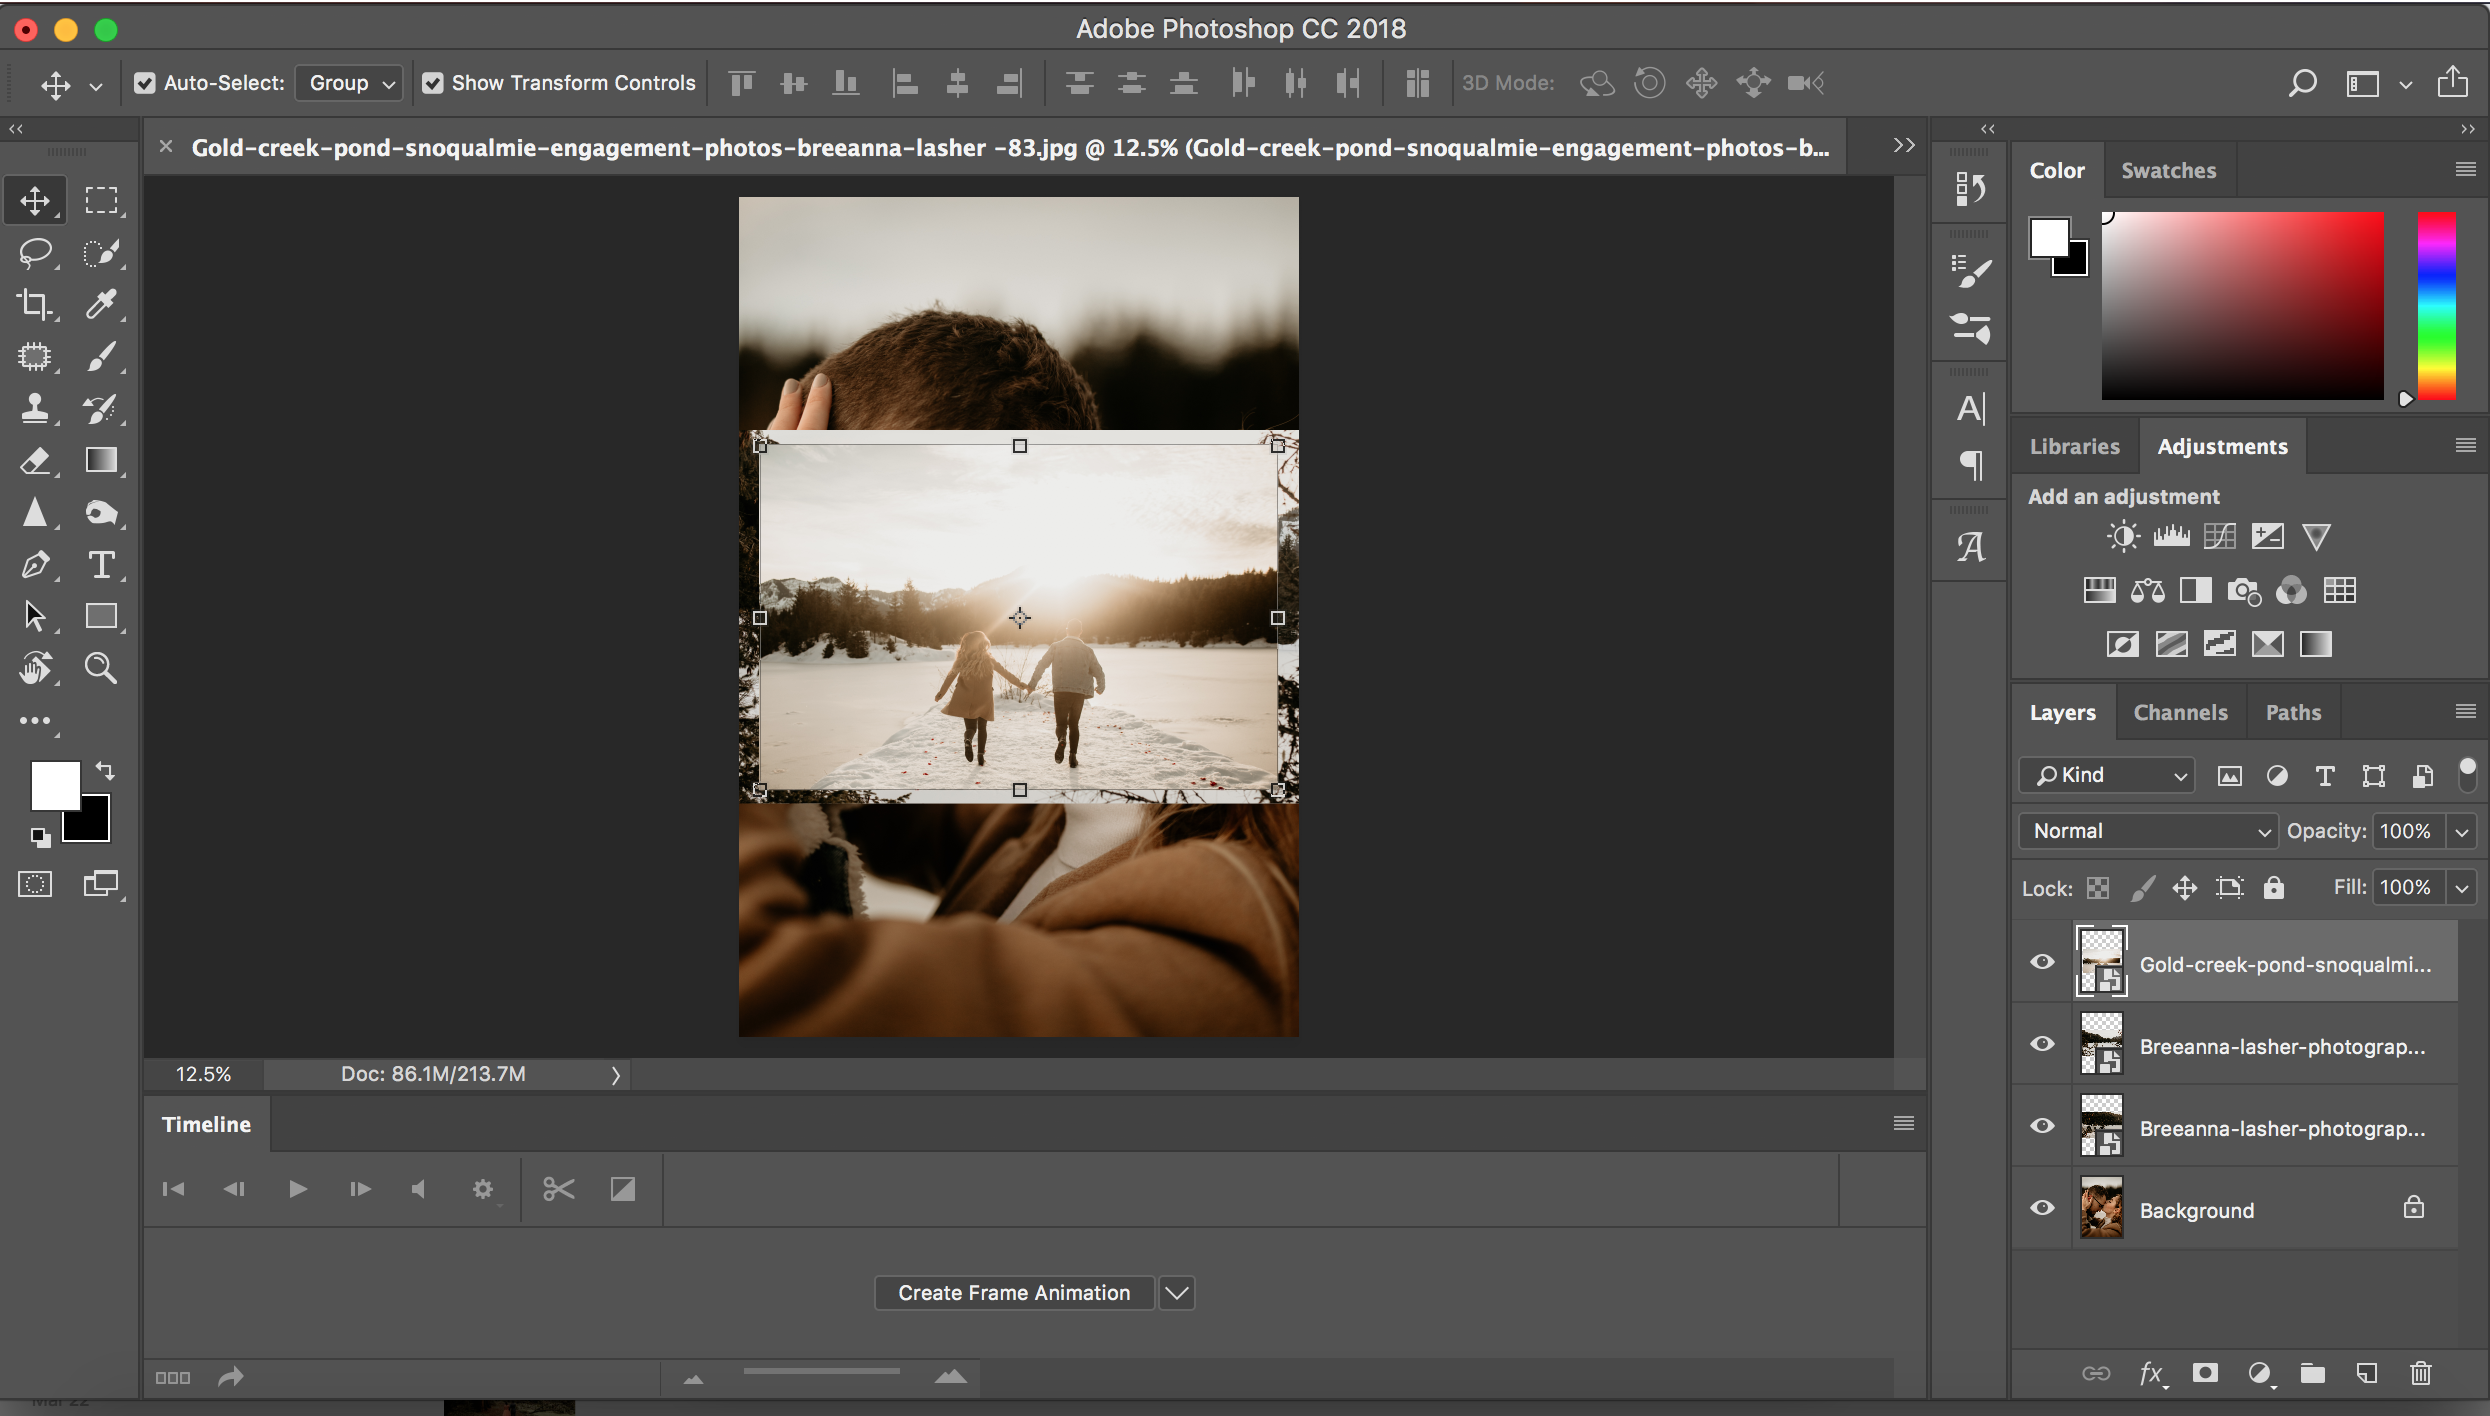
Go ahead and open photoshop on up. There ya go. And pull in your base image. I usually start off with a profile kissing shot. That seems basic, but she always works pretty well and I don’t like disappointment. Or hard things. (That’s what she said) Am I already drunk? TBD. So pull that on in there. THEN, I usually just start pulling a bunch of different photos in on top of that photo and unselecting them. I put them all in Screen mode (On the right, in the “Layers'“ tab, click the “Normal” select option and change it to screen. Or sometimes I select “Lighten” just to shake shit up. There we go. Now I test all of the photos that I pulled in to see if any of them look good right off the bat. Sometimes you get lucky. Other times its a lot harder and I end up a lot drunker.
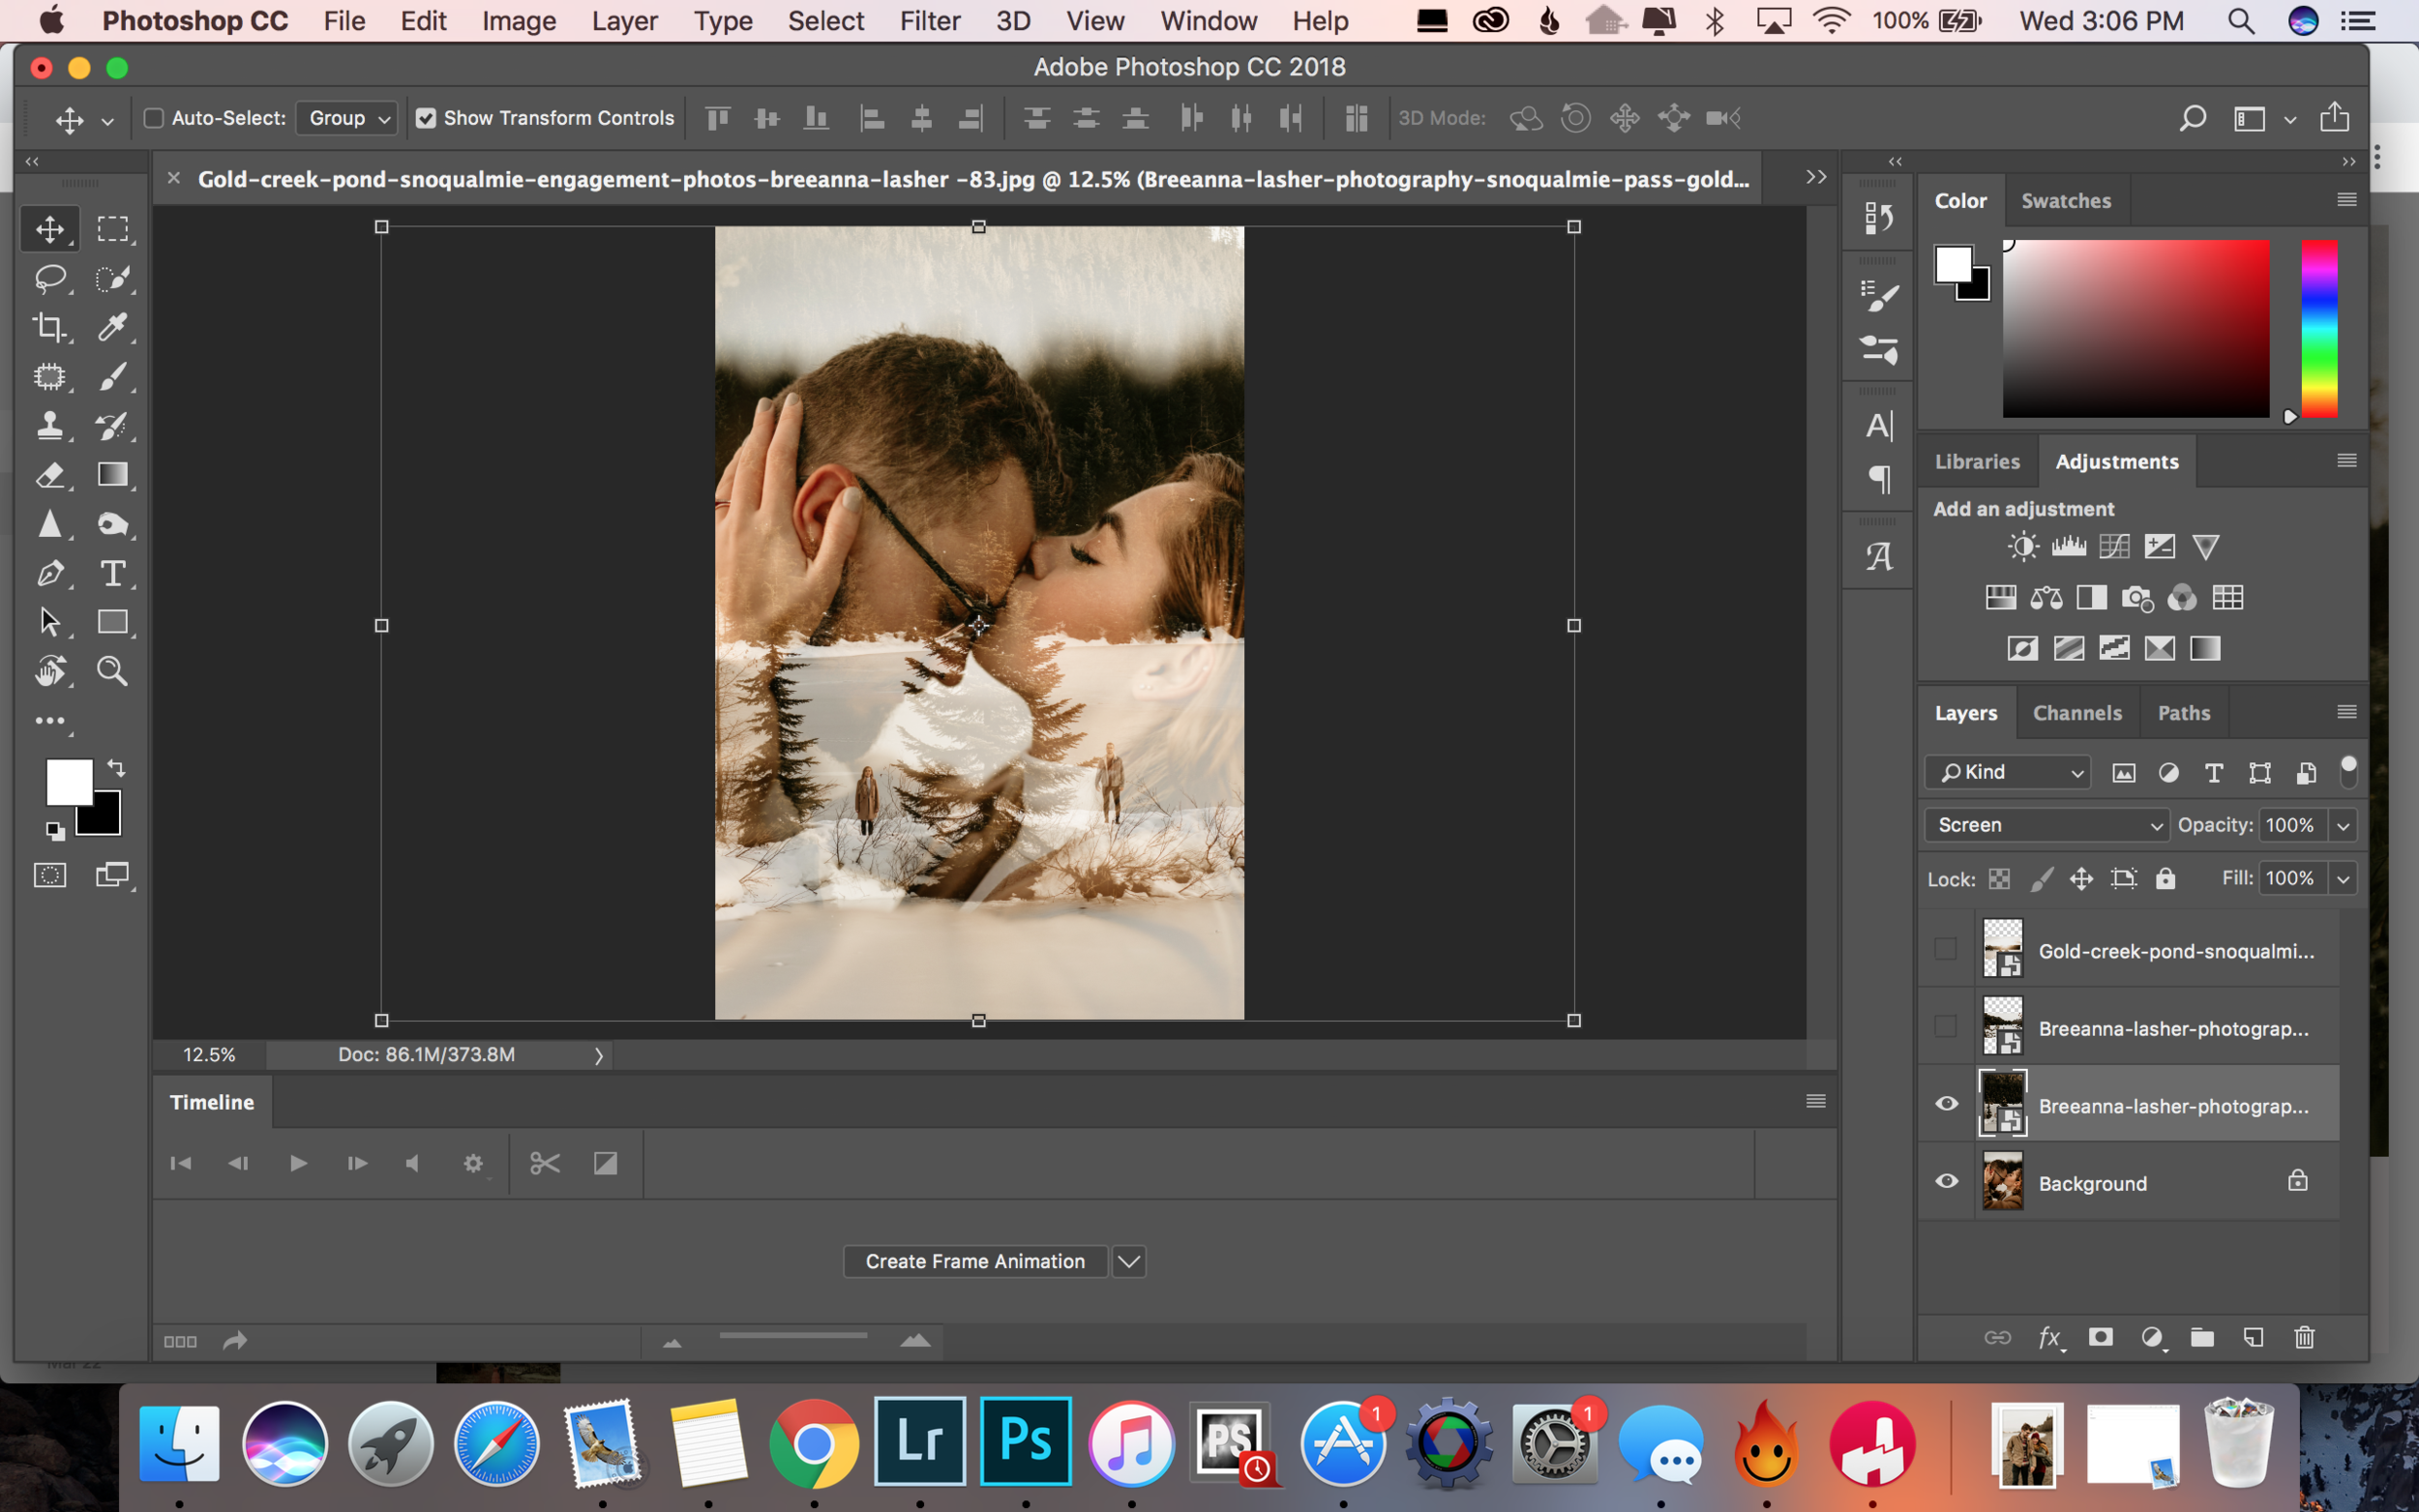
So that’s exactly what I did here, just throw a bunch of shots (usually wide angles, with the couple separated slightly) in screen mode and check out how they look. I just de-selected them all and started with the last one, and fuck, that one looks pretty good. Okay, shit. We’re done. Moving on, I guess.
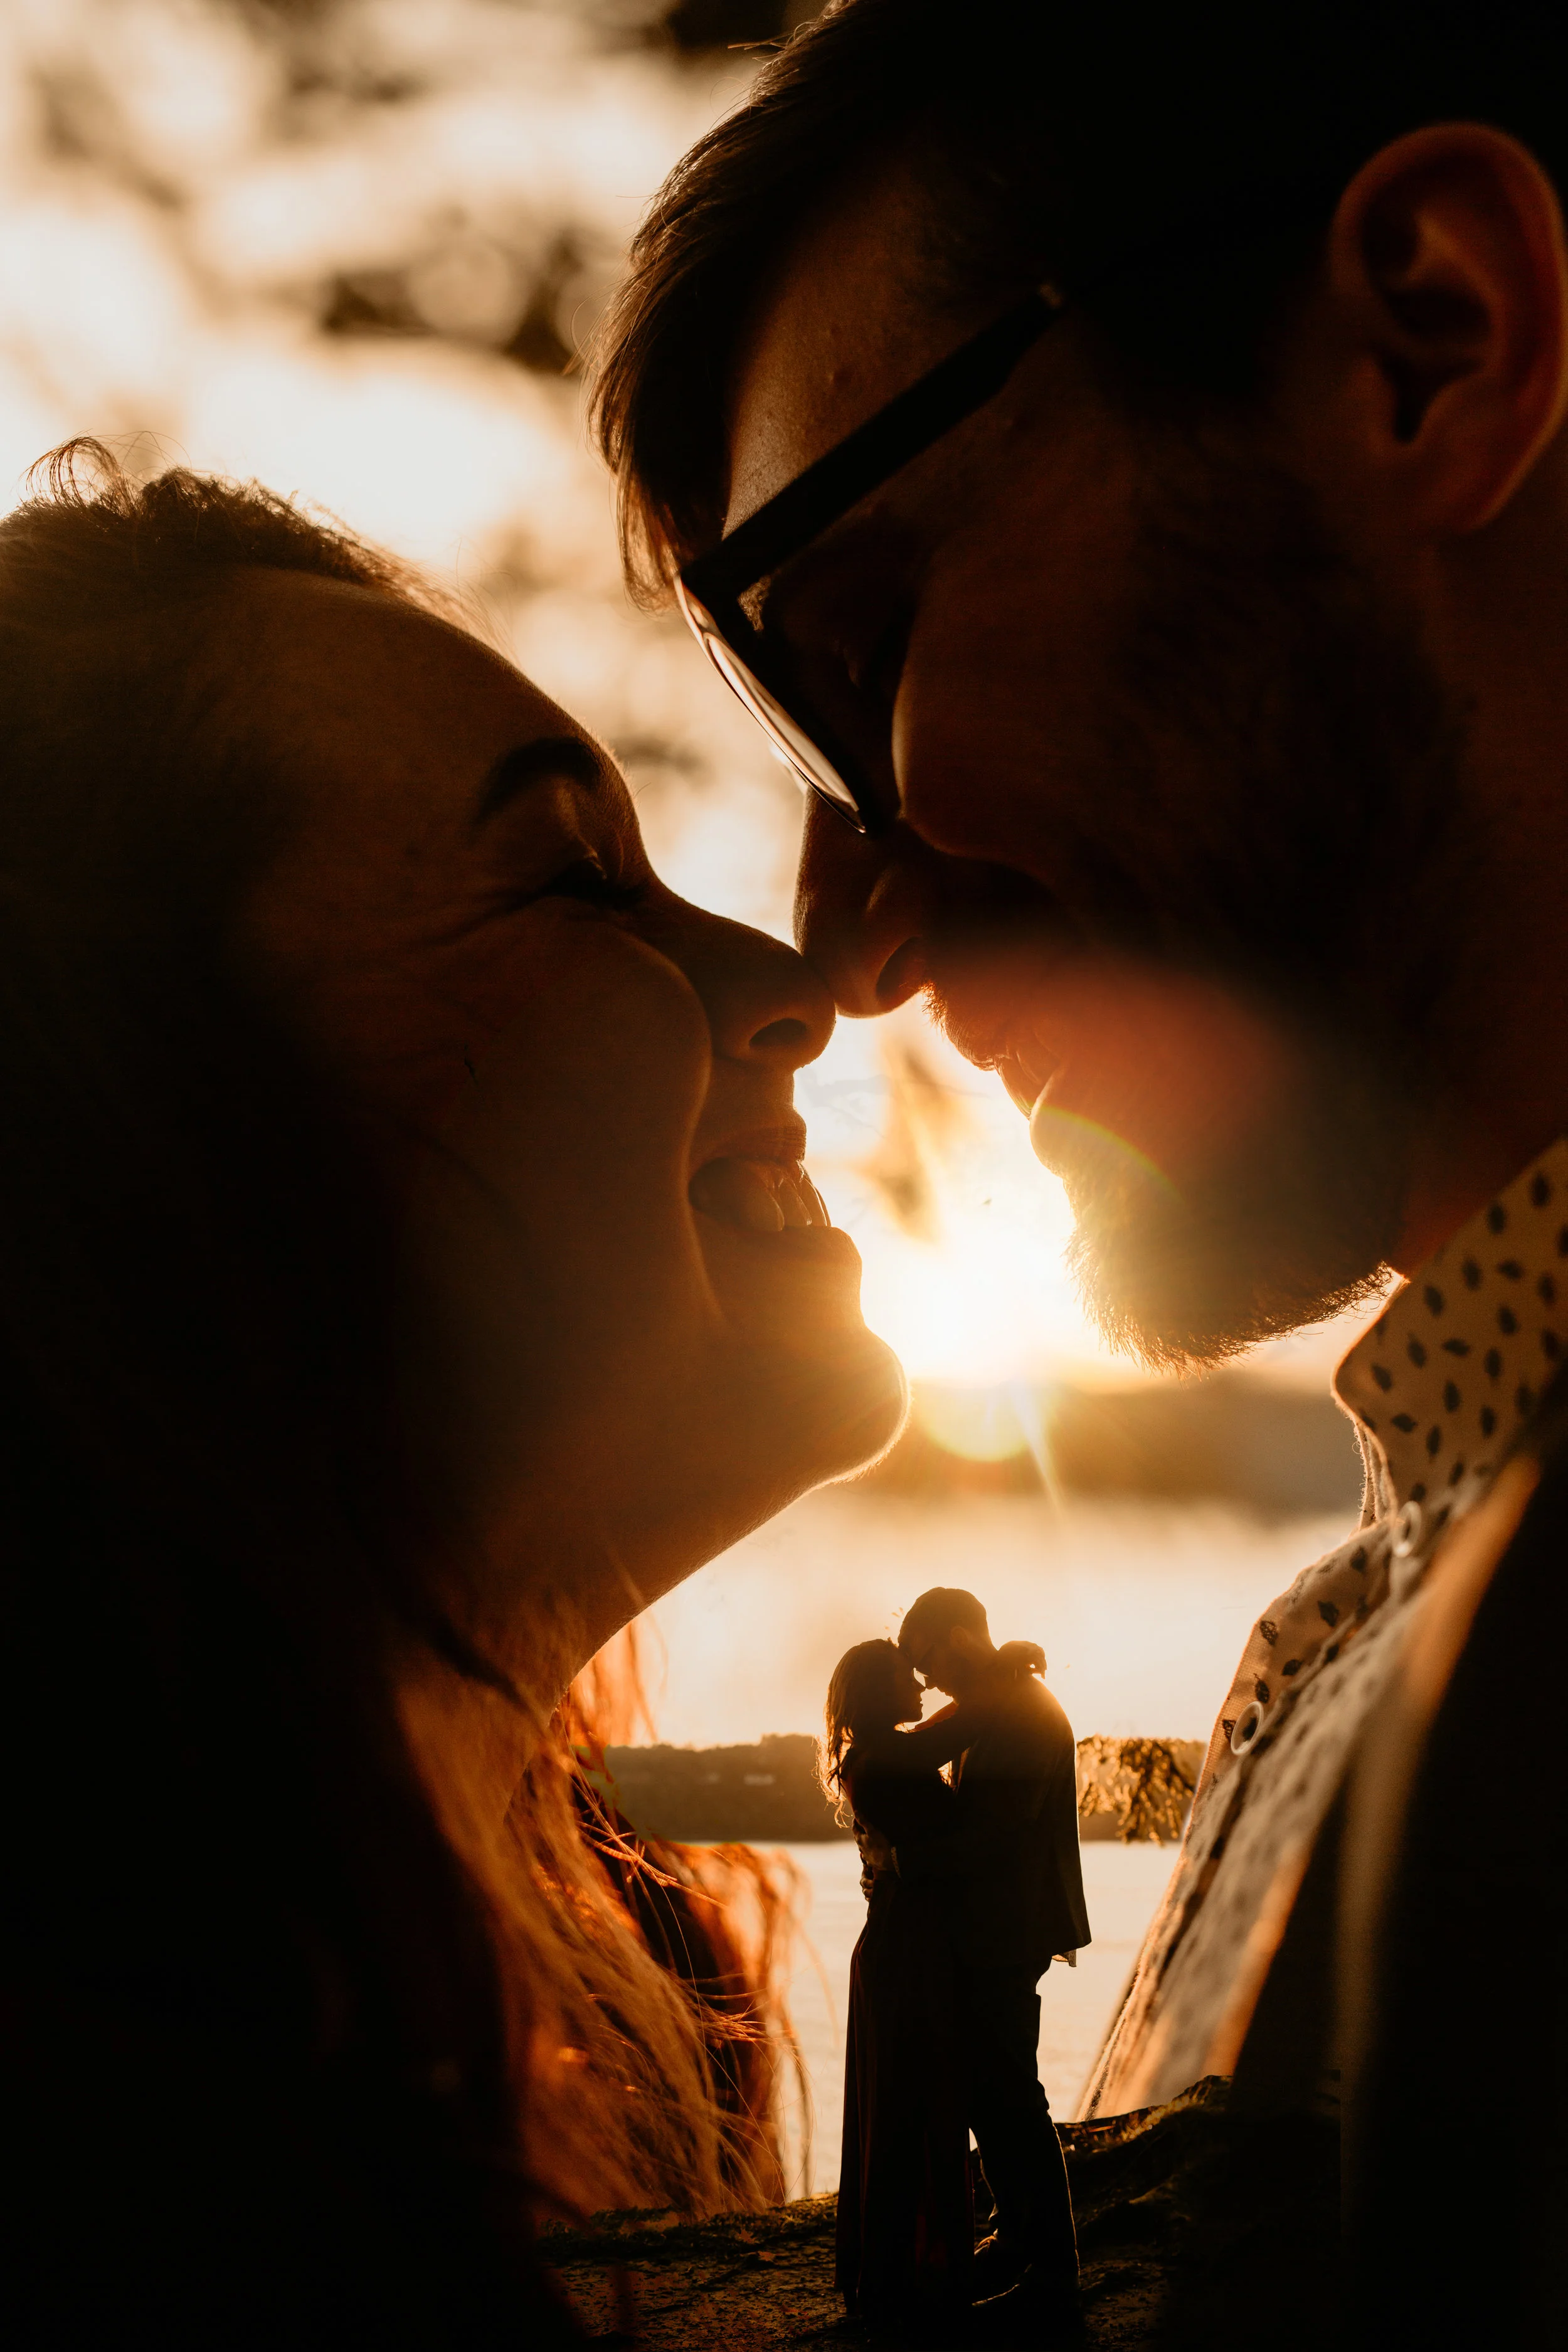
For some reason, I like that basic-bitch white background thing for a lot of my double exposures, and so a really backlit image usually works best. I try to just put them against the sky so there’s no annoying trees to edit out. Sometimes ya gotta just use the quick select tool and select the humans outlines and then press command J to make it a new layer. Then I click the bottom layer and press Command + Shift + Delete to make that layer white. Or black. Whatever the hell you want. Go nuts.
Now you gotta do the adjustments that will take the picture from “that looks kinda cool” to “Wow, that’s a sick double exposure!” So break out the erase tool and erase your top layer, justttttt a little bit on your couples eyes. Then grab the brush took and make it black and use that on the bottom layer anywhere that you want the top layer to show up better on.
Sometimes you can get these photos that just work really well together without much work. That’s dope. Those kind of photos are my shit. Finding those photos is the entire thing, and they don’t require much editing. Just throw one of them into screen mode and see if you can make them look good. Don’t break your back trying. Some photos just aren’t meant to be together….Divorce them and move along. Flowers are always pretty easy and a pretty safe bet. Everyone loves flowers.
This kind of thing is a little trippy and cool. Just take two photos. I usually (By this I mean always. Because I am actually not creative and just do the same thing all the time lol) use two photos from the same kiss. I usually (always) cue for this by telling my couples to step out and smile at each other and then step in and kiss. I keep the camera exactly the same for both photos without moving it. Then in photoshop I throw the “step away” photo on top of the other one and then turn the opacity down until it looks cool. That’s it.
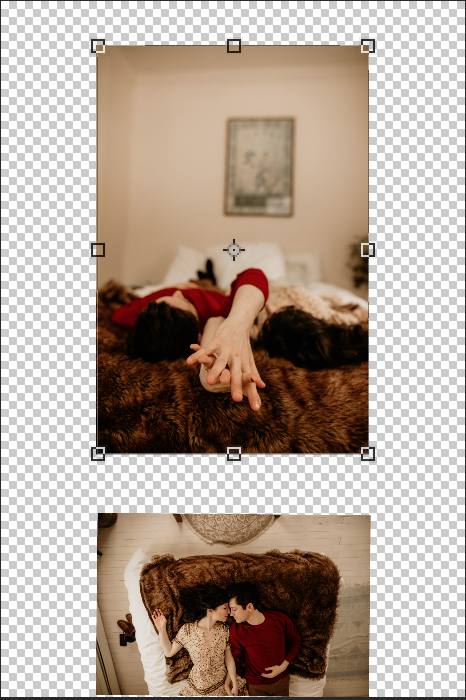
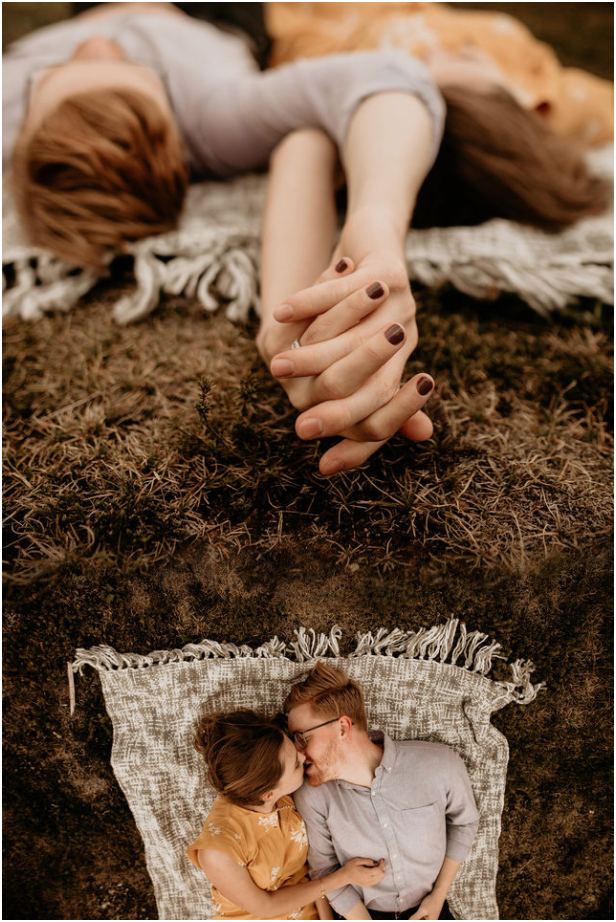
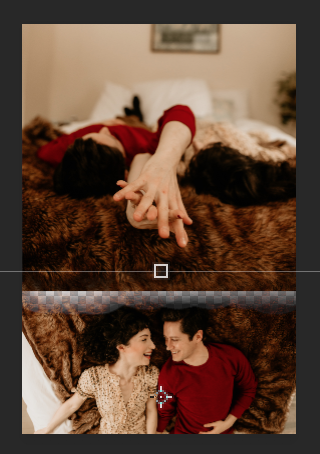
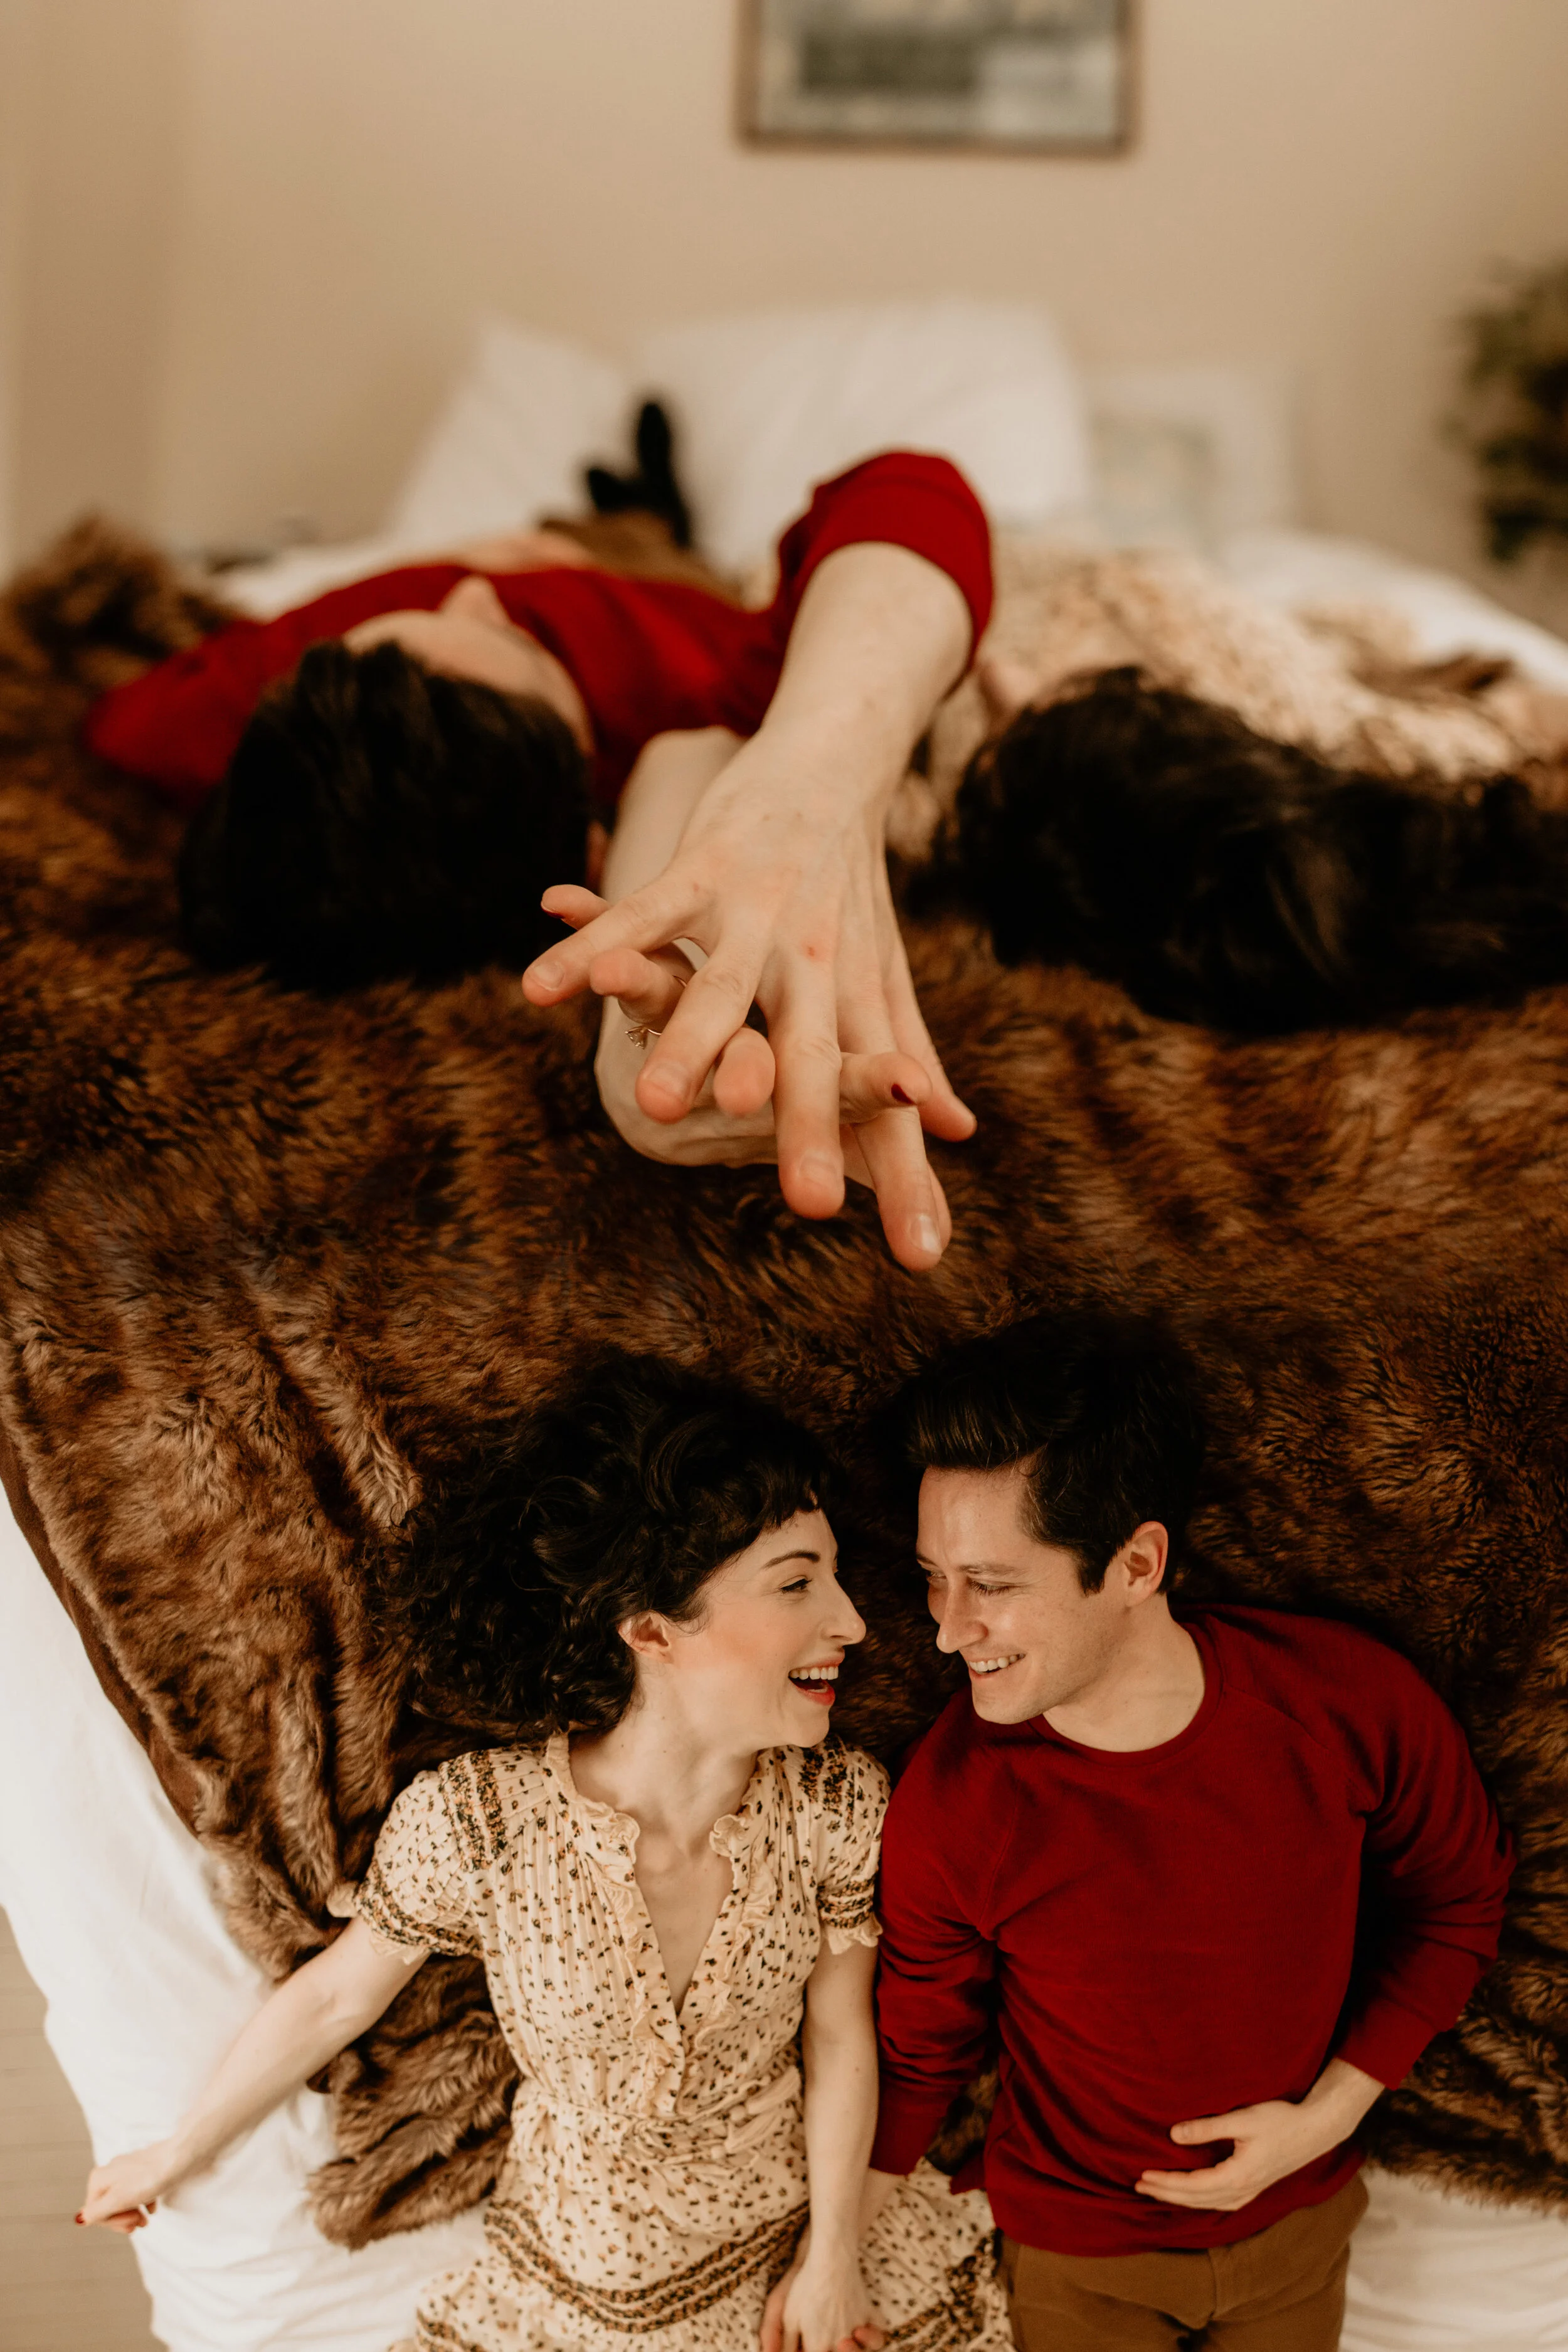
I also do these ones fairly often because they’re pretty easy if you prepare. Just take a photo of the couple at the top holding hands and then take a wider photo of them laying down. Then in photoshop I merge the two. Sometimes it looks kinda cool idk.
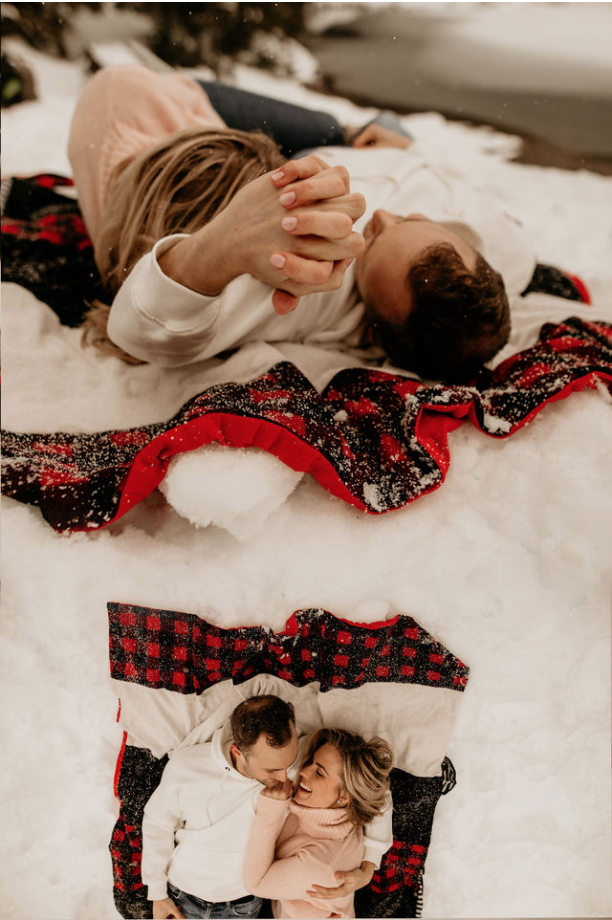
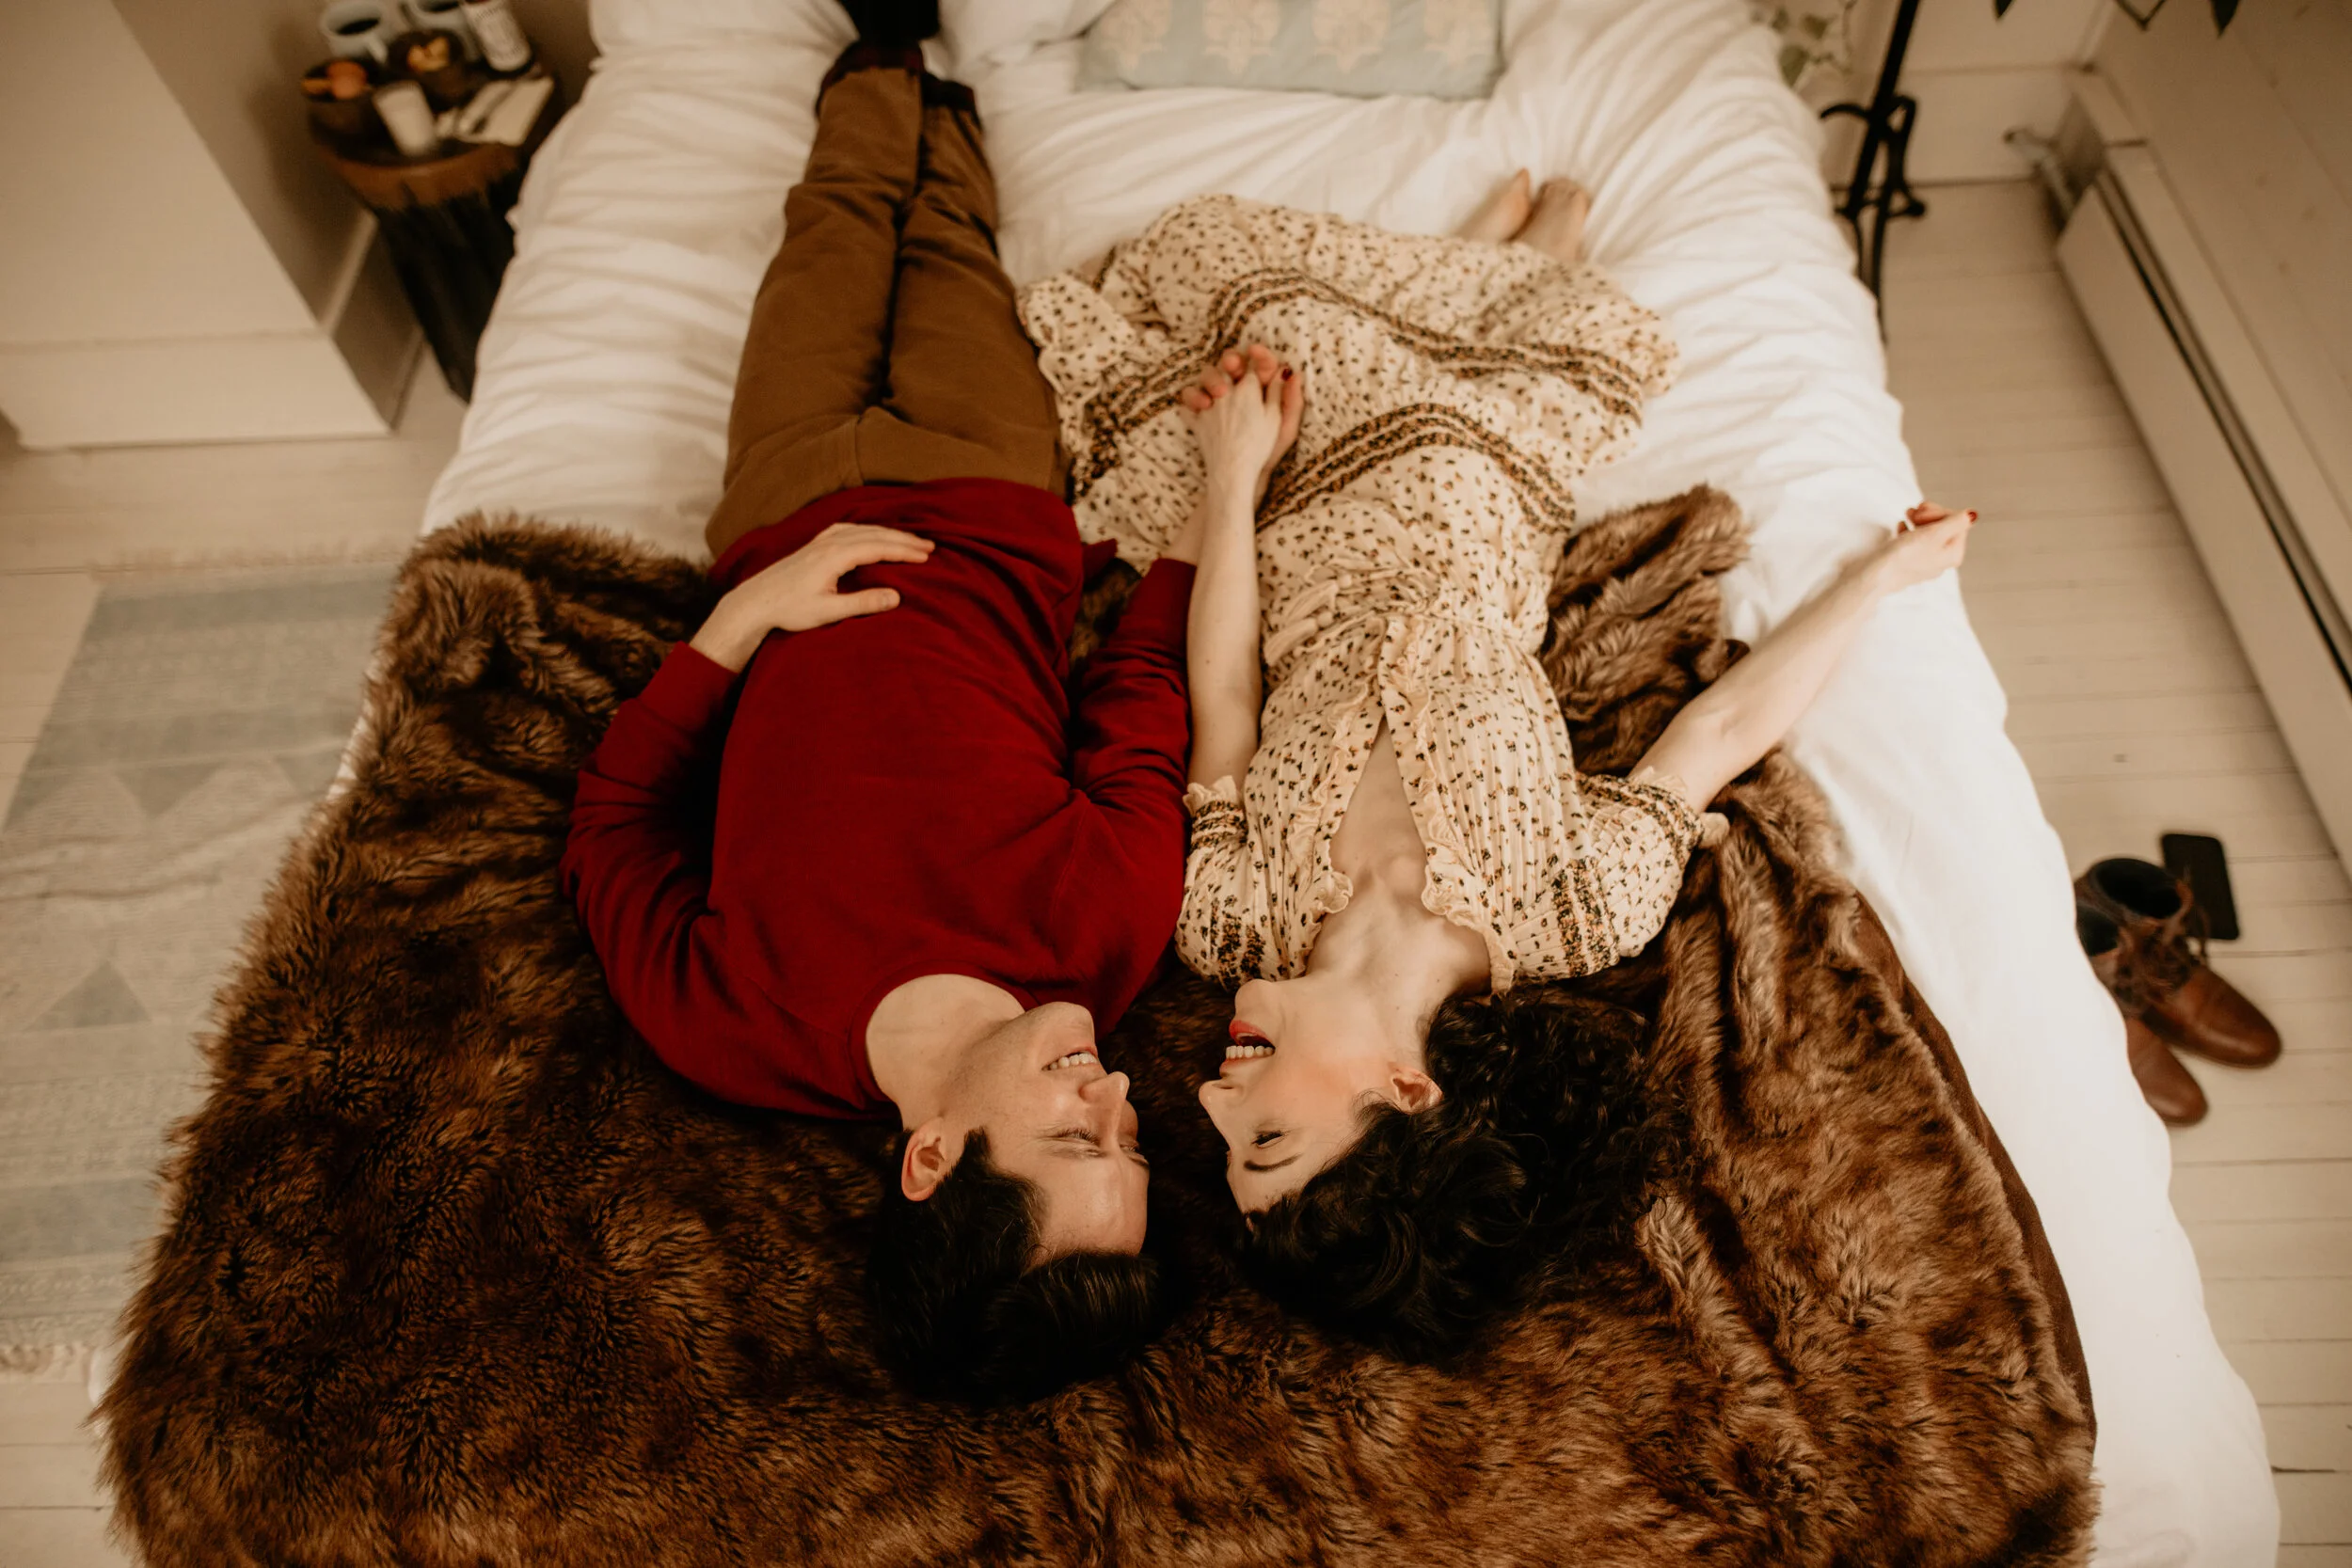
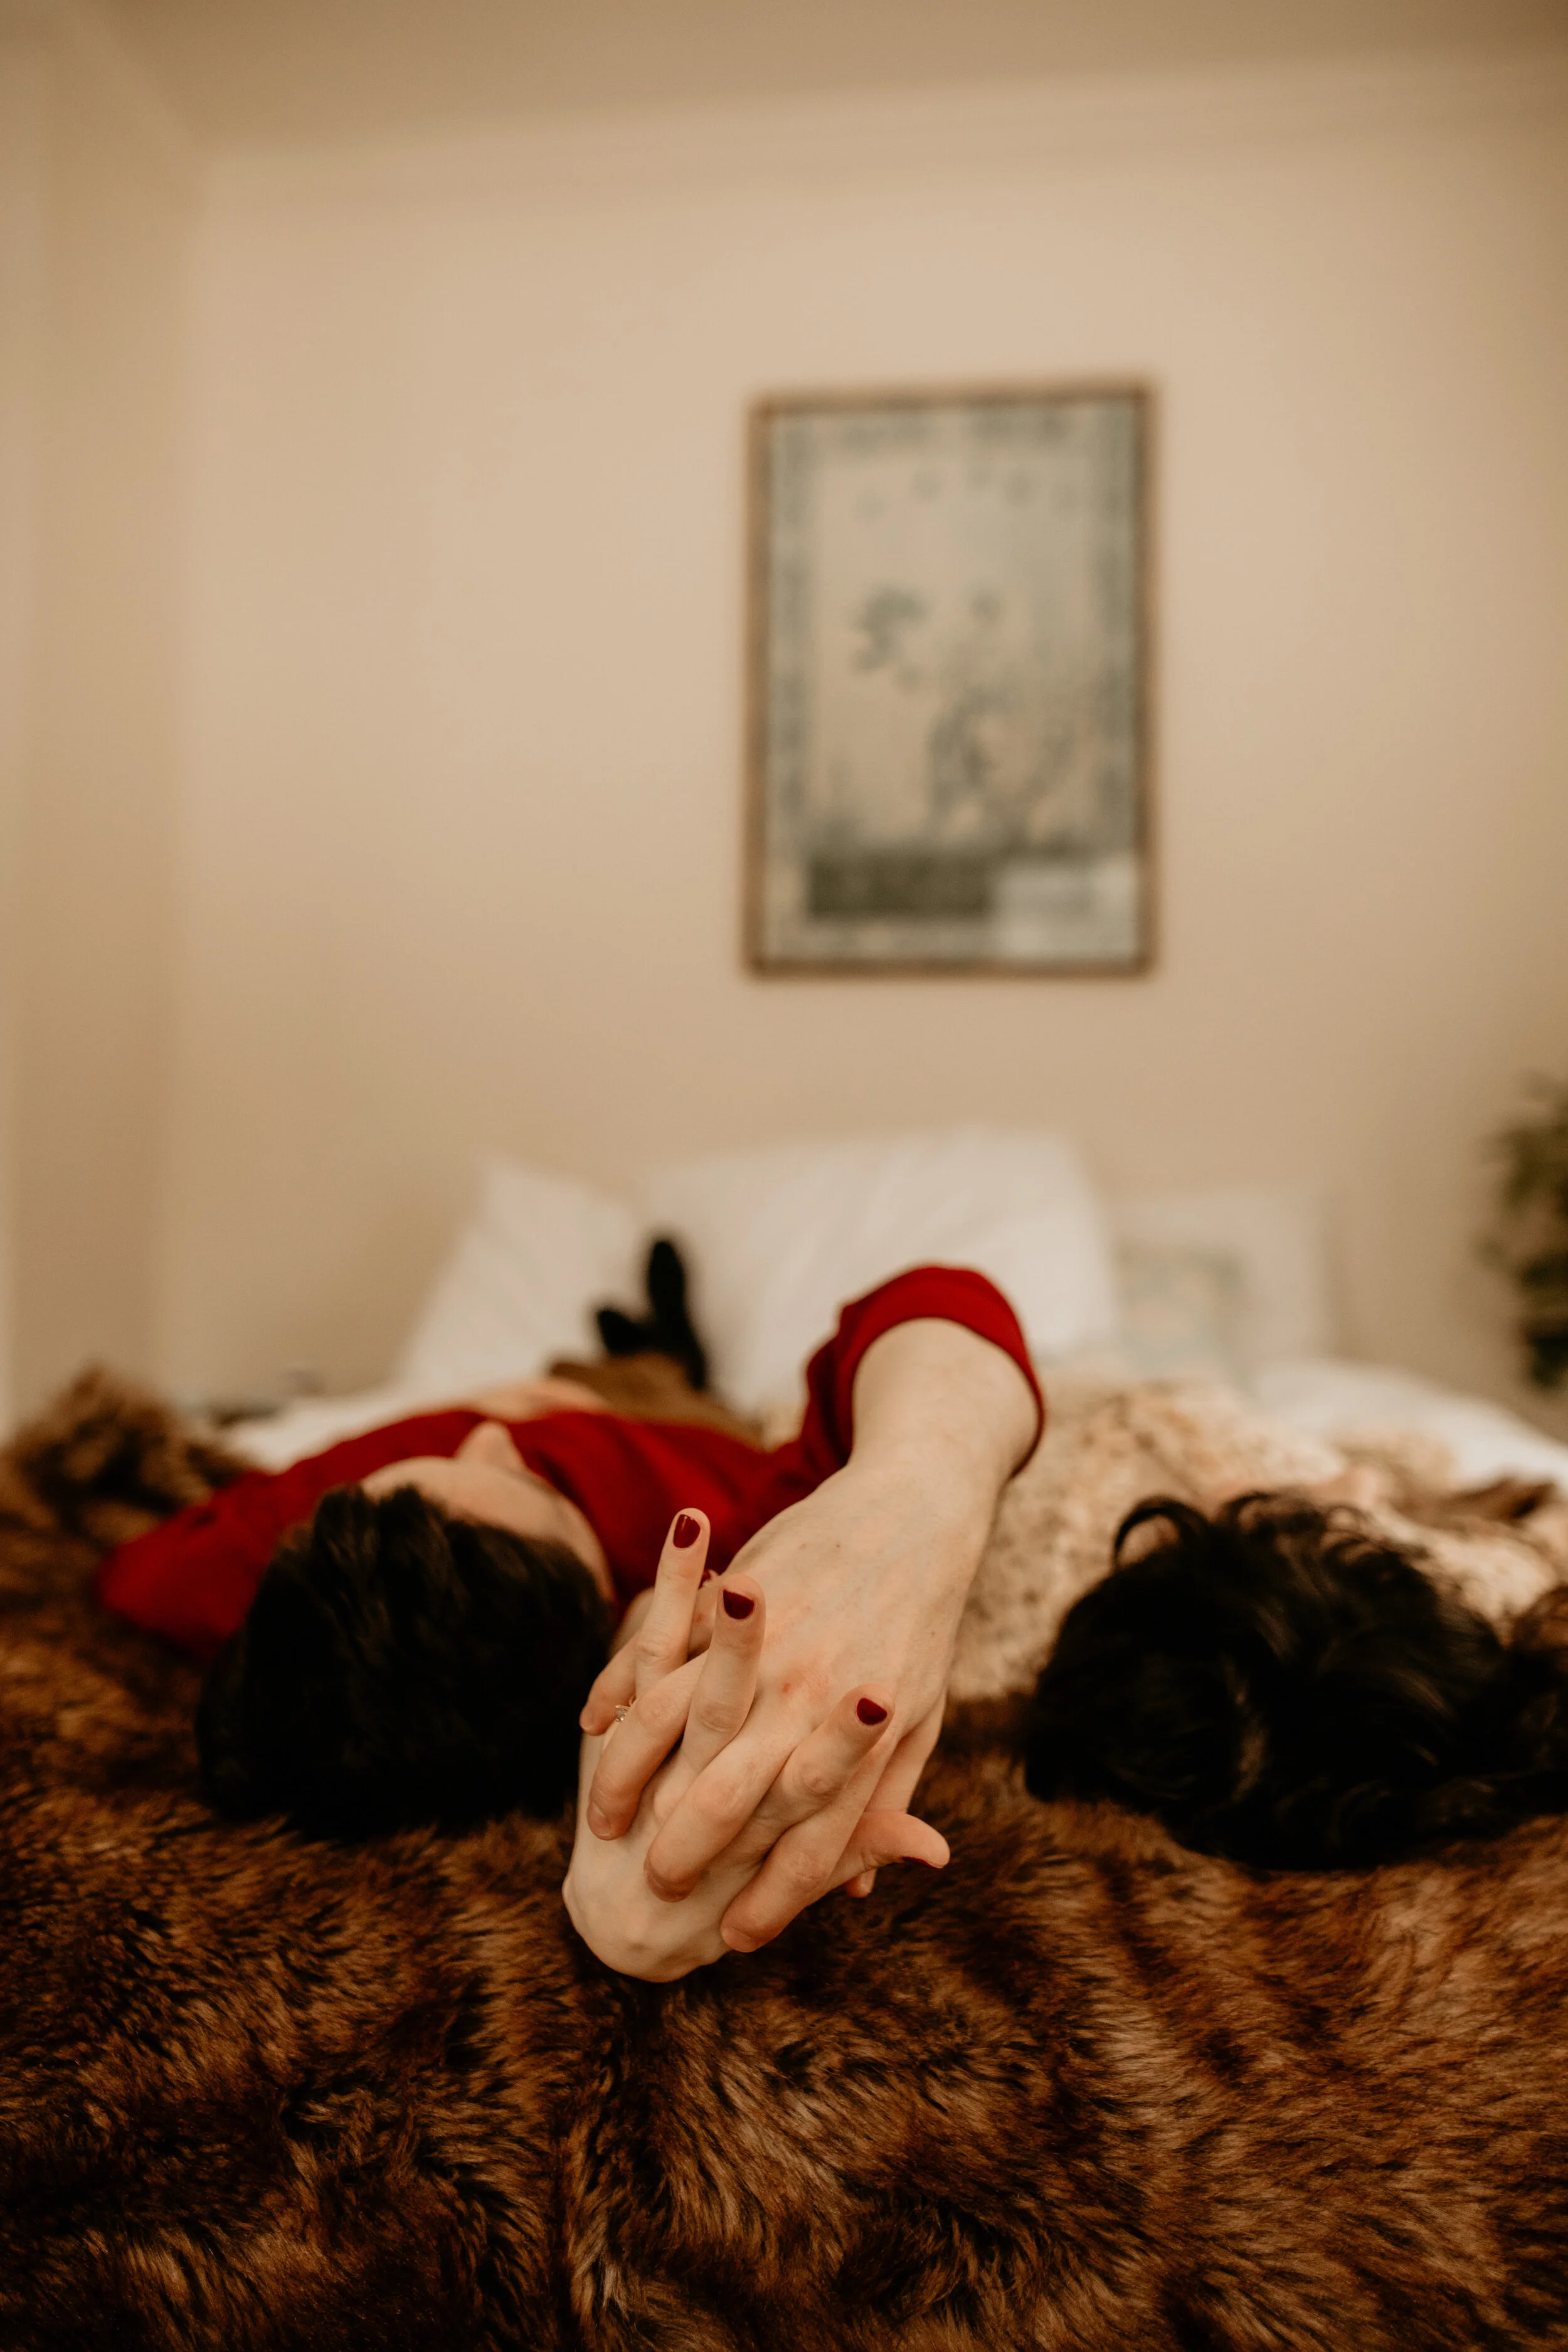
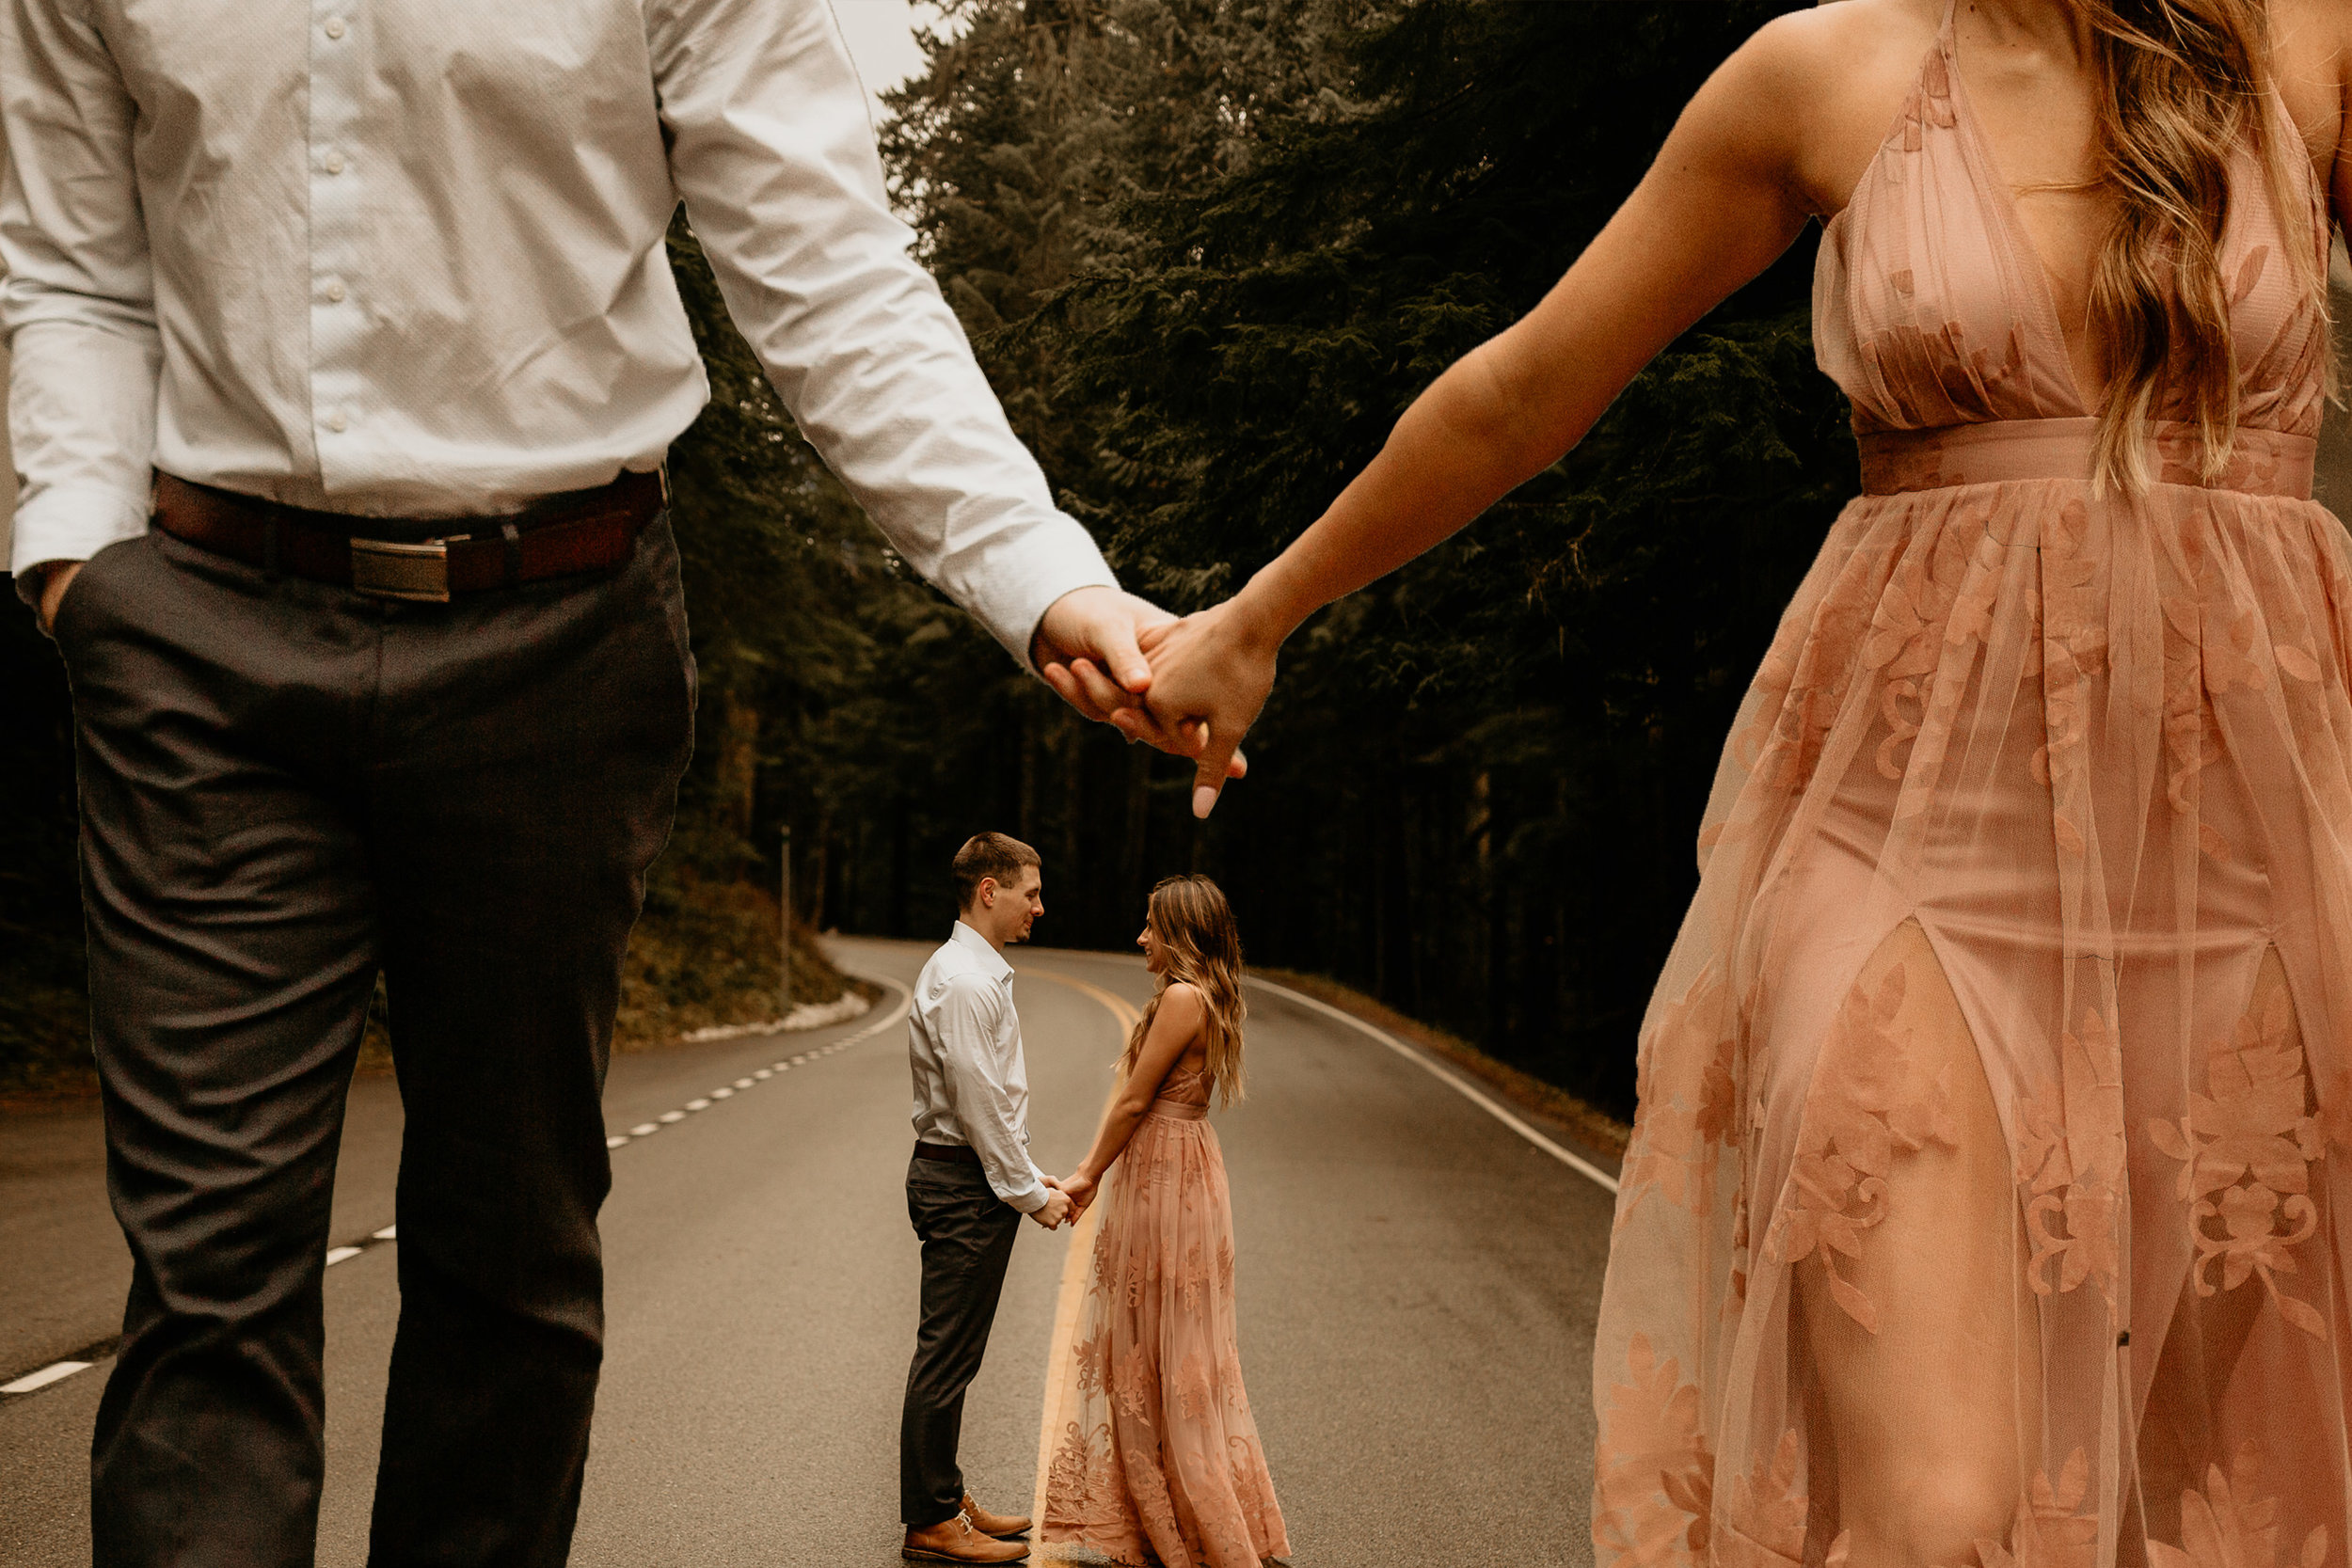
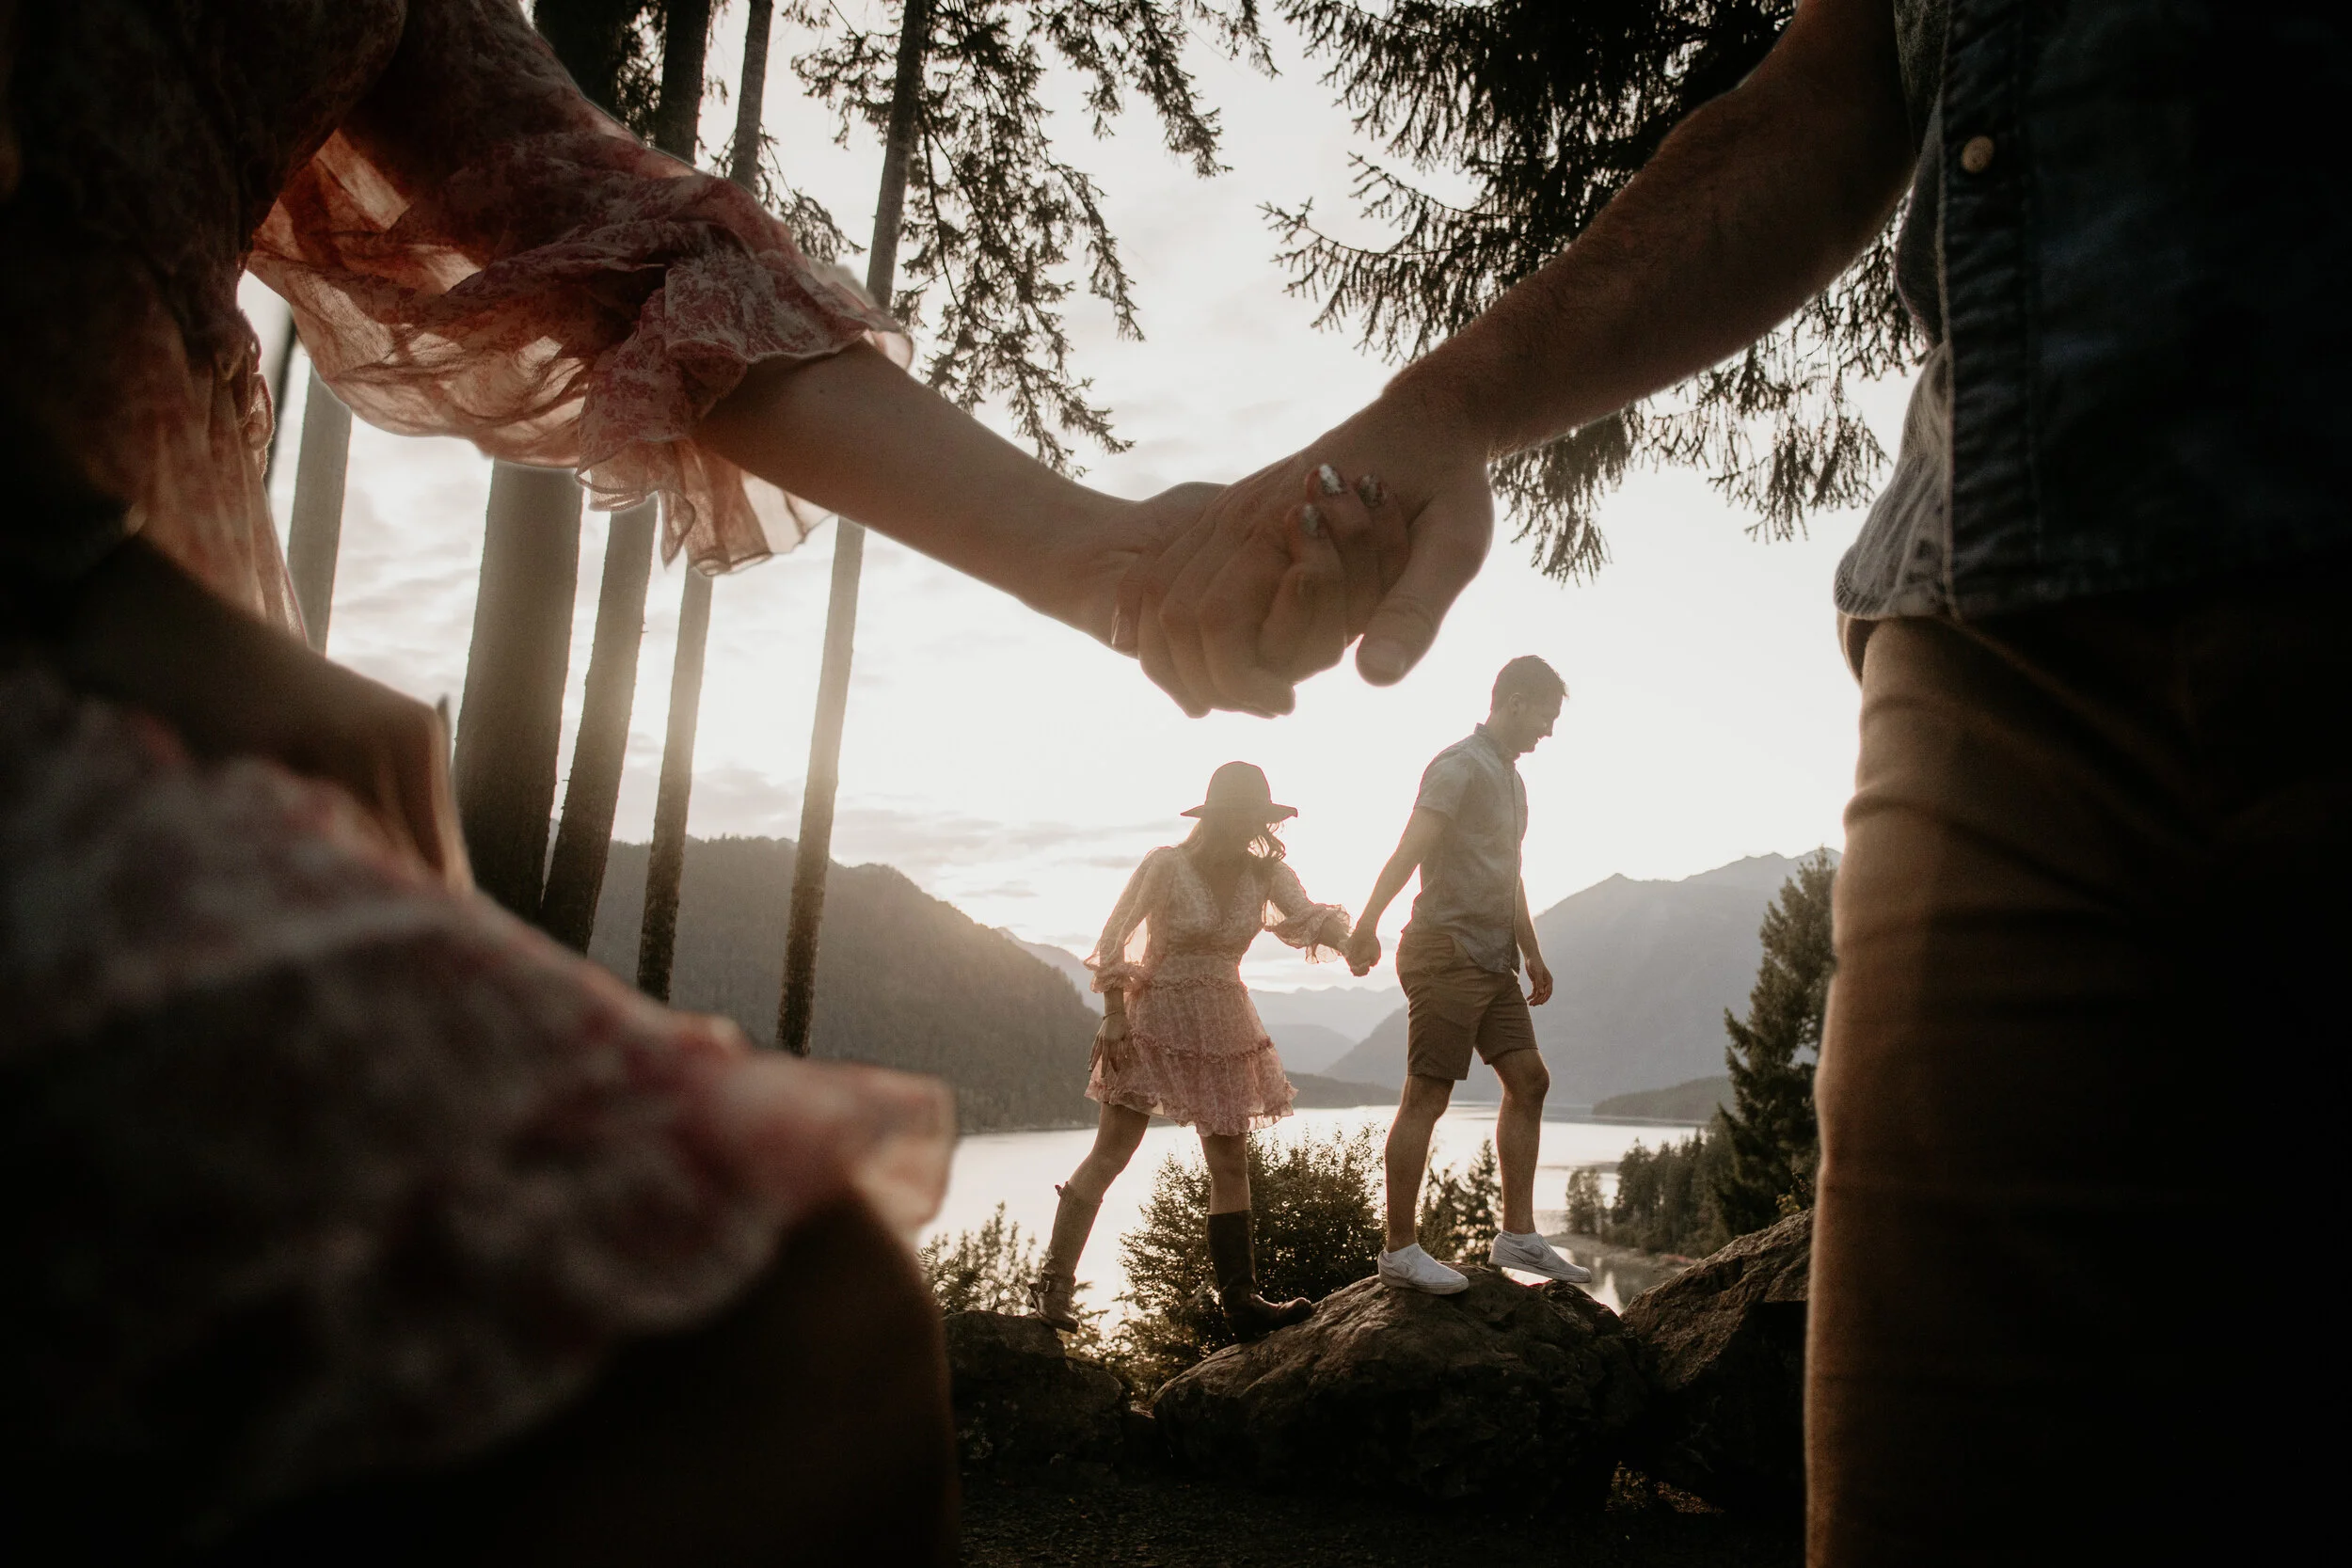
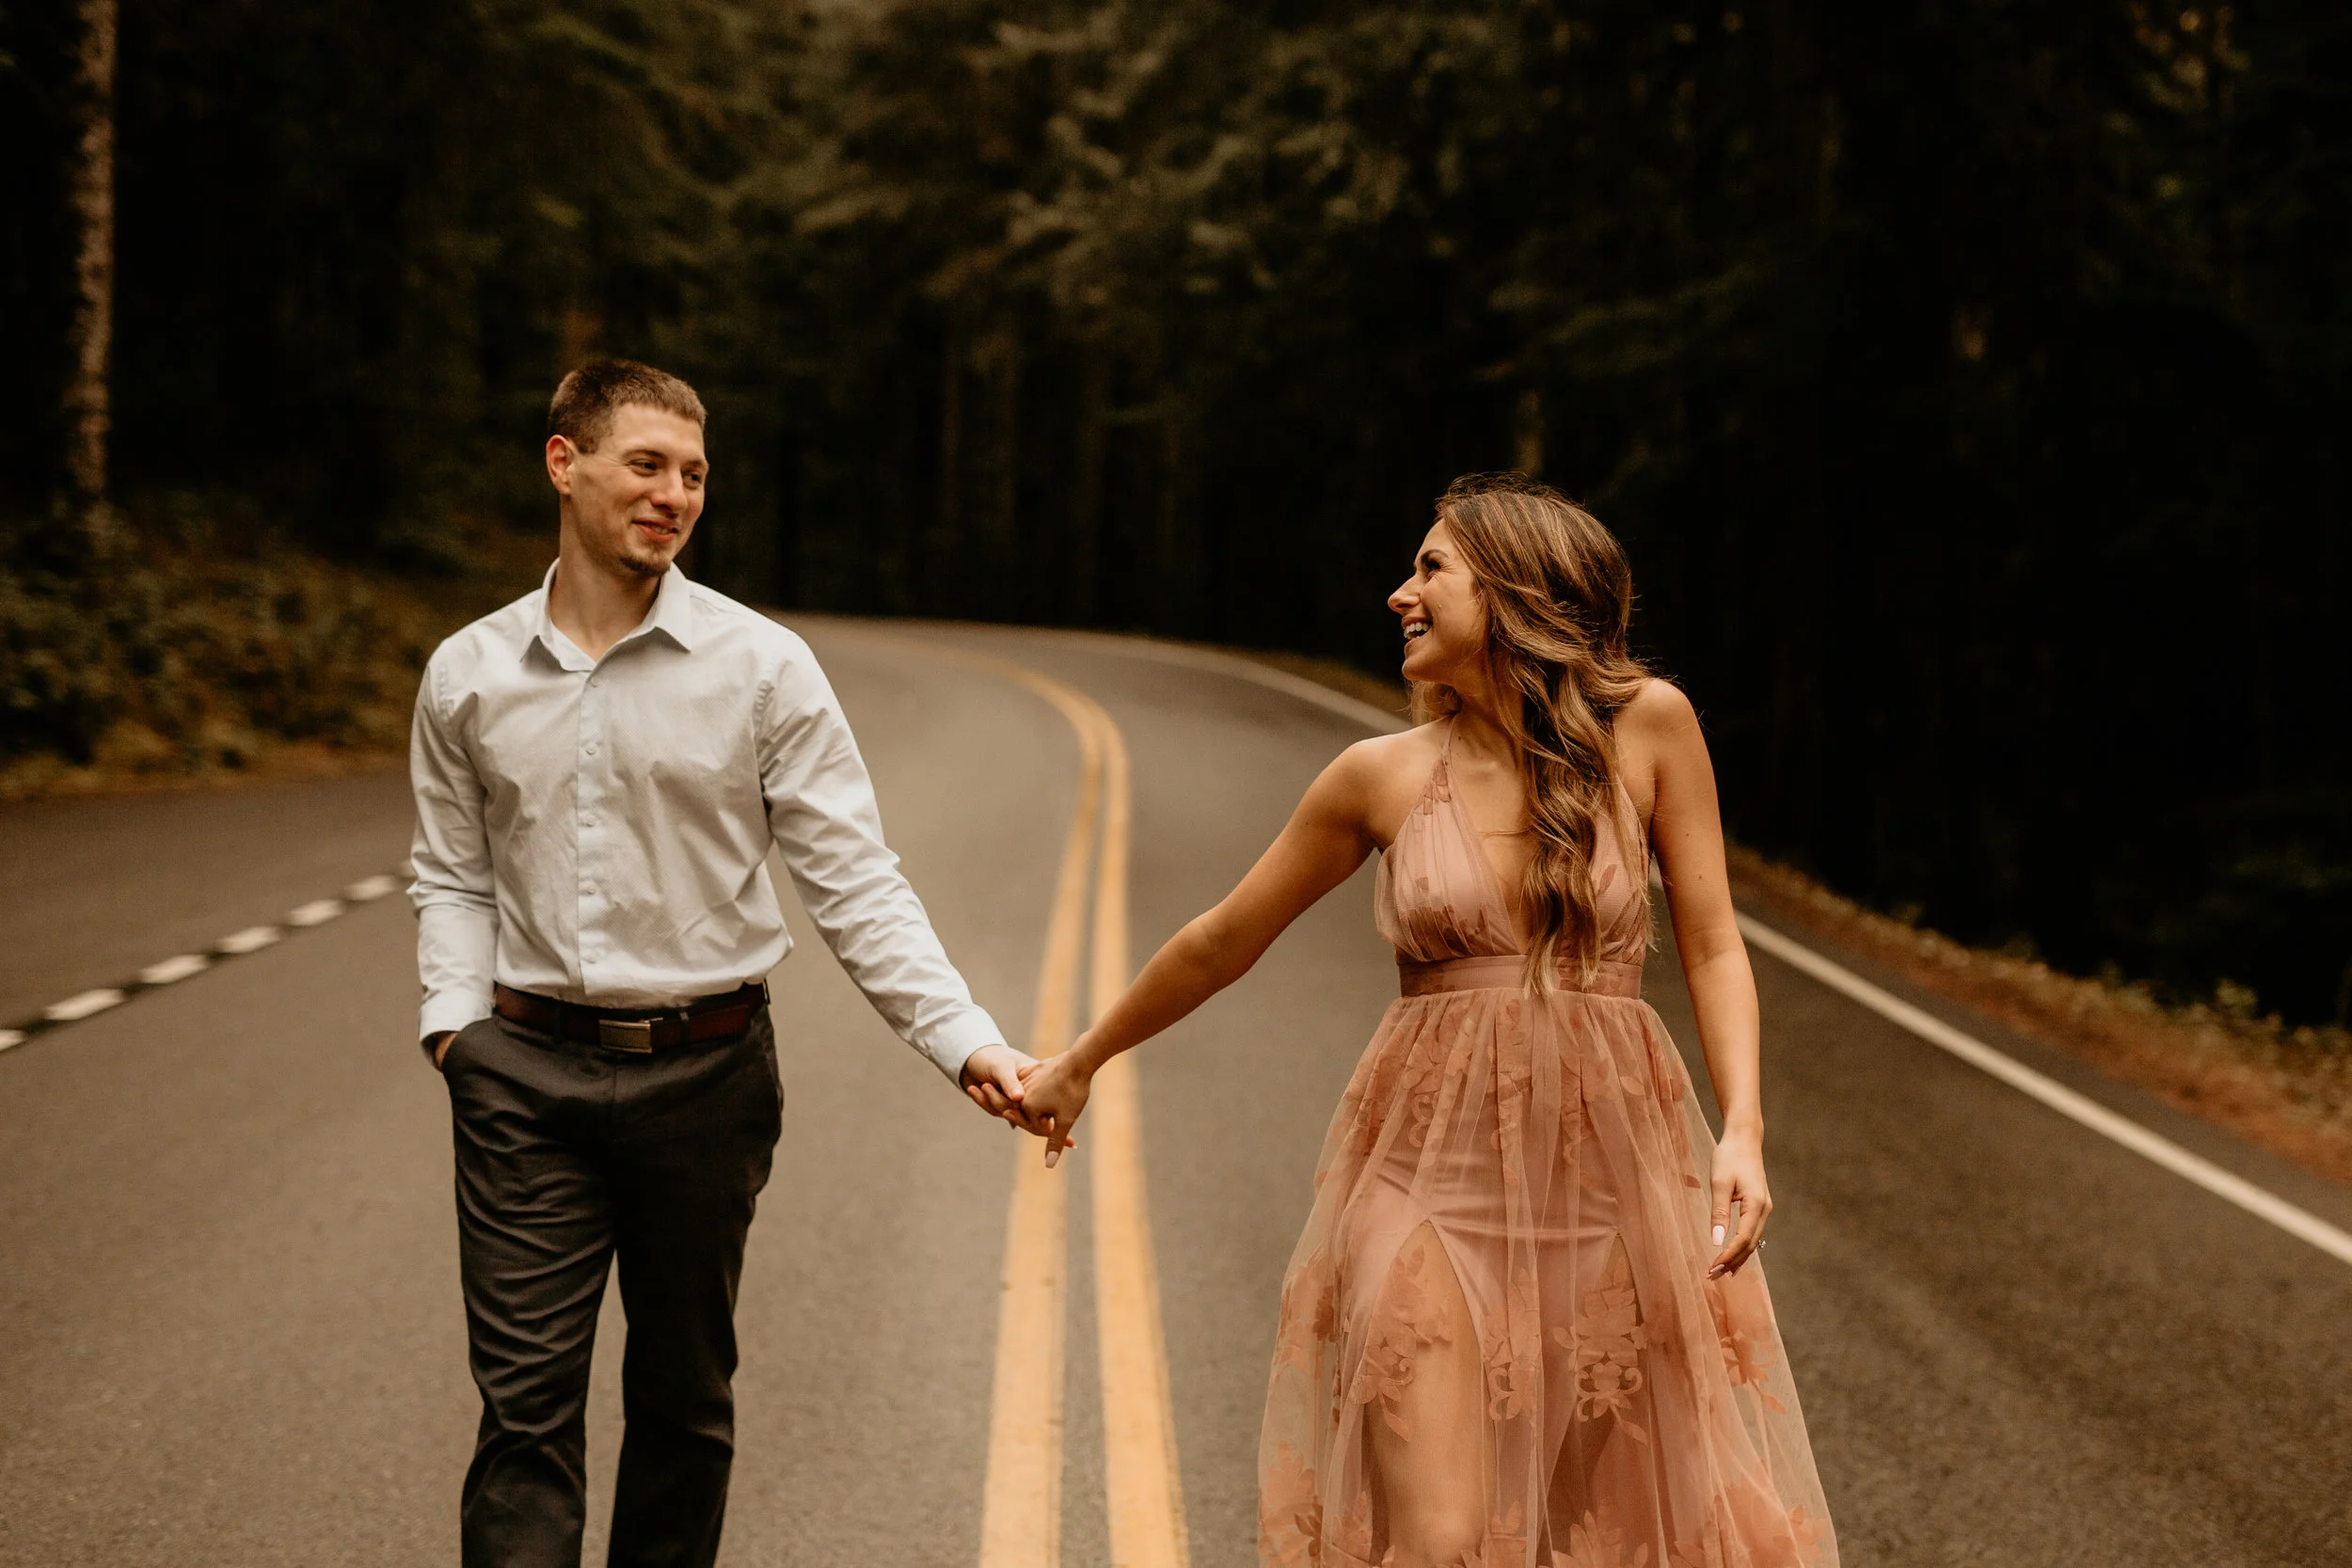
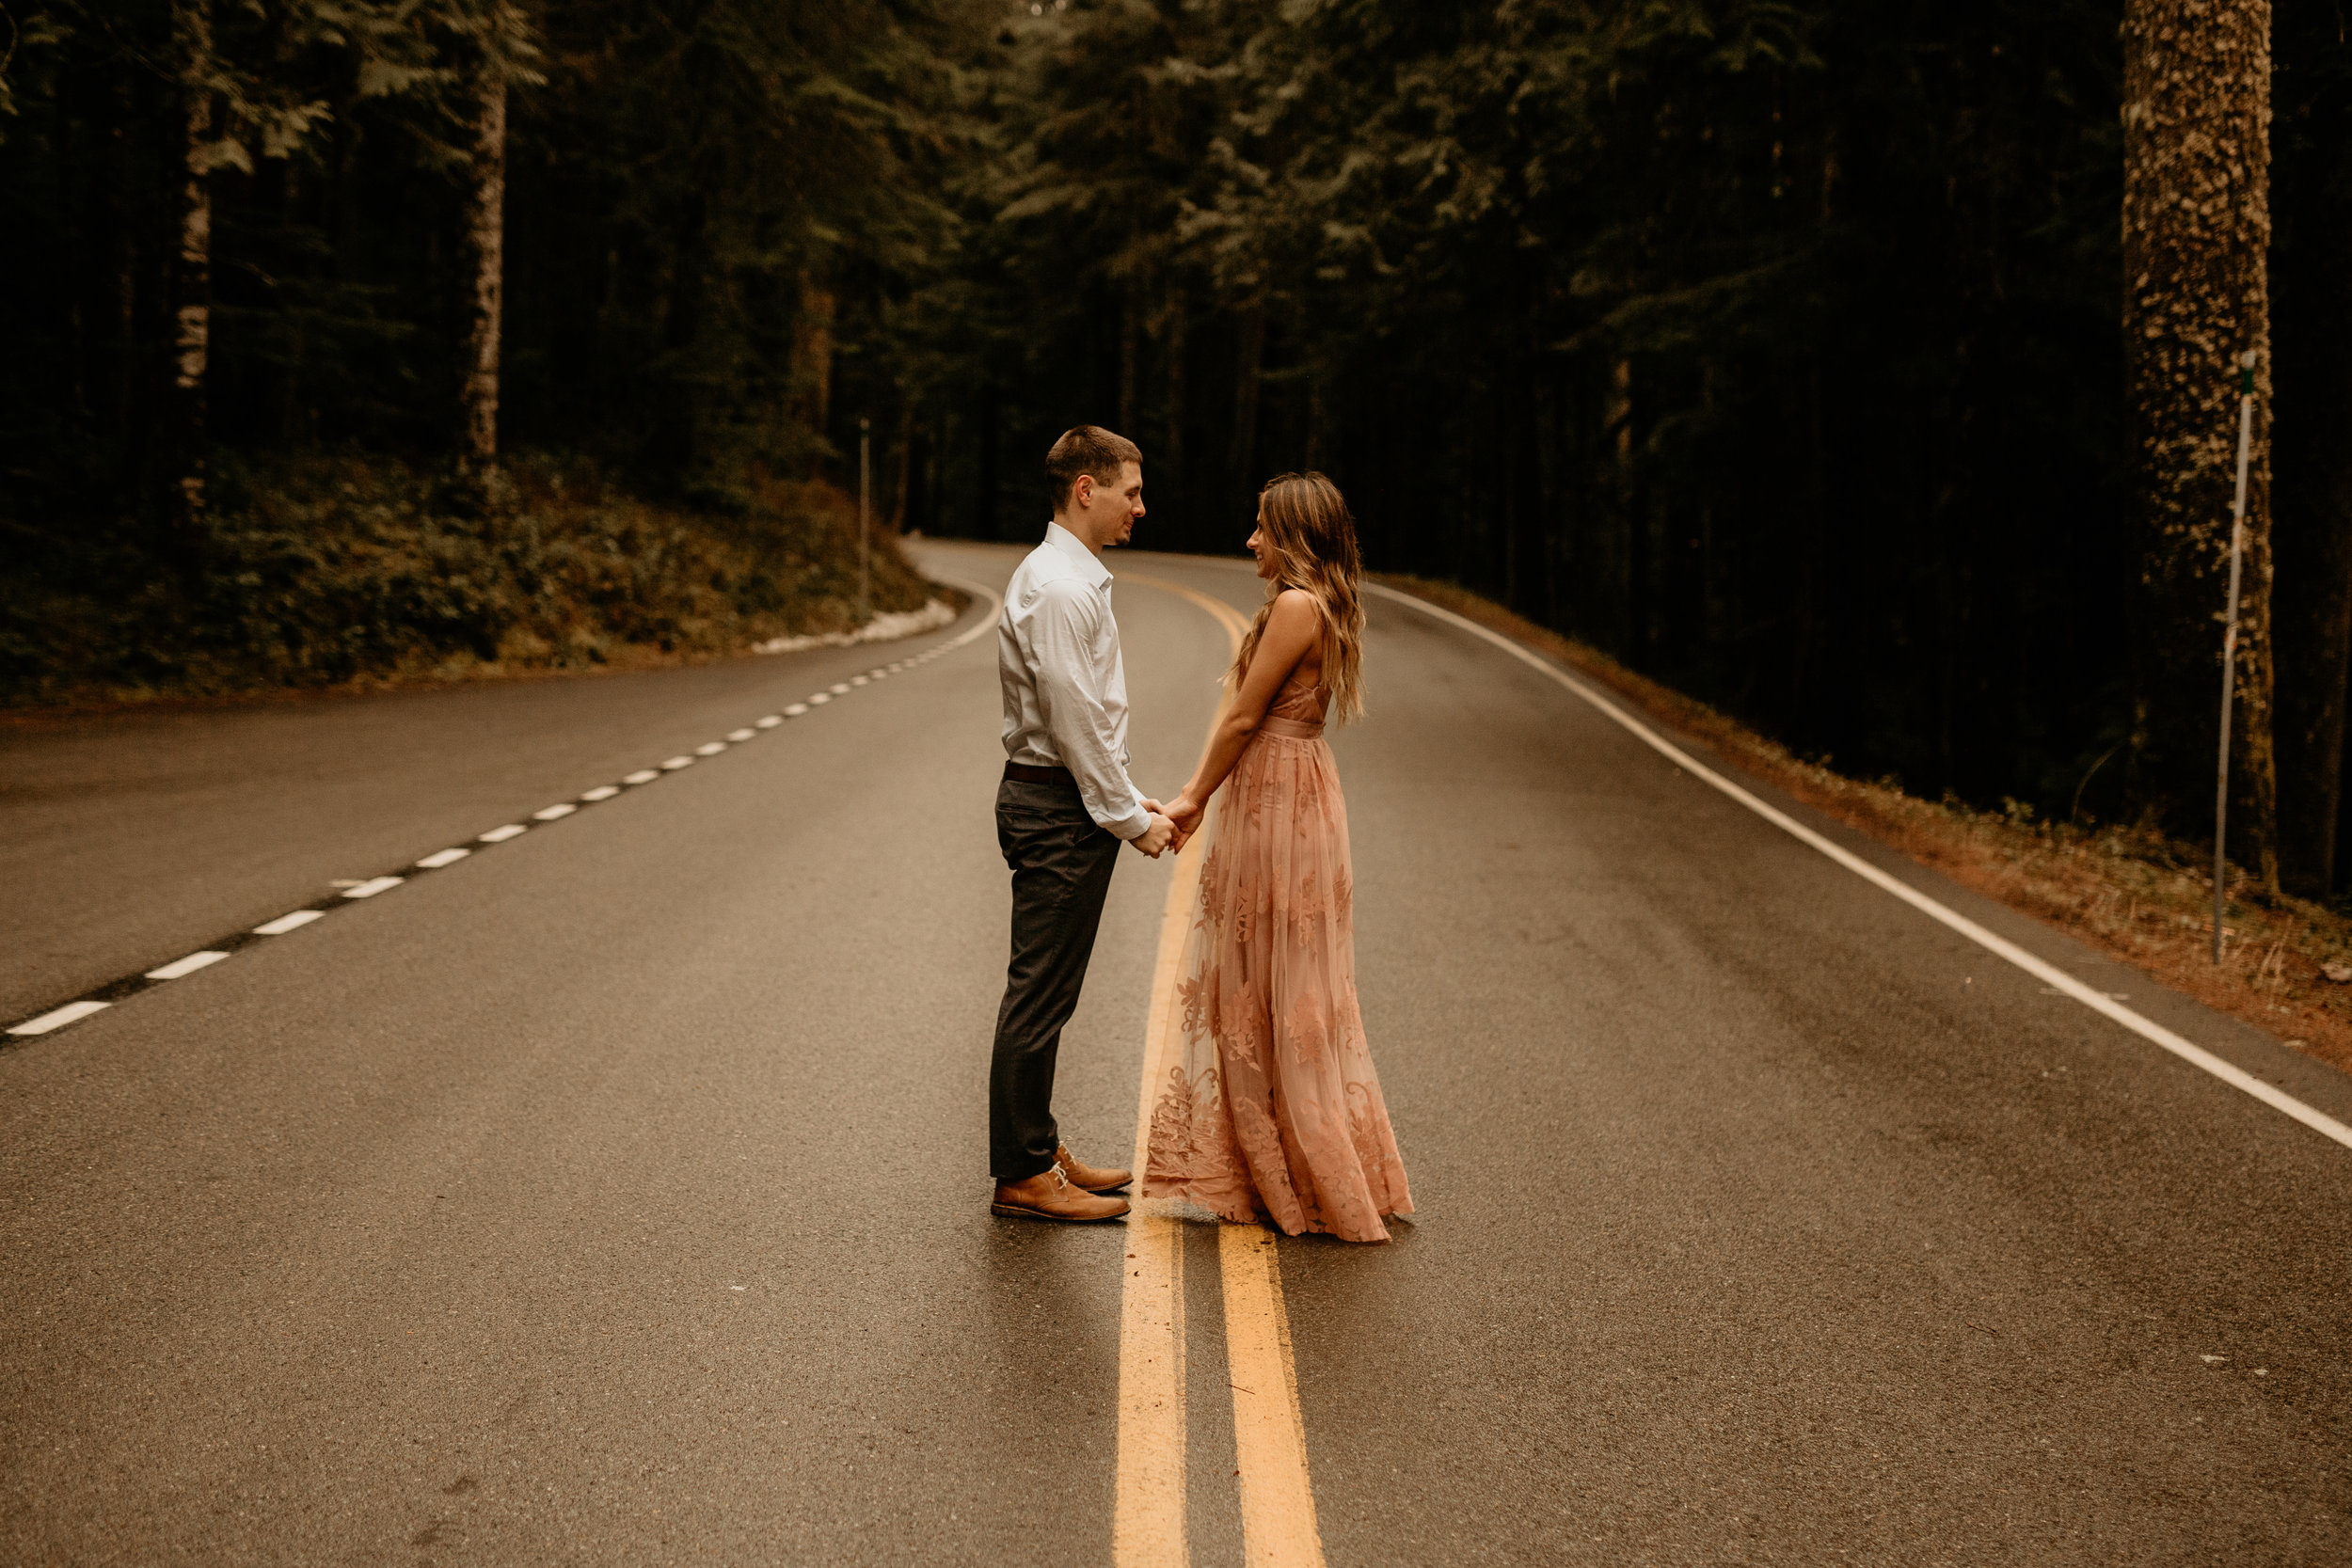
I dunno, sometimes you can do weird shit like this. I never have the patience to do it well enough to view on an actual computer screen, so I throw those on instagram! That’s the solution, guys, instagram. So for this one, I took two similar photos taken against this road and then I cut out the hands photo to make like a body frame for the other photo. I’m too lazy to show you how I did it. That requires….effort. But I’ll put the original photos below. At the time, I thought it was cool. My chardonnay was clearly telling me that, but even sober, I think its….ok. its ok.
Yeah, so that’s basically it. I don’t do complicated doubles, if they take too long, I scrap them. For me, its just a fun, creative outlet and if it becomes not-fun, I don’t do it. I usually try to give all of my clients ta least one though just because I know they’re fun! If you have any questions, leave em in the comments below!

